|
|||||
|
|||||
Fiberglass LCD Screen Shroud
2/18/05 —
I had purchased a LCD touchscreen for the car and I needed a place to mount it. I decided that my best bet would be to cover the area on the dash where the stock oil pressure and voltmeter gauges were. Here's how I did it. Details on how the shroud is mounted can be found here.
I haven't had any training in doing fiberglass. It seemed like a very useful thing to know how to do, so I read some webpages to learn the technique (including this one), and just dove in. My first project was the subwoofer enclosure, which I still have not finished. This is just my second project, and trust me, it's well within the means of most garage mechanic type people.
Before we begin: Working with fiberglass is a lot easier than most people would believe, but it is critical to take a few safety precautions in order to avoid some potentially nasty problems.
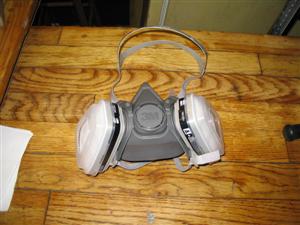
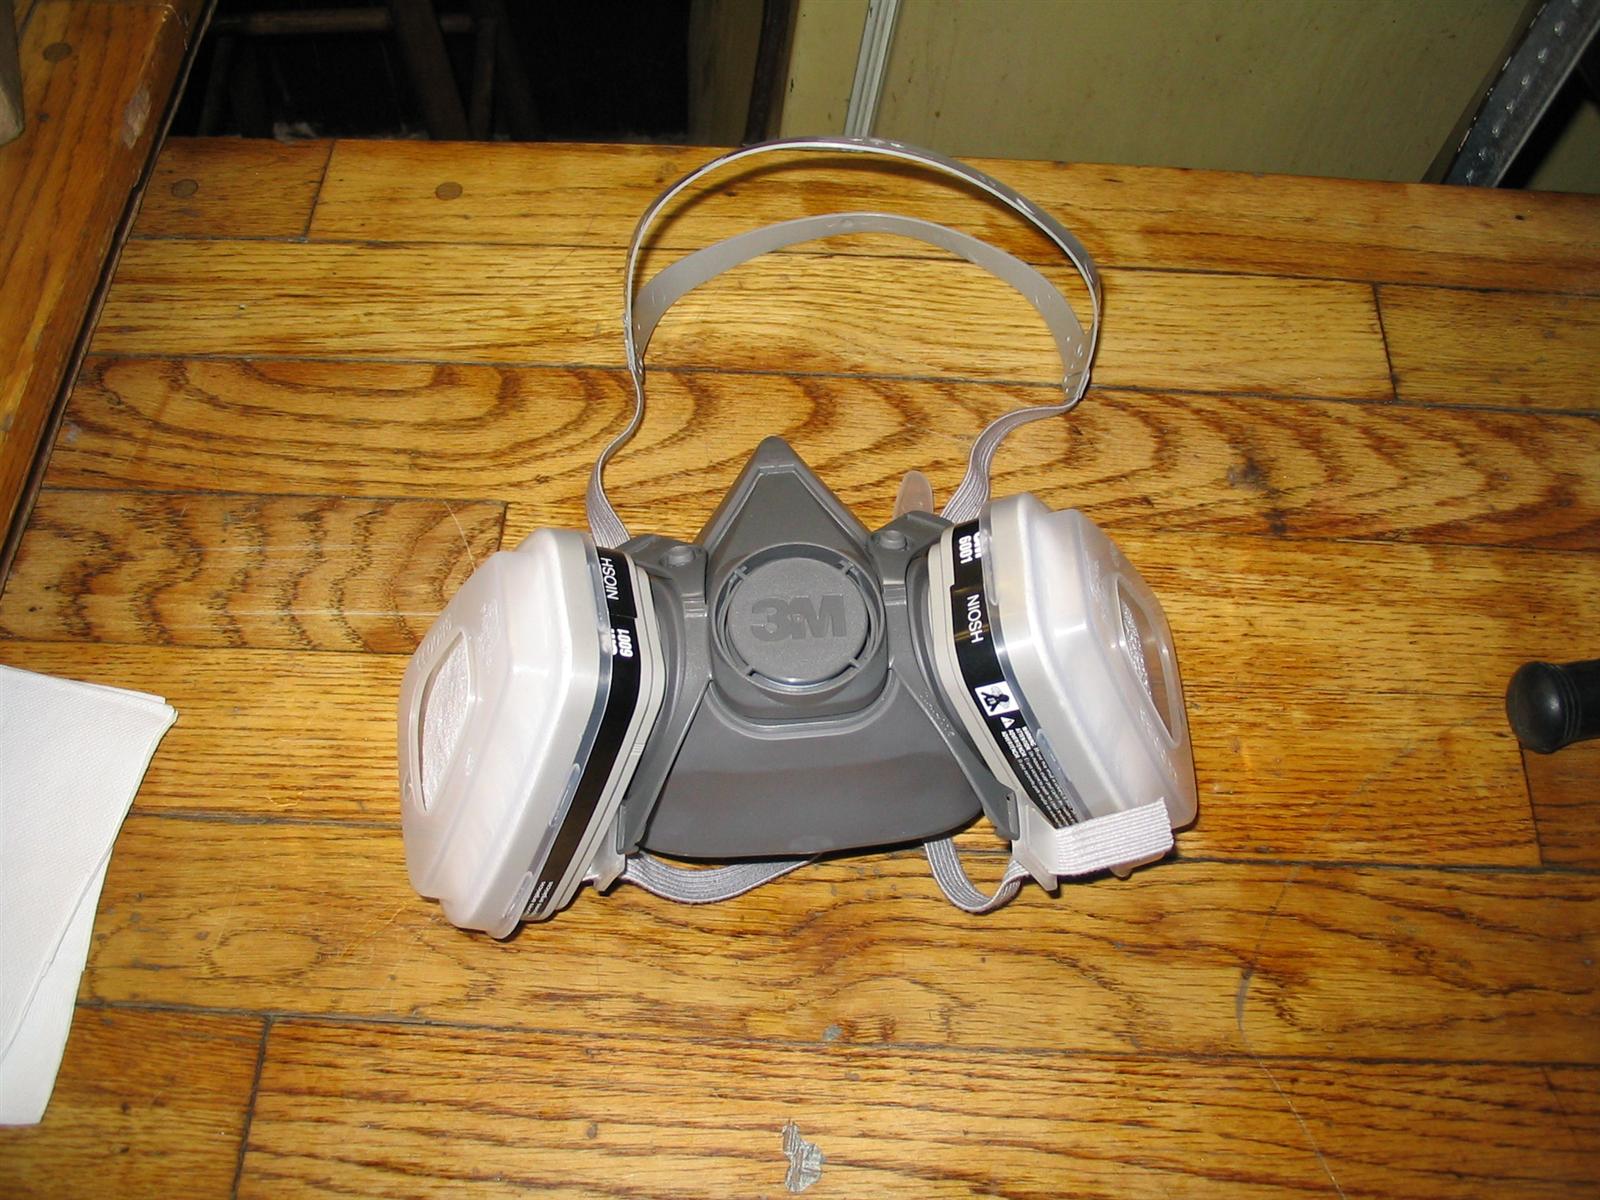
- First, the vapors from resin are carcinigenic. It is important to do this in a very well ventilated area (ie, outside), or with the proper respirator. I use this 3M respirator with organic vapor cartridges. This works so well, I cannot smell the resin at all until I leave my work area (which is set up with curtains and an exhaust fan) and take the repirator off.
- Second, proper gloves are a big help. Make sure to choose a pair that is resistant to both the resin which you will be using and the solvent you will be using to clean up. I use polyurethane resin and acetone to clean, so I use latex gloves. Choosing the wrong type of gloves will be a bit of a problem, because they will flat out melt when you start working with these chemicals. Trust me, I know.
- Third, when cutting mat or cutting/sanding the composite, fibers will get everywhere. If you get these fibers lodged in your skin, they will itch, and feel crappy when you take a shower. In order to avoid this, I wear old an old long sleeve close knit shirt when I work with the glass. I tuck the shirt in and duct tape the sleeves around my wrists. It's a bit of a pain, but I haven't had an itchy shower since I started doing this.
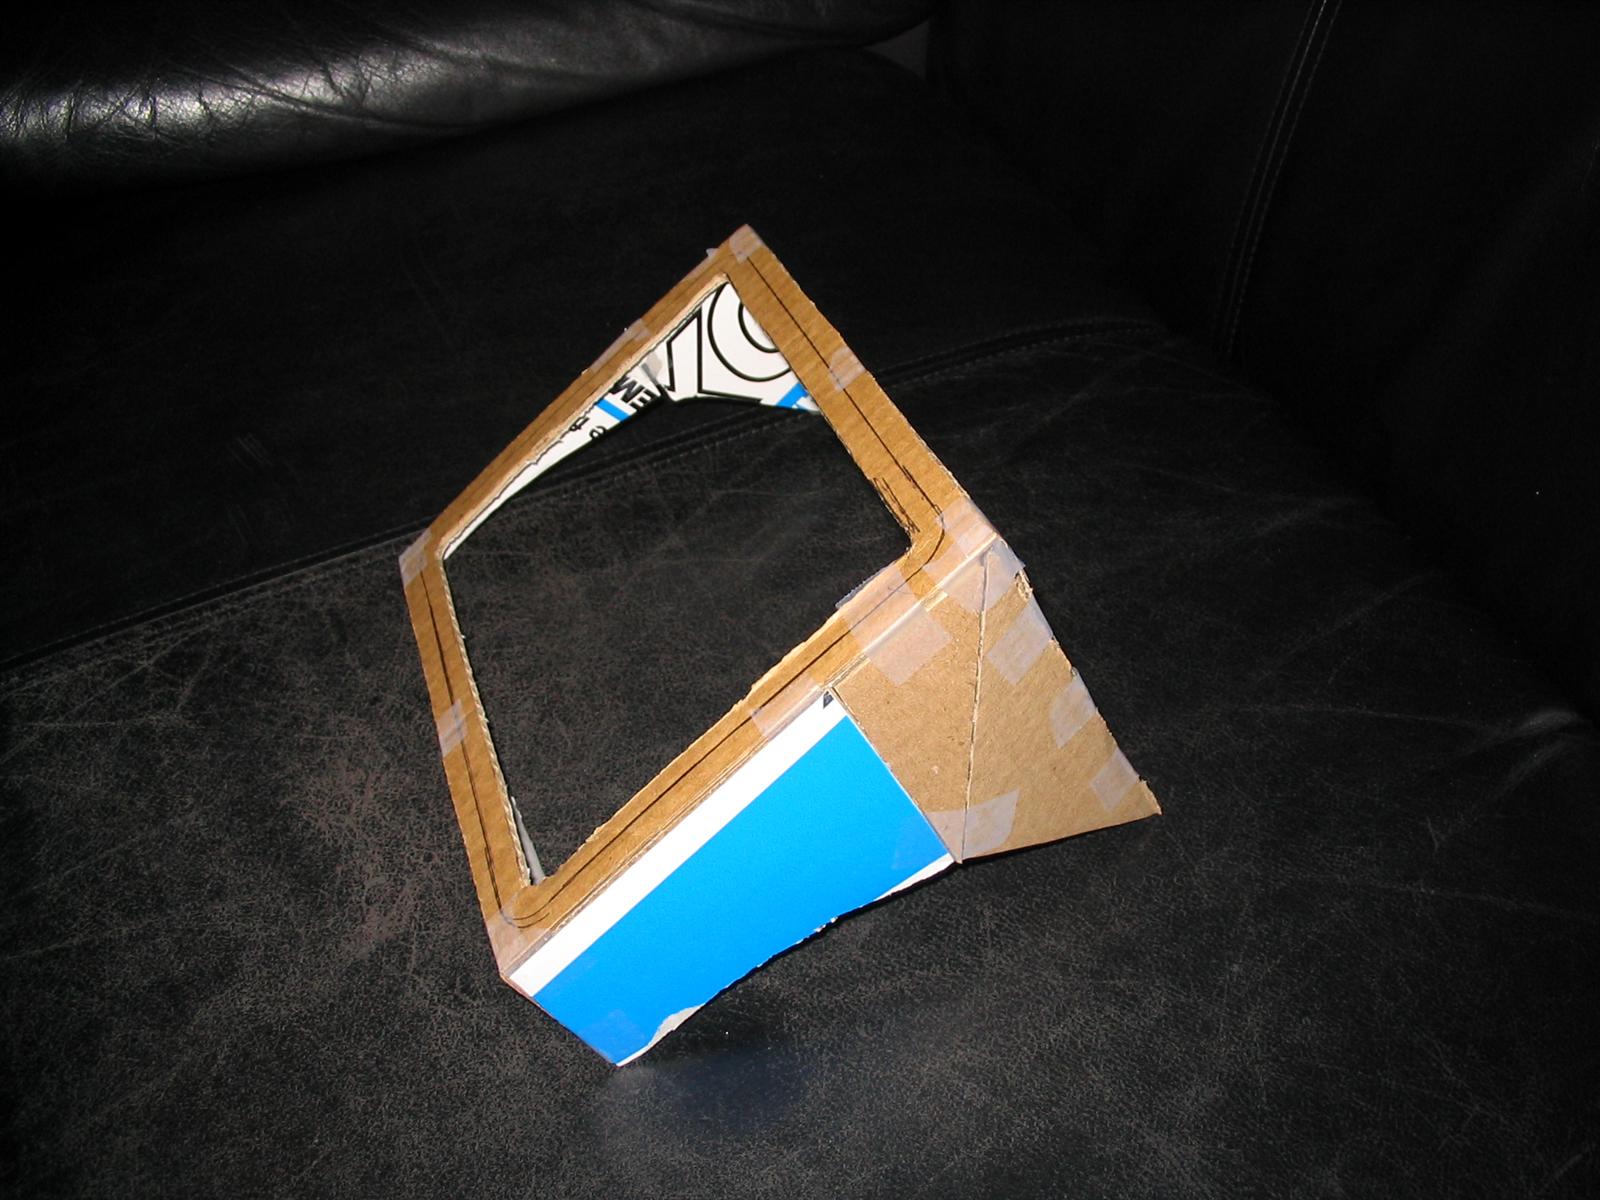
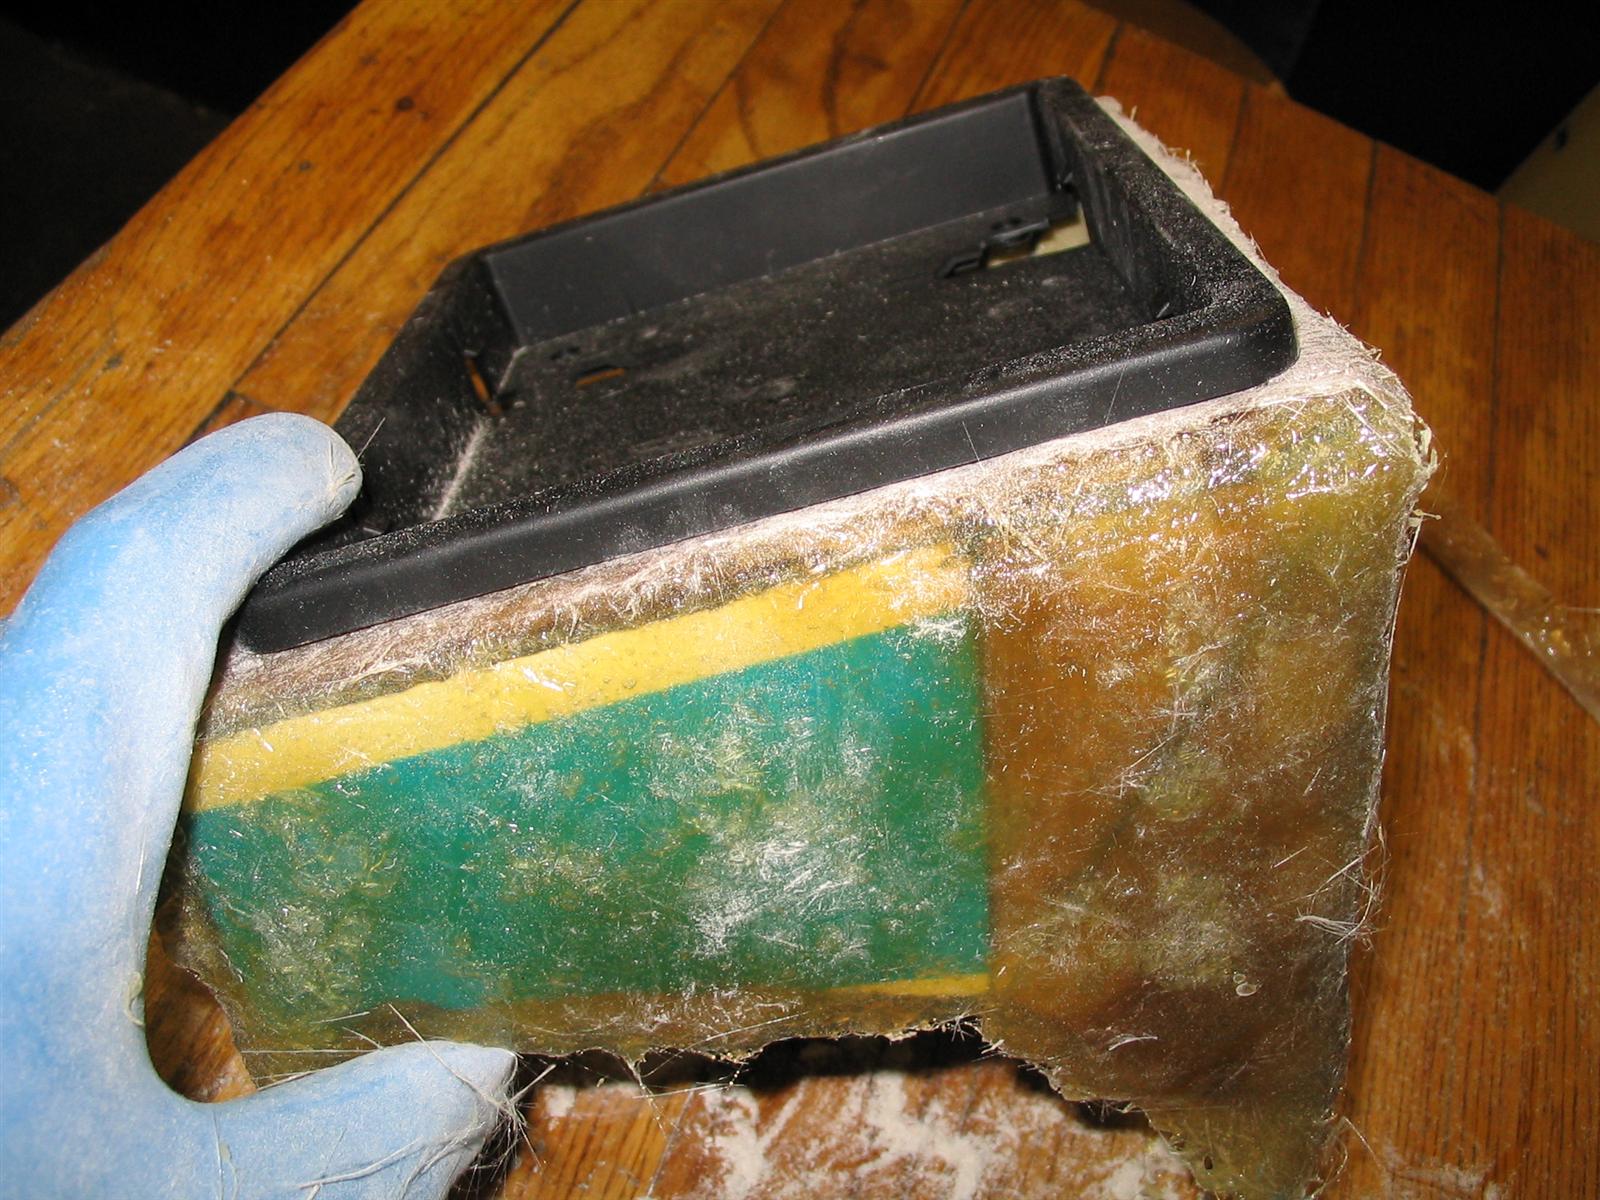
First, I started by creating a template for the shround out of cardboard. The cardboard selection is not too critical, but the thinner the better, as long as it can still hold its shape. It would probably be better still to do this part with a material such as basla wood sheeting or something... but I did not have any of that and this worked out well enough.
This was pretty simple, just sections of cardboard held together with scotch tape. It does not need to be perfect, but it is important to match the contours of the dash.
 |
 |
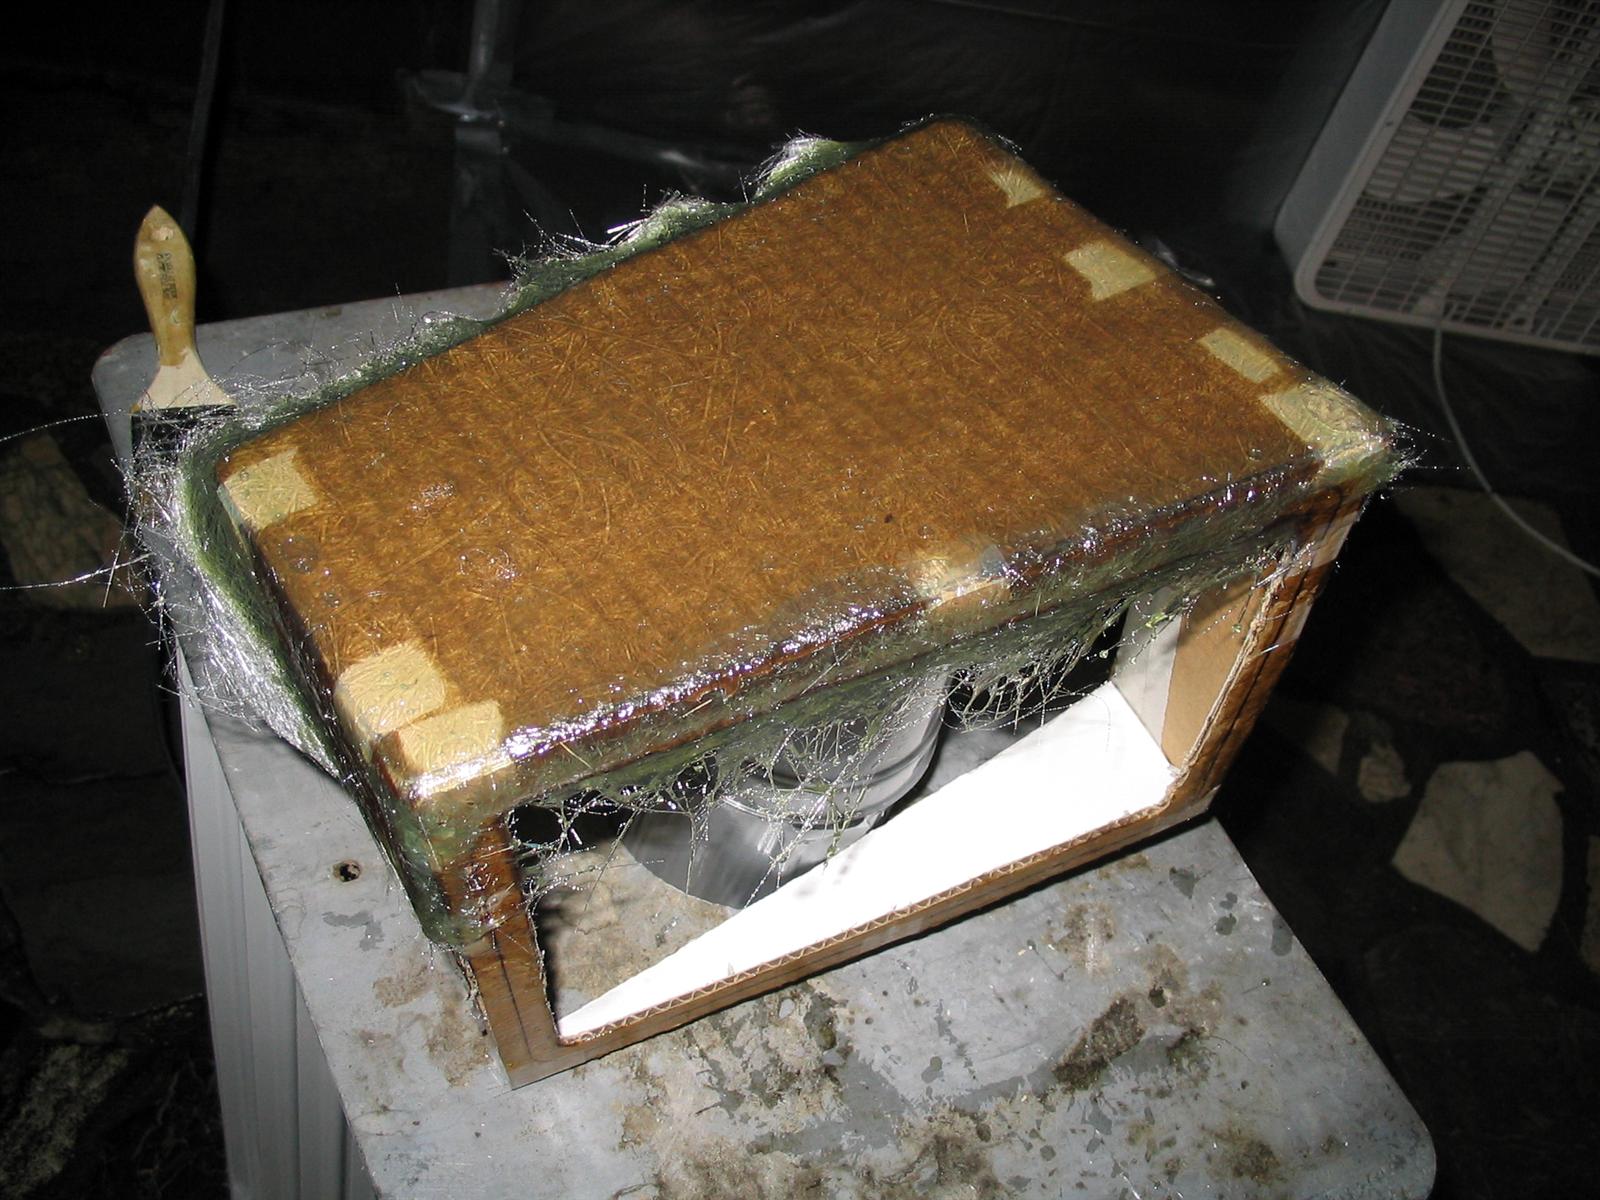
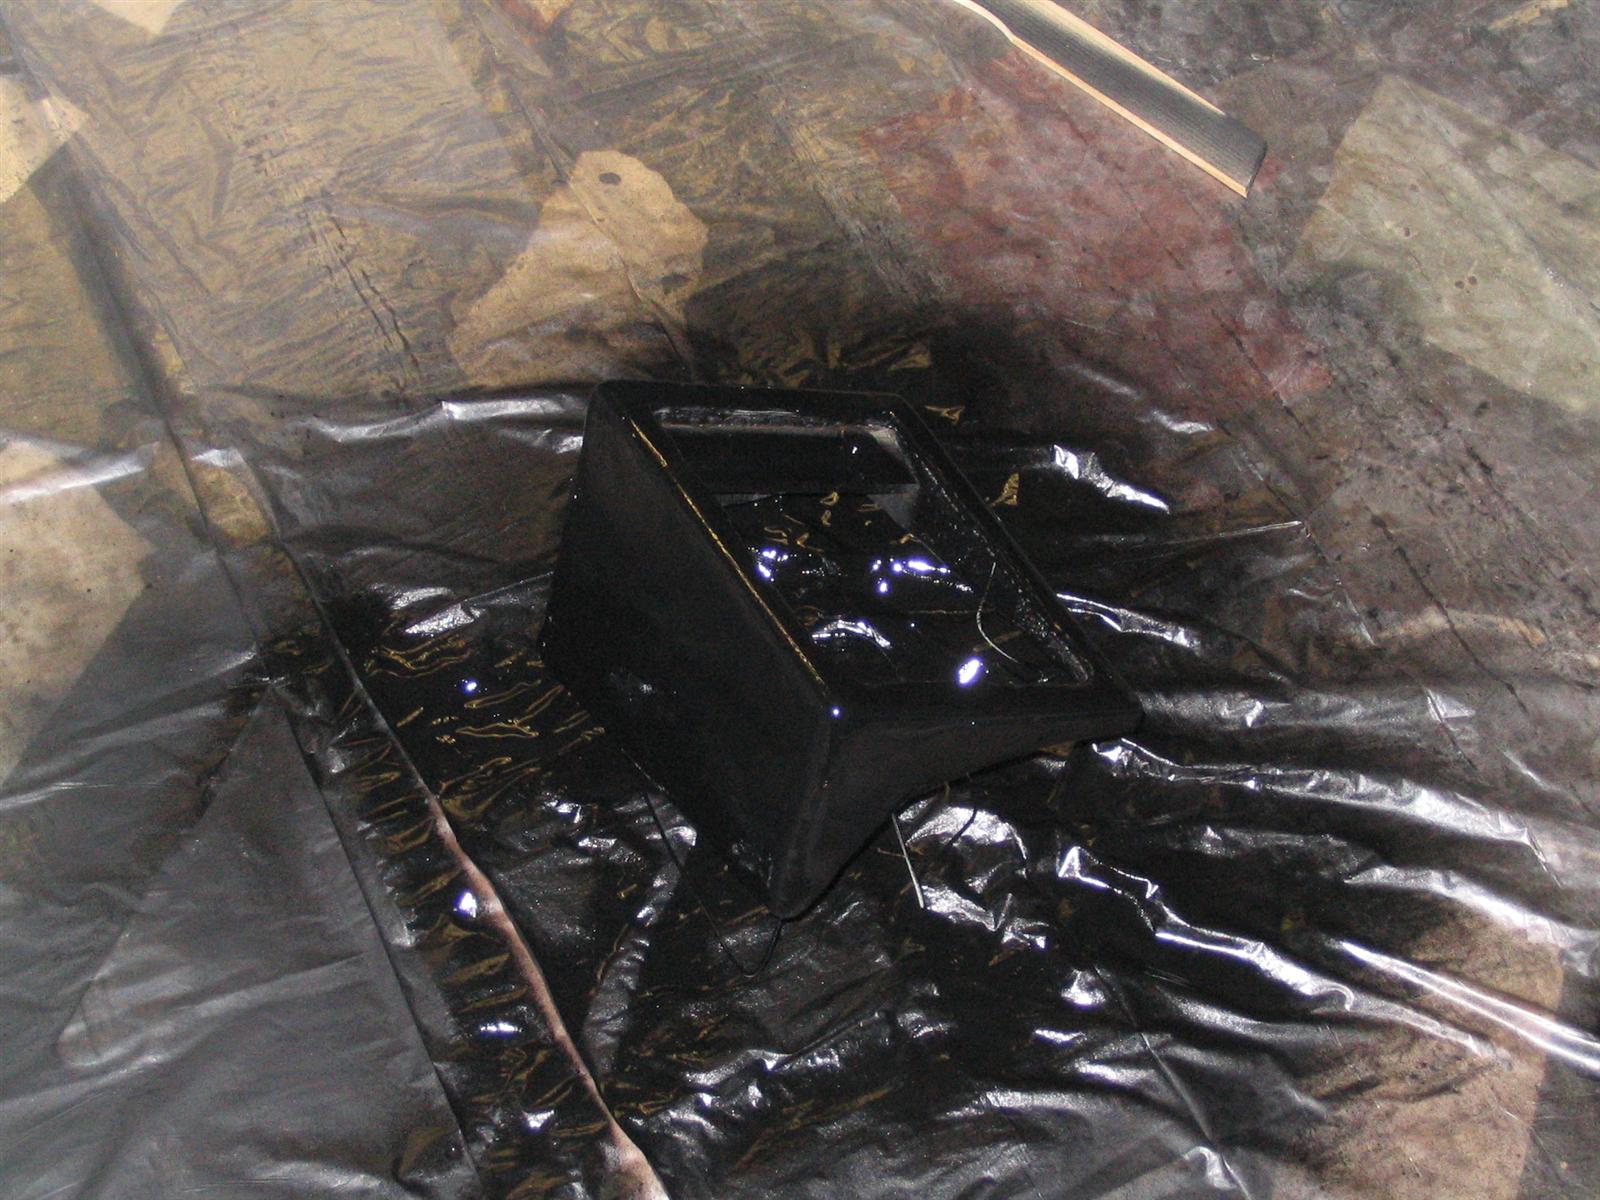
My next step was to cover the template with a good layer of resin. This locks the template in place so it can be worked on without distortion.
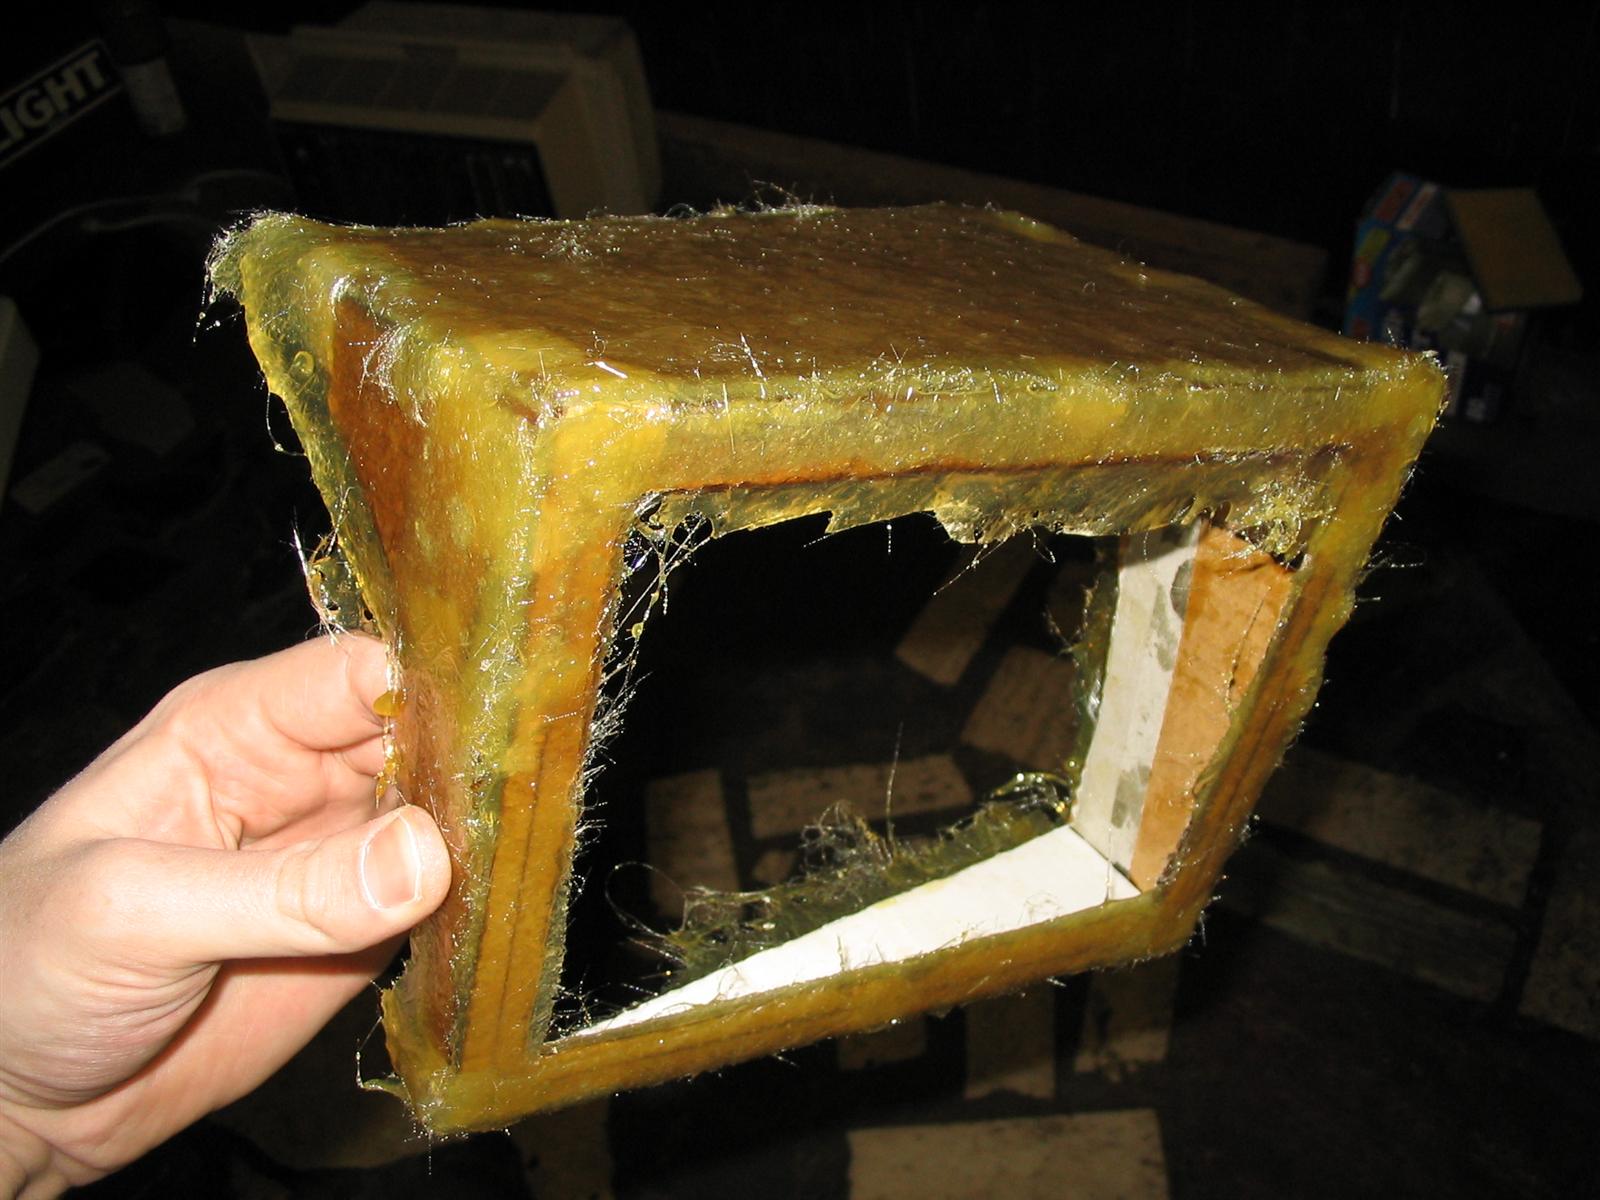
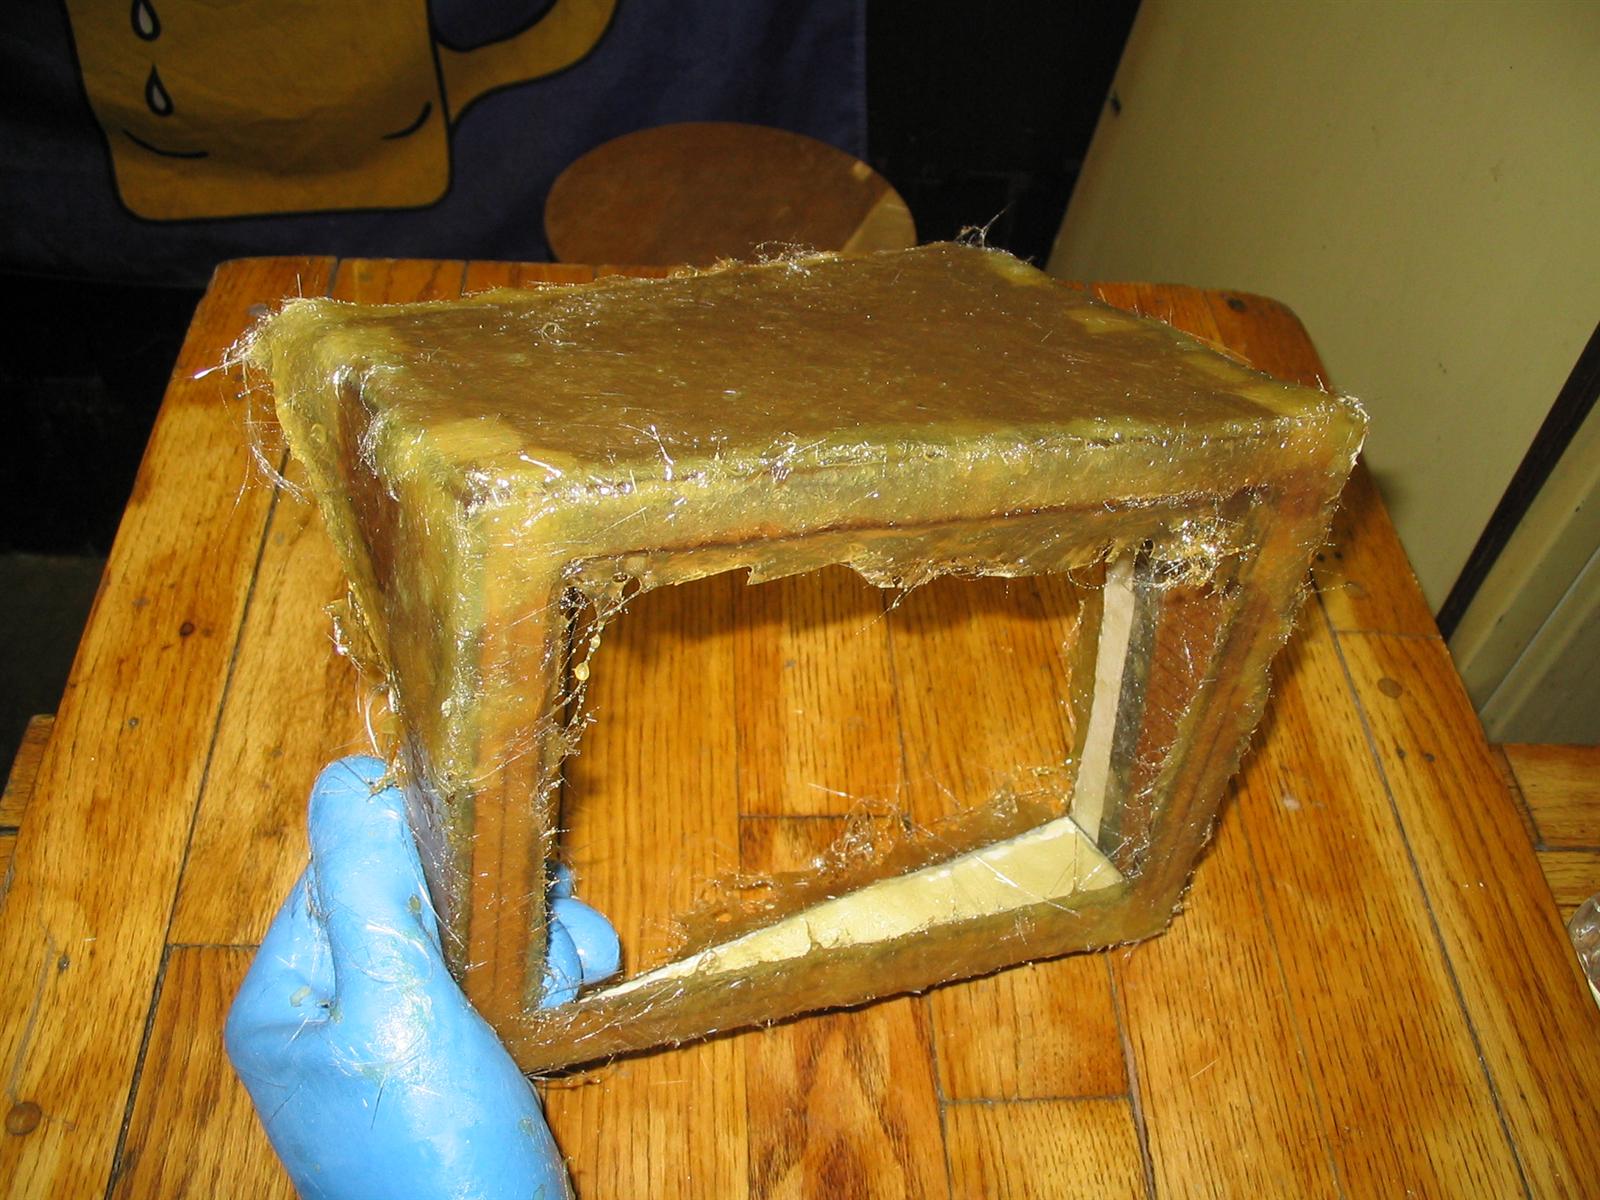
And finally, I began to lay glass (I chose coarse chop mat) on the template. This was done in stages, one layer at a time. I put down 3 layers on the outside of the shroud, and 2 on the interior.
 |
 |
 |
|
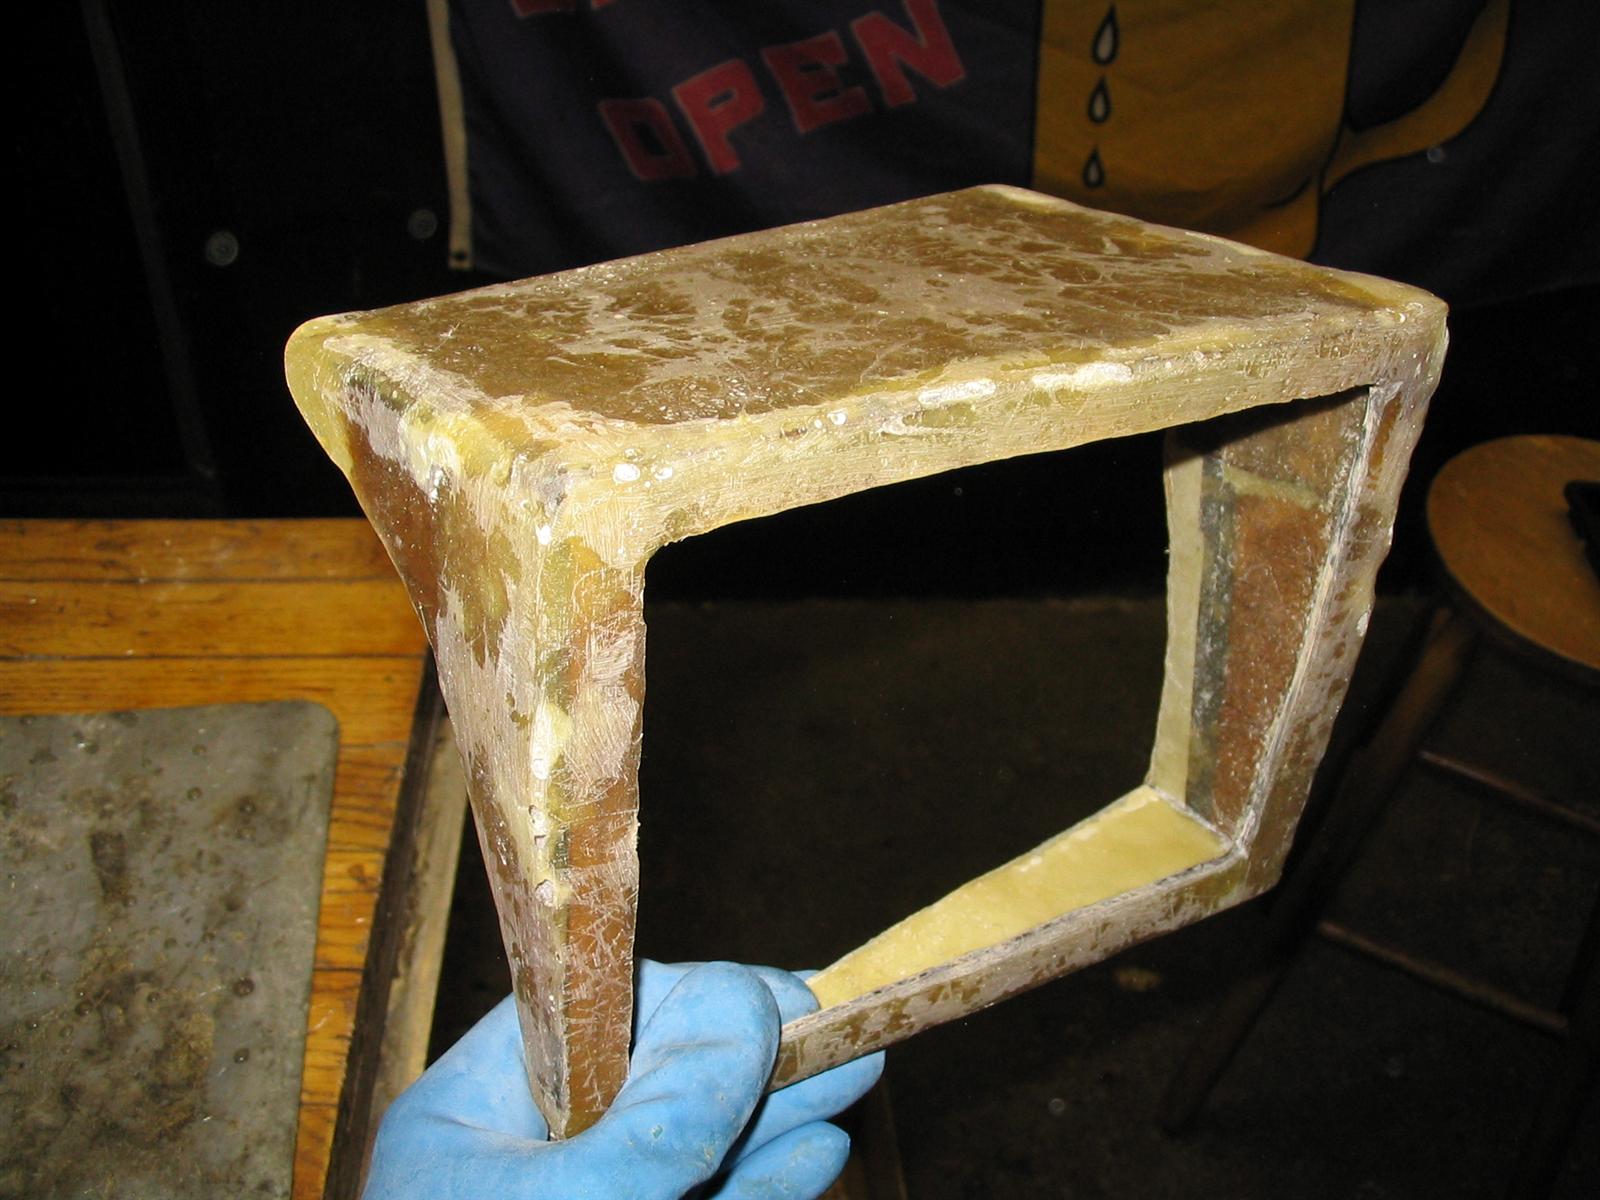
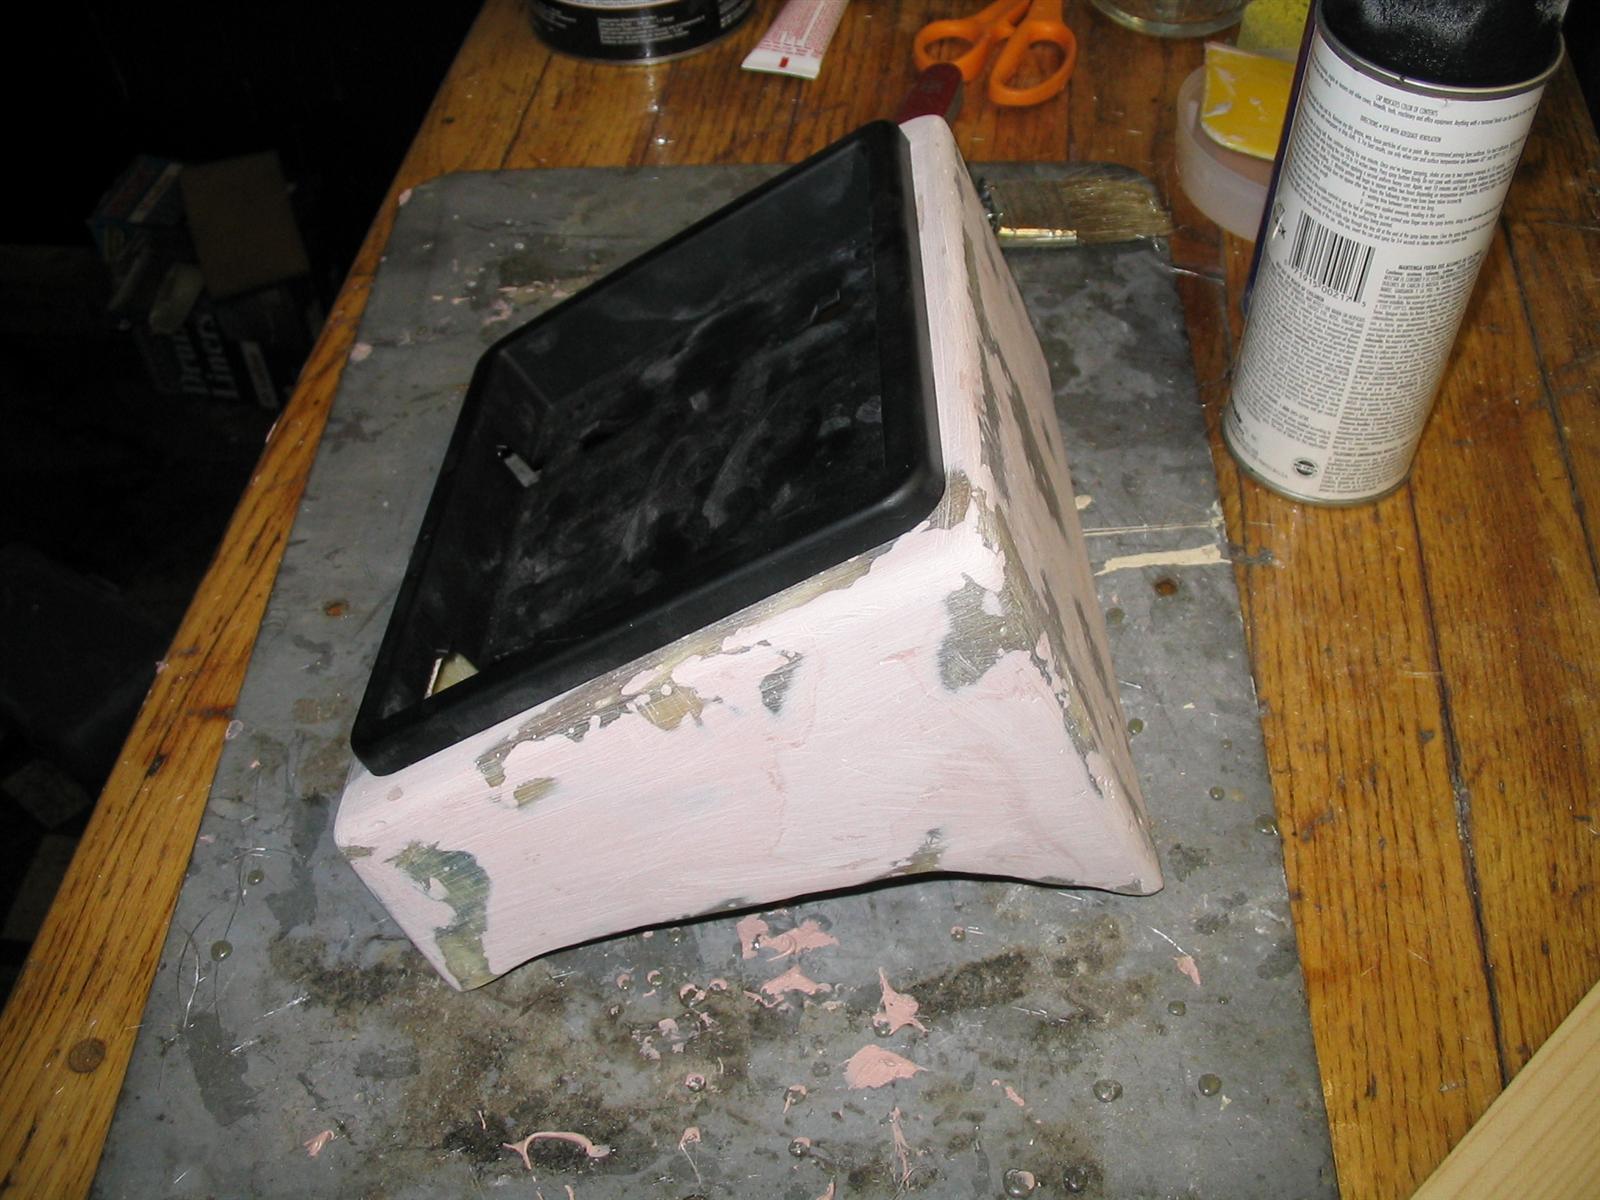
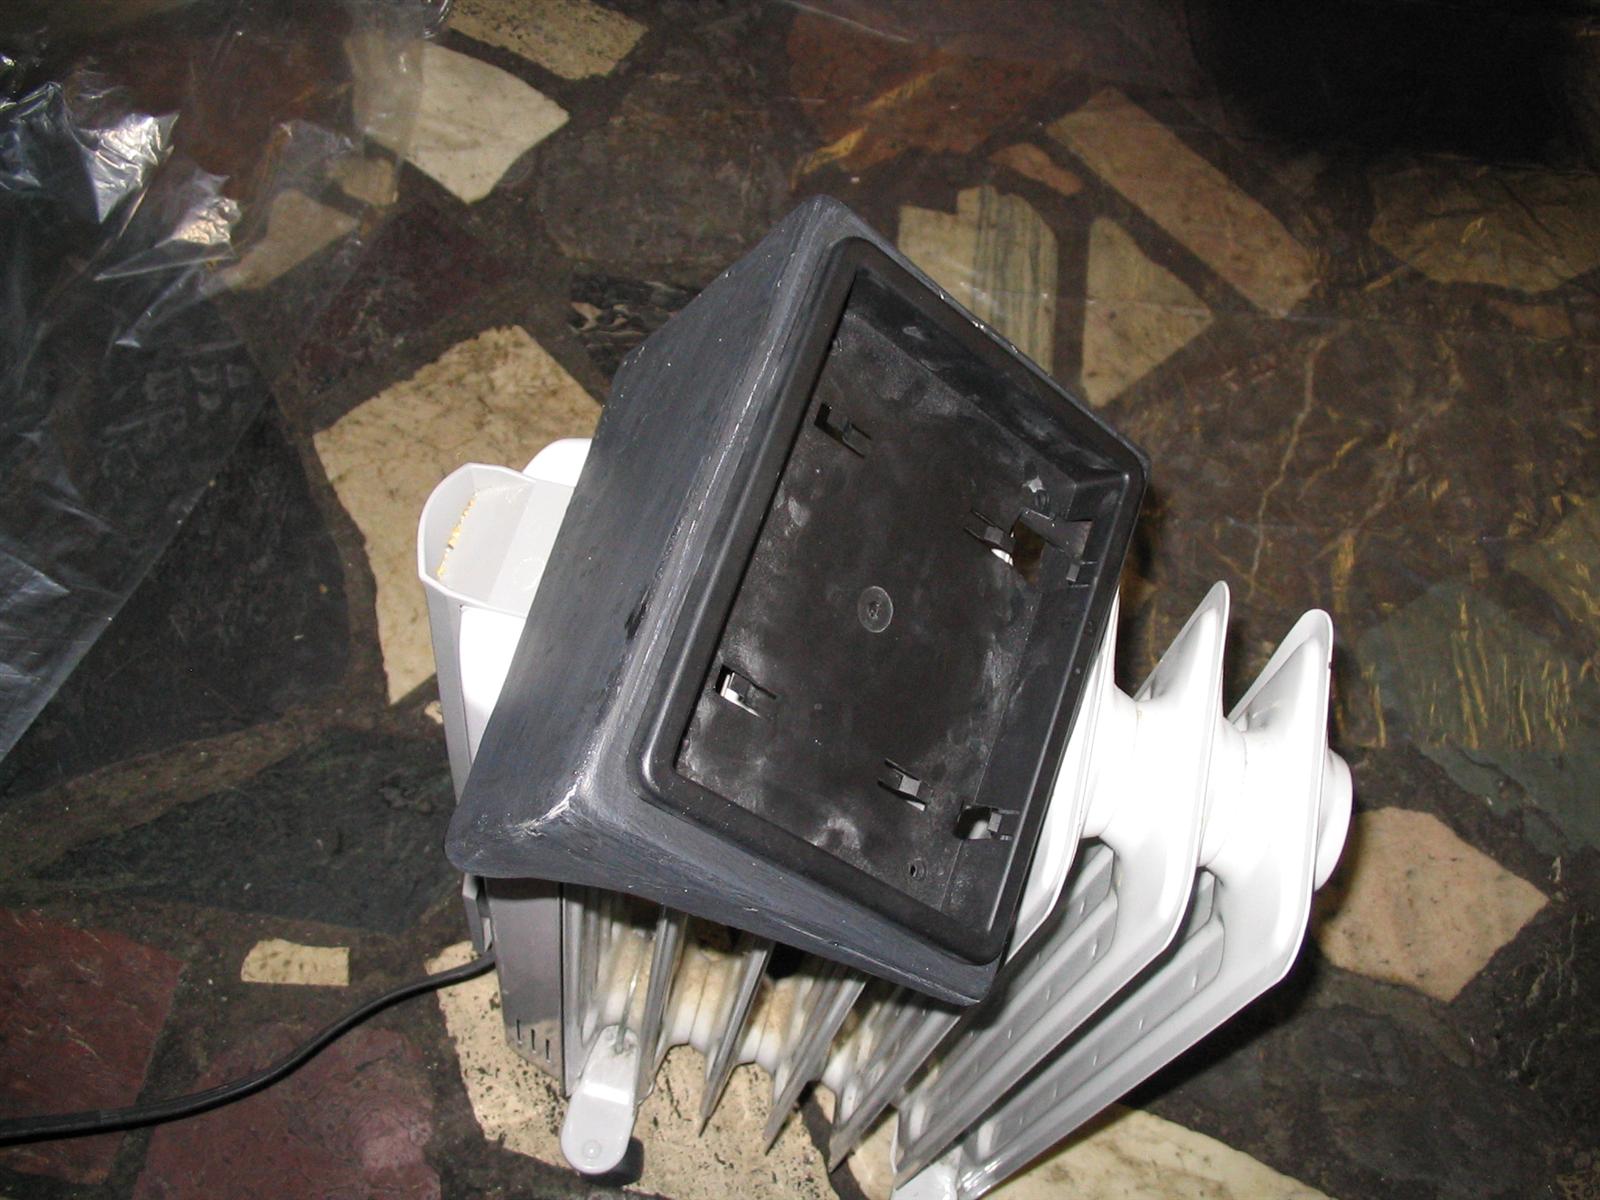
After curing the shround sufficiently on a portable oil radiator, it was time to begin correcting the shaping of the shroud. The opening was reshaped using a Dremel tool with a reinforced cutoff wheel and 60 grit sanding drum. The glass is very easy to work with and is easily shaped using the rotary tool. Once the edges were cleaned up, the piece was test fit again in the car to ensure proper alignment. Surface preparation was then performed with 120 grit paper and a sanding block.
 |
 |
 |
|
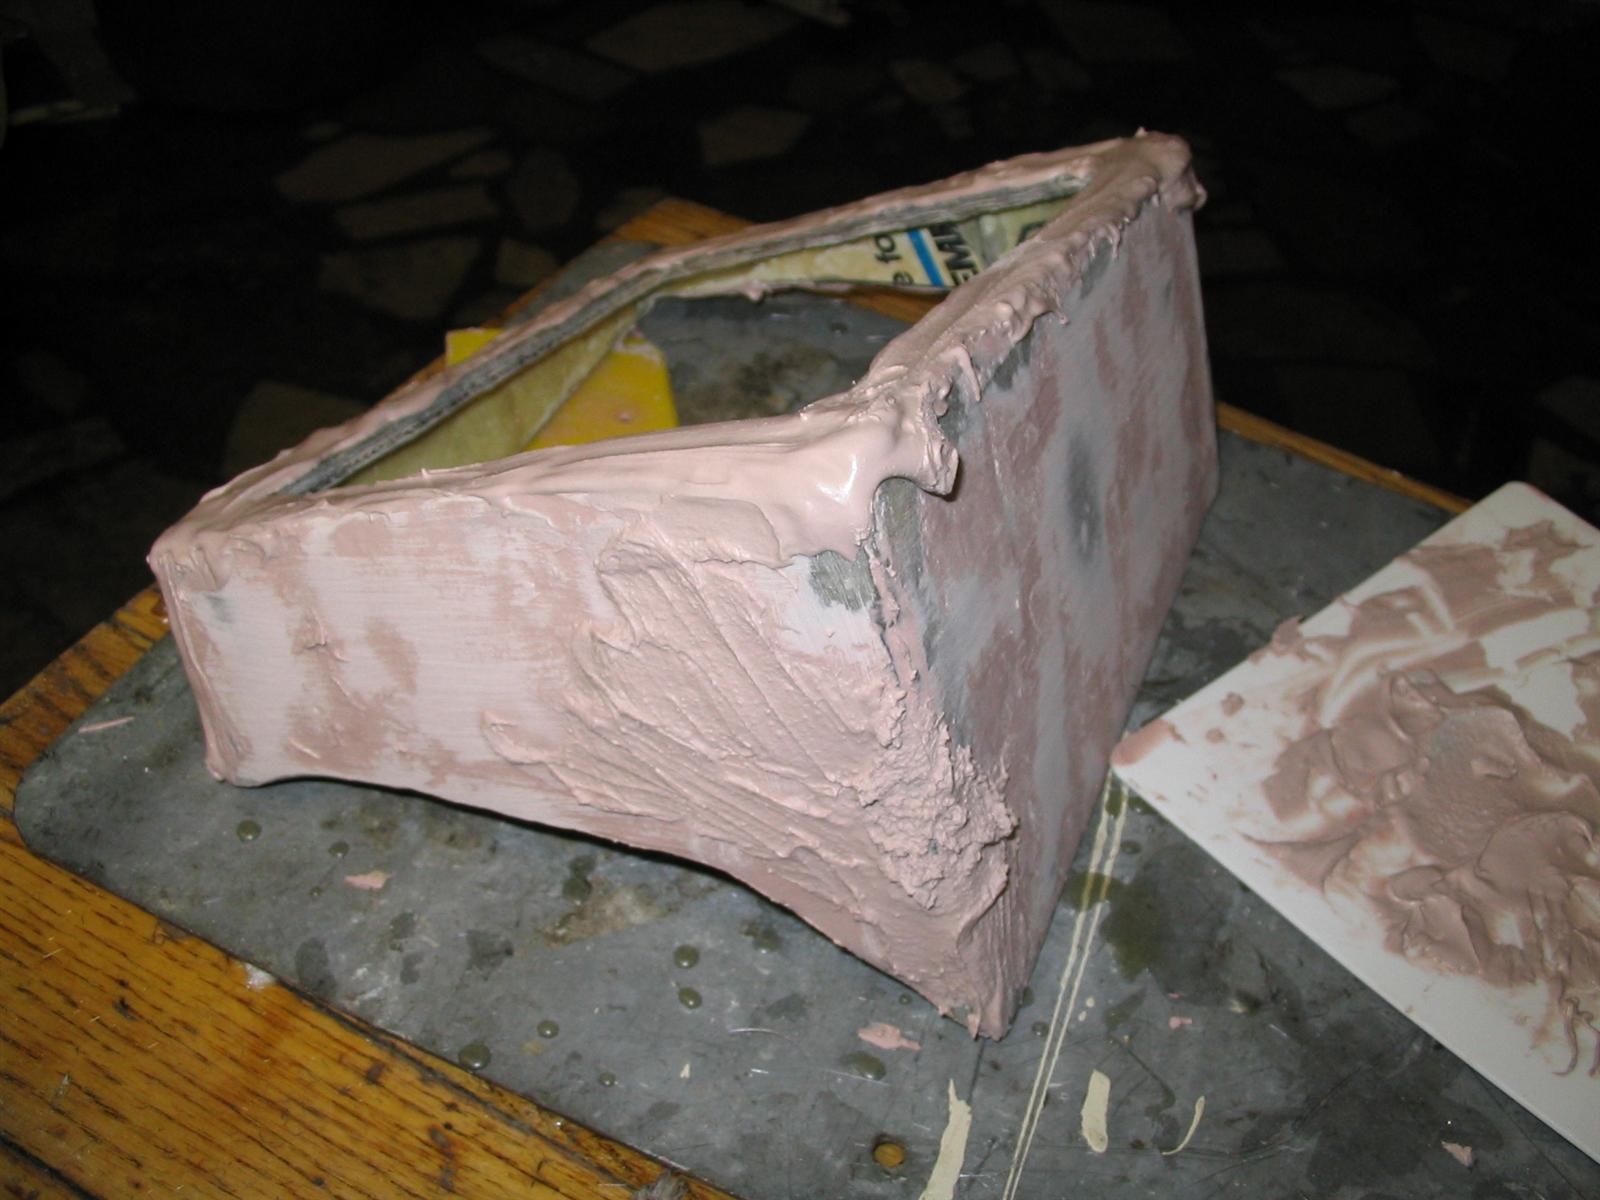
Next was to fill the low spots and prepare the final surface using body compound. I applied a liberal amount and then shaped using the sanding block with 120 grit again.
 |
 |
 |
|
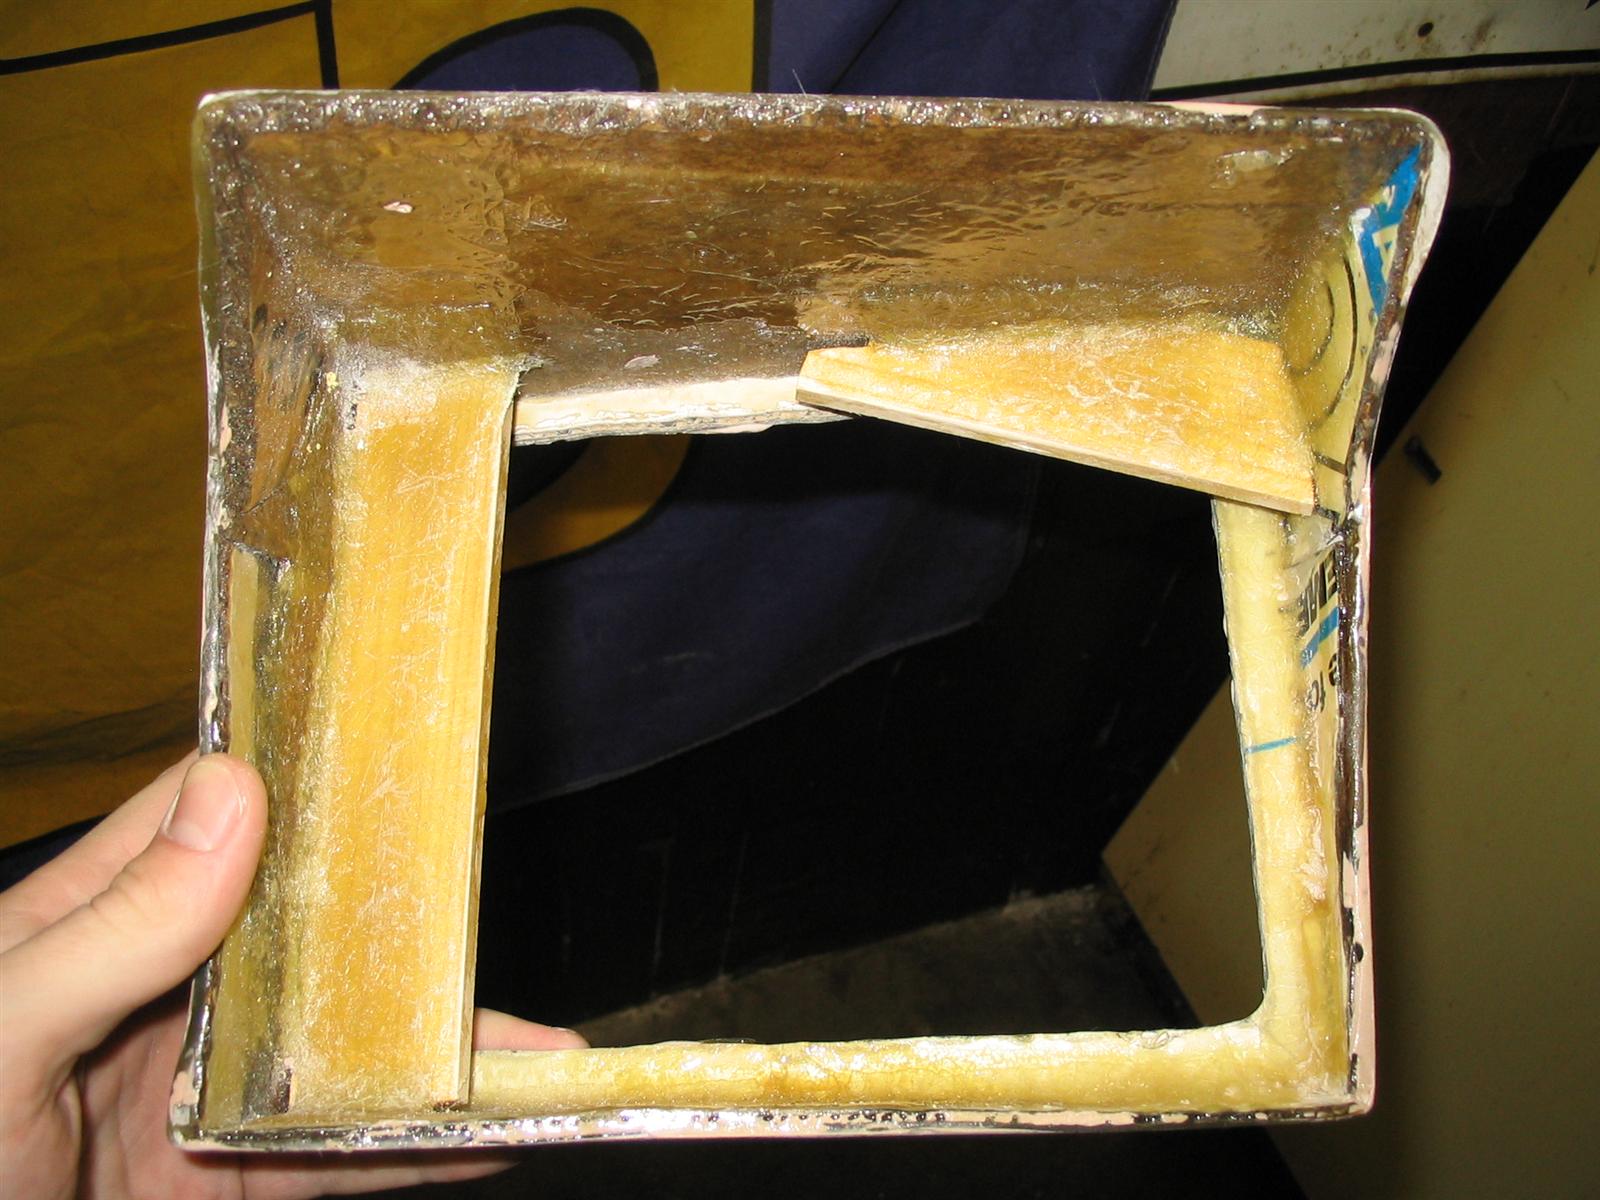
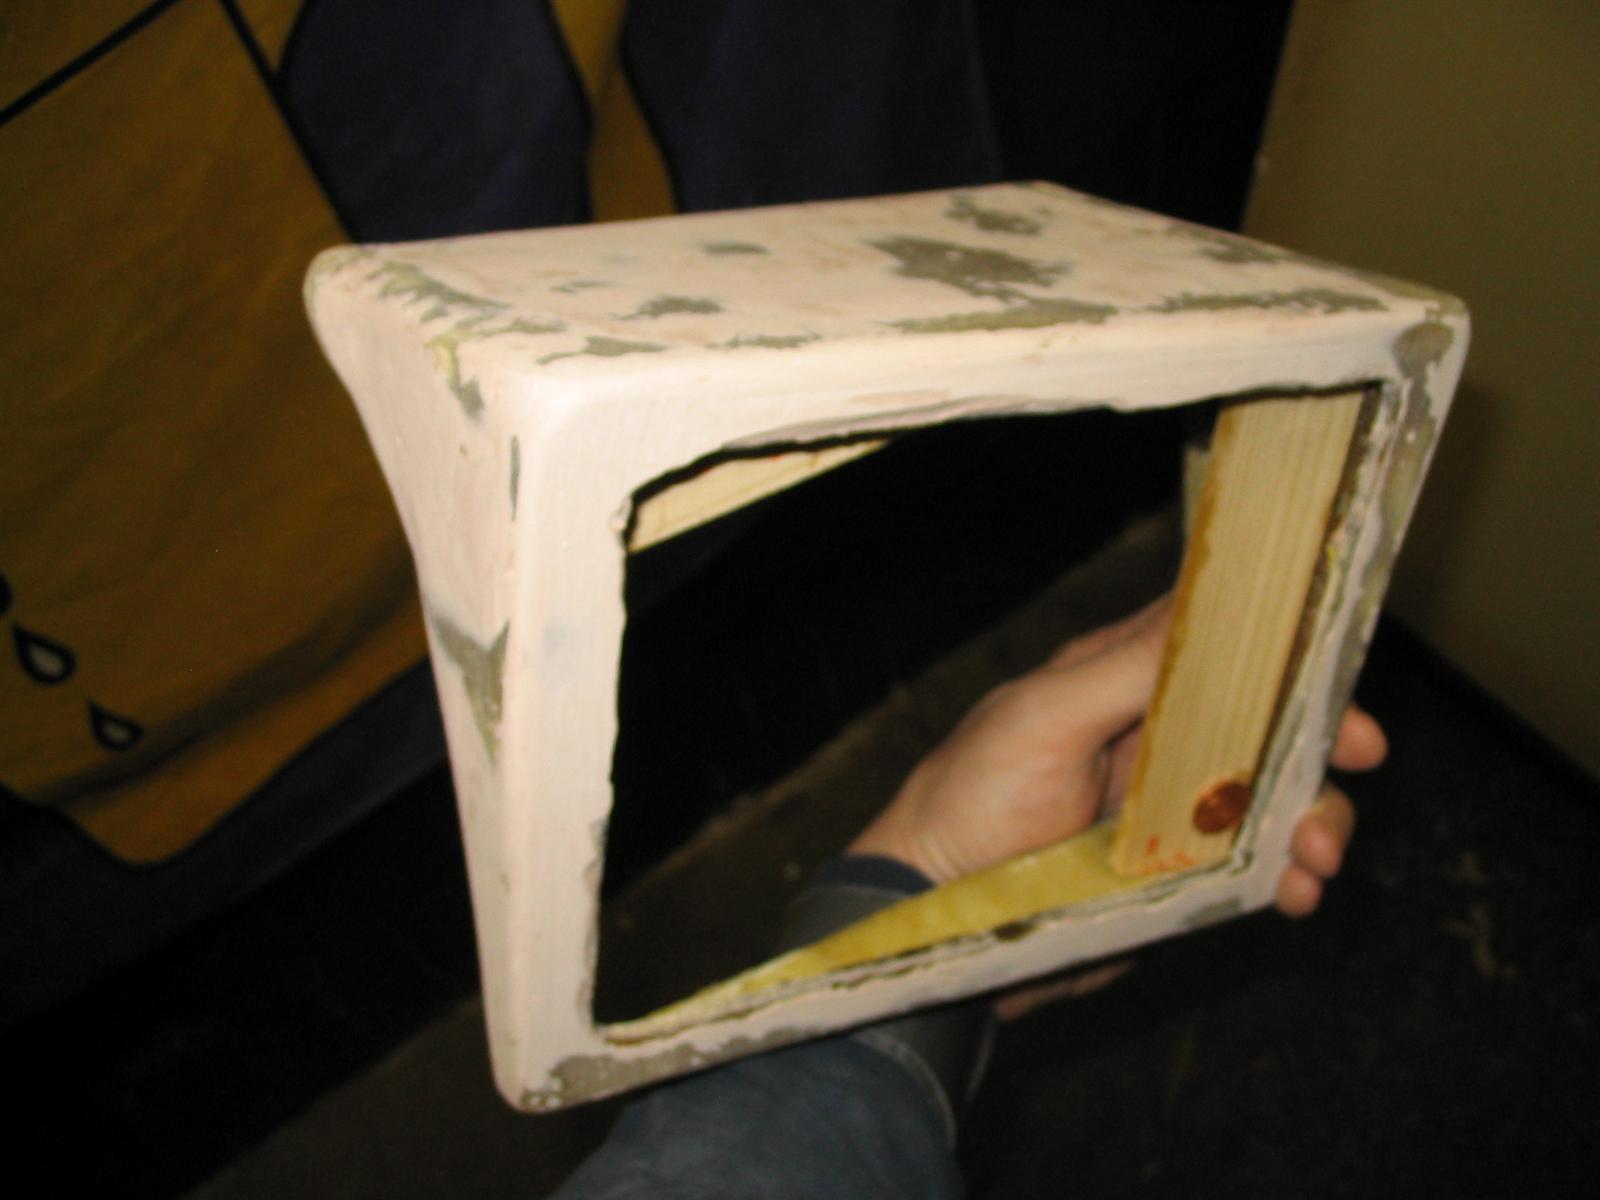
The next issue was the mounting provisions for the screen's plastic mounting bracket piece. I used pieces of an extra large paint stirrer (1 1/4" x 1/4" wood) cut to size and then secured them in place using a couple of layers of fiberglass strip.
 |
 |
 |
|
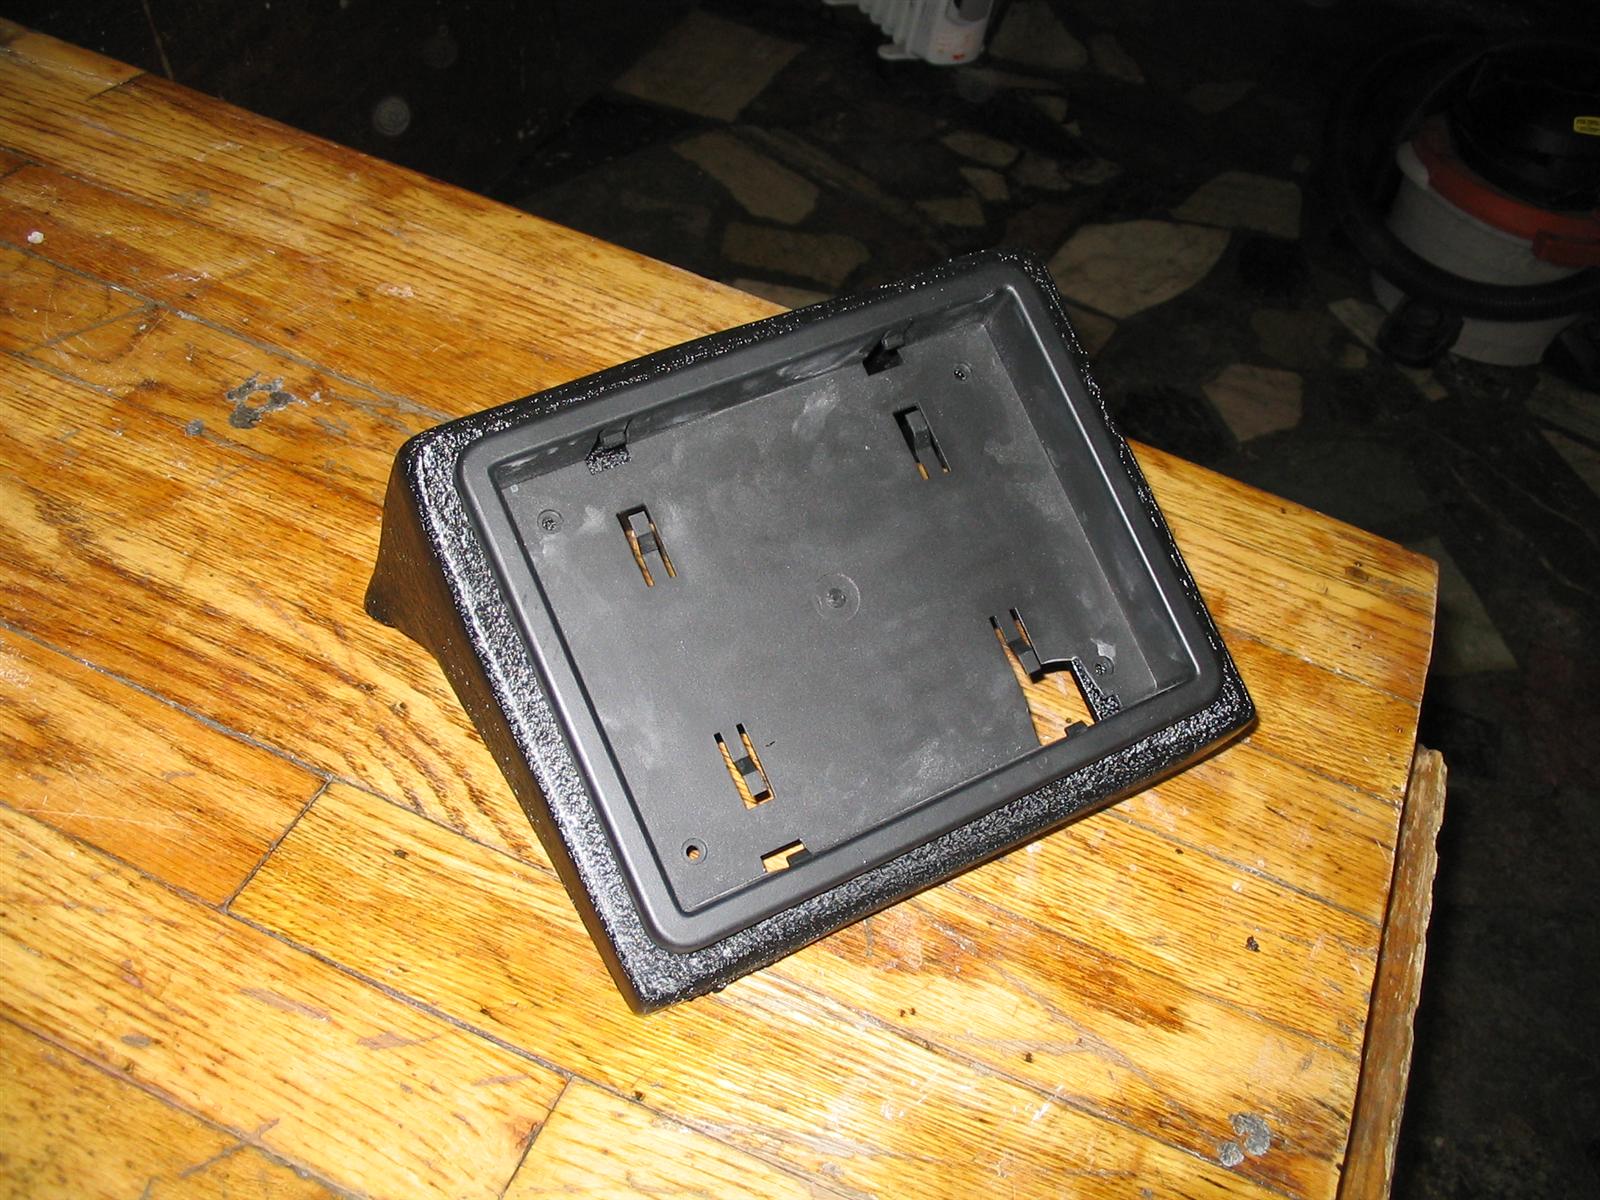
Finally, it was time to begin finishing the shroud. I started with two layers of high build sandable primer. This was followed with 600 grit wet sanding. For paint, I selected a specialty black wrinkle finish paint. The paint is applied in three heavy coats, and as it cures, it forms a wrinkle pattern, similar to the grain of the dash vinyl.
 |
 |
 |
|
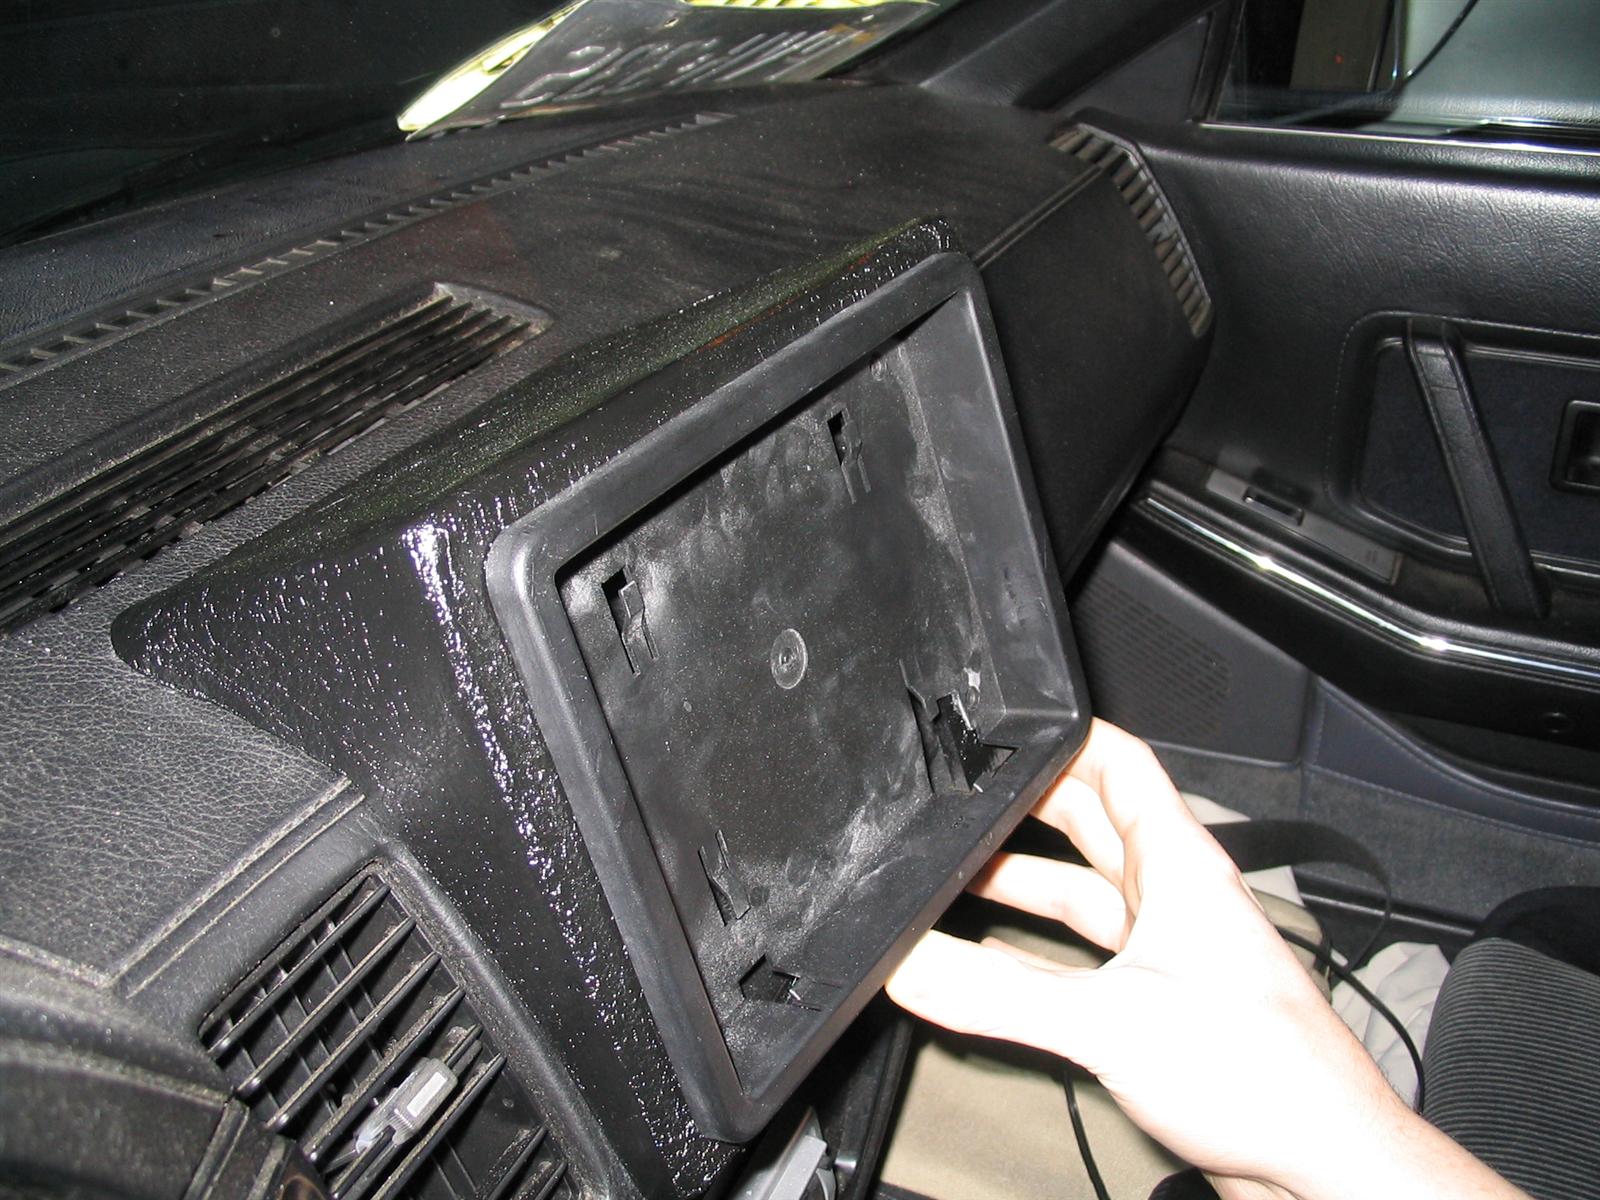
I am happy with the finished results. The match between the wrinkle paint finish is pretty accurate when the dash is clean and not dusty. I could have probably spent some more time perfecting the lines during the body filler stage, but that's just nitpicking.
 |
 |
 |
|
|
|||||
|
|||||