|
|||||
|
|||||
Rear Suspension Overhaul (Crossmember and Control Arm Bushings)
4/1/06 - 4/15/06 —
I'd been putting this big project off for quite a while, since I knew it would be a pain. But I had recently purchased a new 33 gallon Craftsman air compressor and some air tools, so I figured that I was ready. The plan was to install new polyurethane control arm and crossmember bushings. I had already previously installed a set of Tokico Blues and Gary's Poly Spring Seats, so this new stuff would round out the package.
In preparation for this, I checked if I could loosen the control arm bolts. I only could on one. I decided to drop the crossmember, control arms, and differential together. Before you undo the inner bolts, note their orientation, as they are adjustable to control the rear alignment.
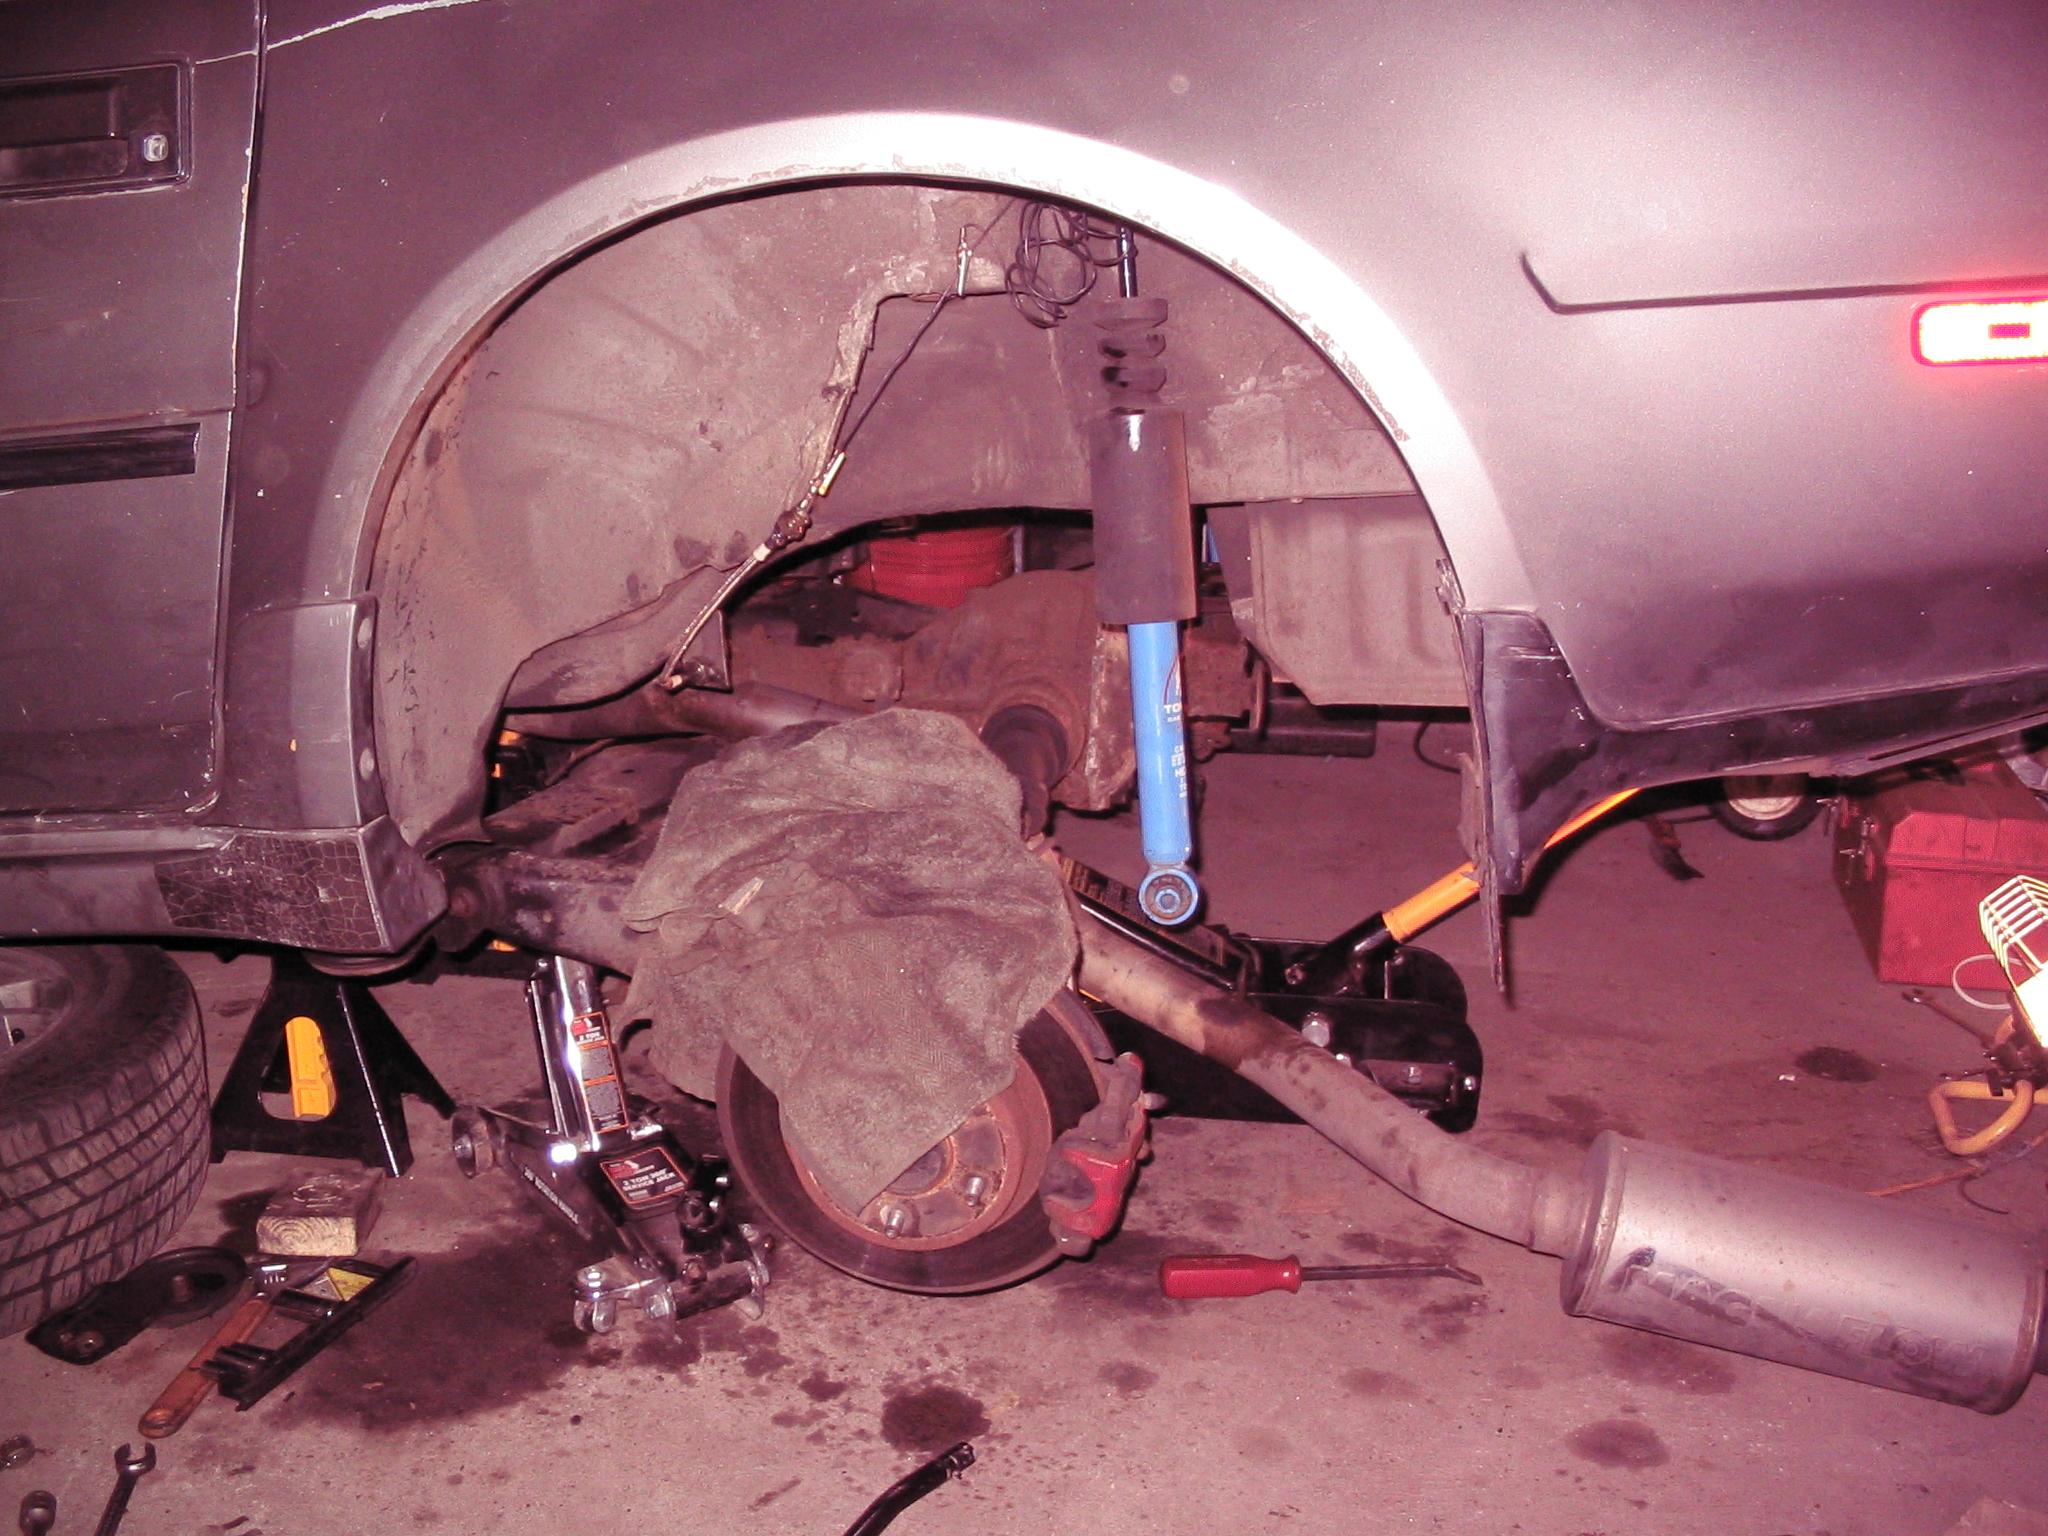
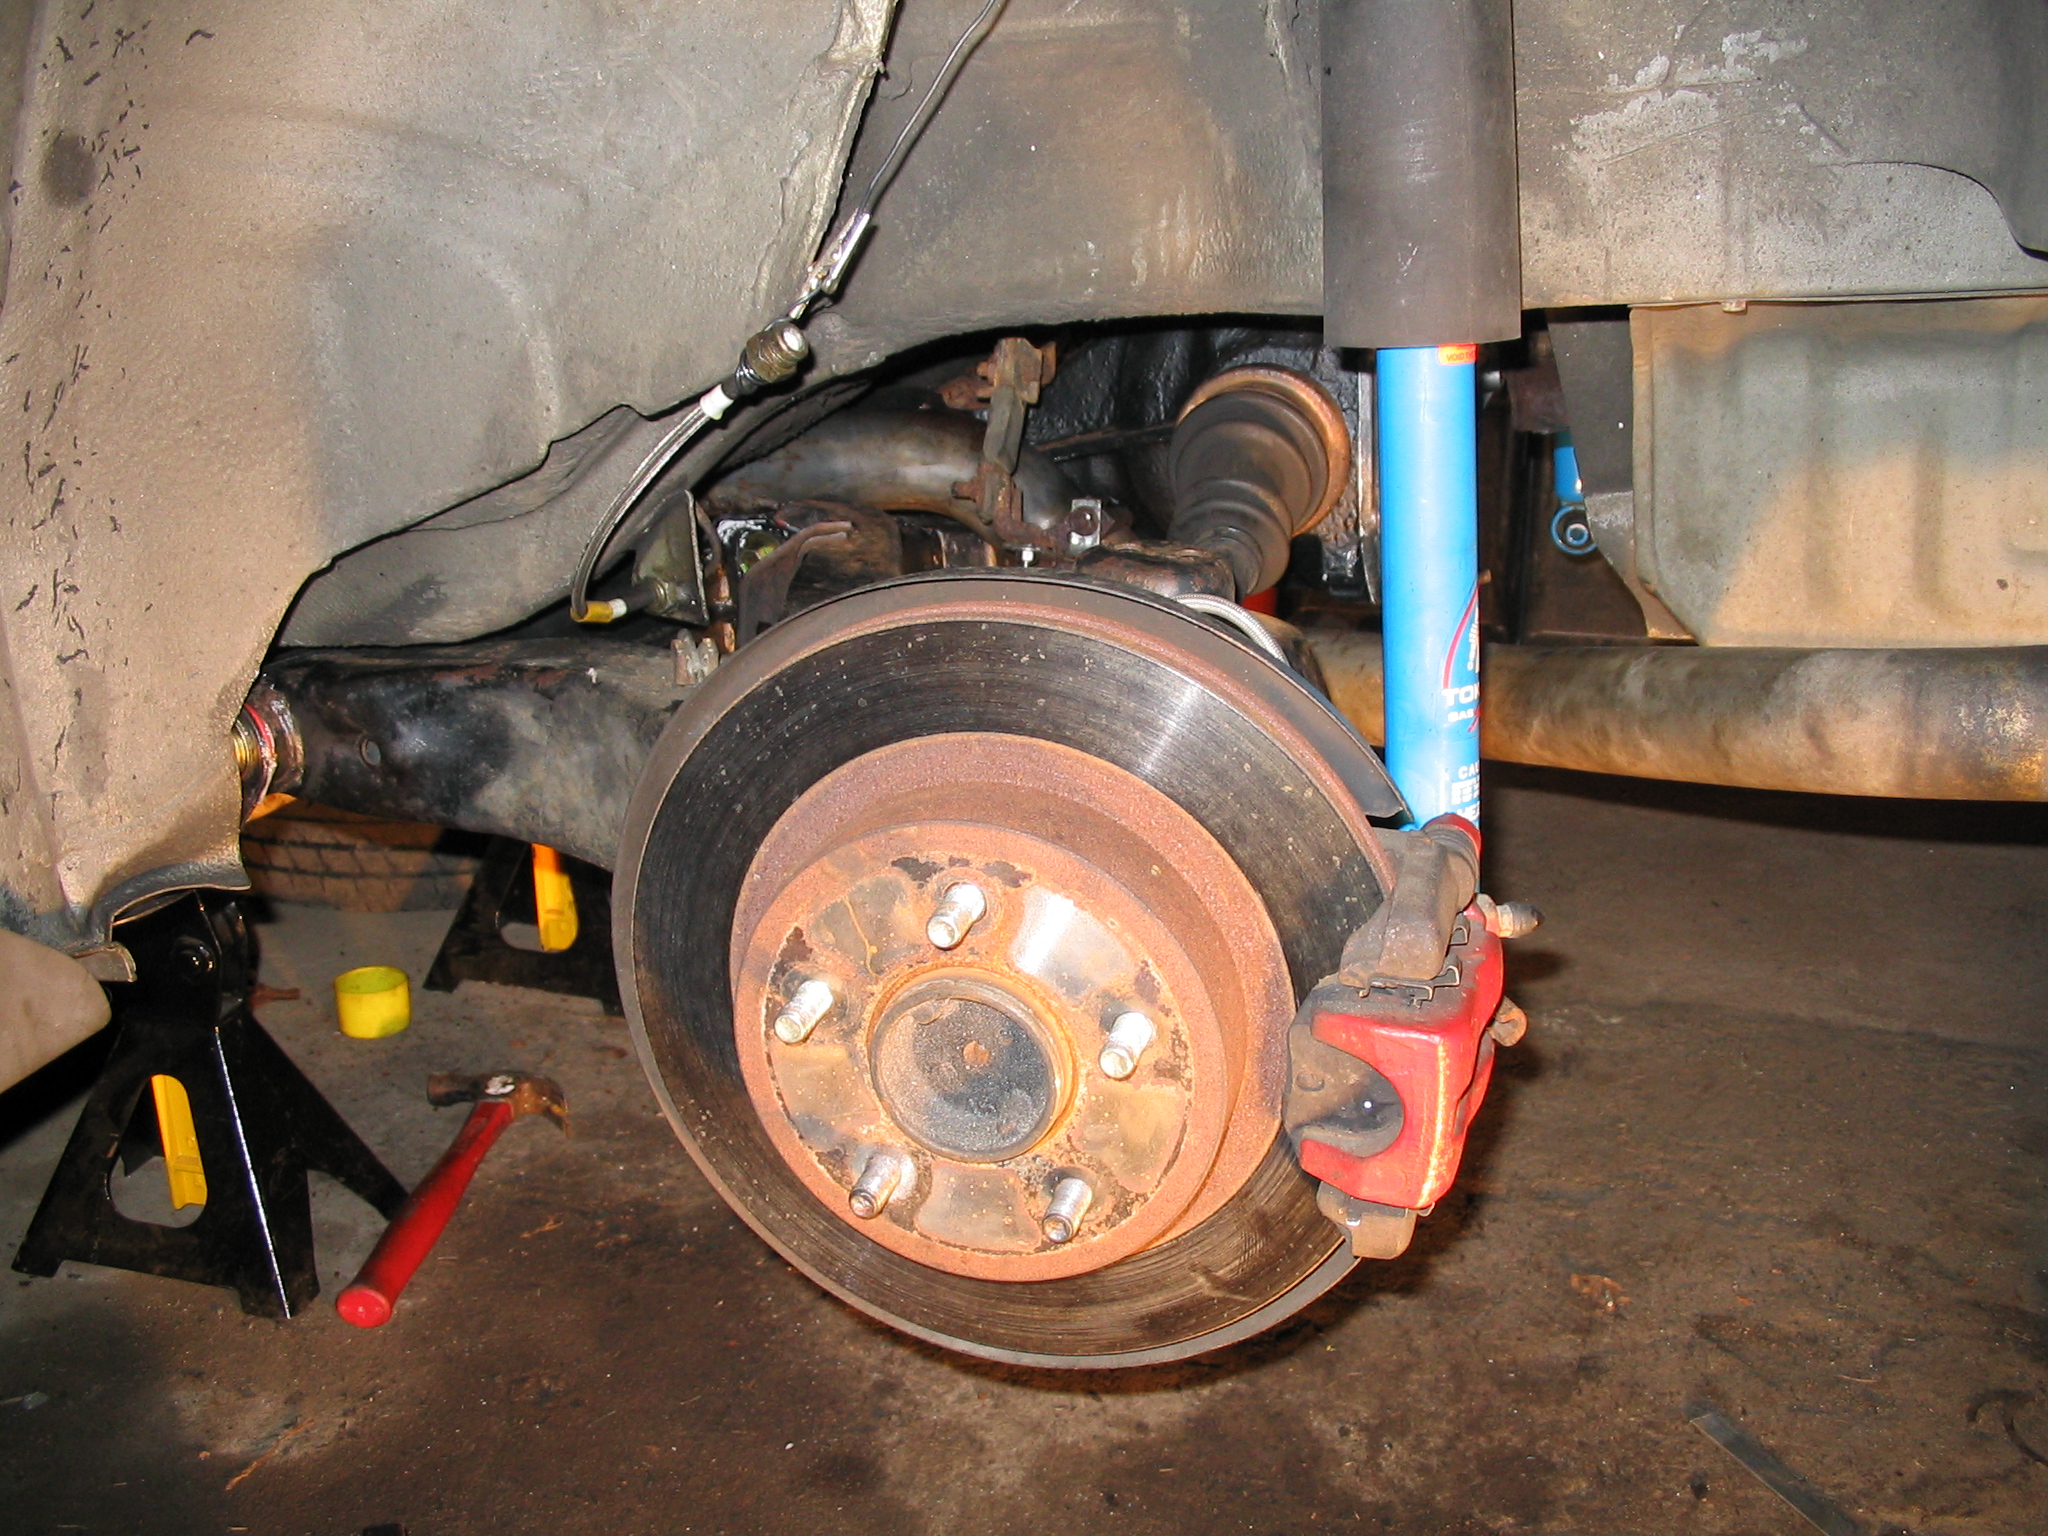
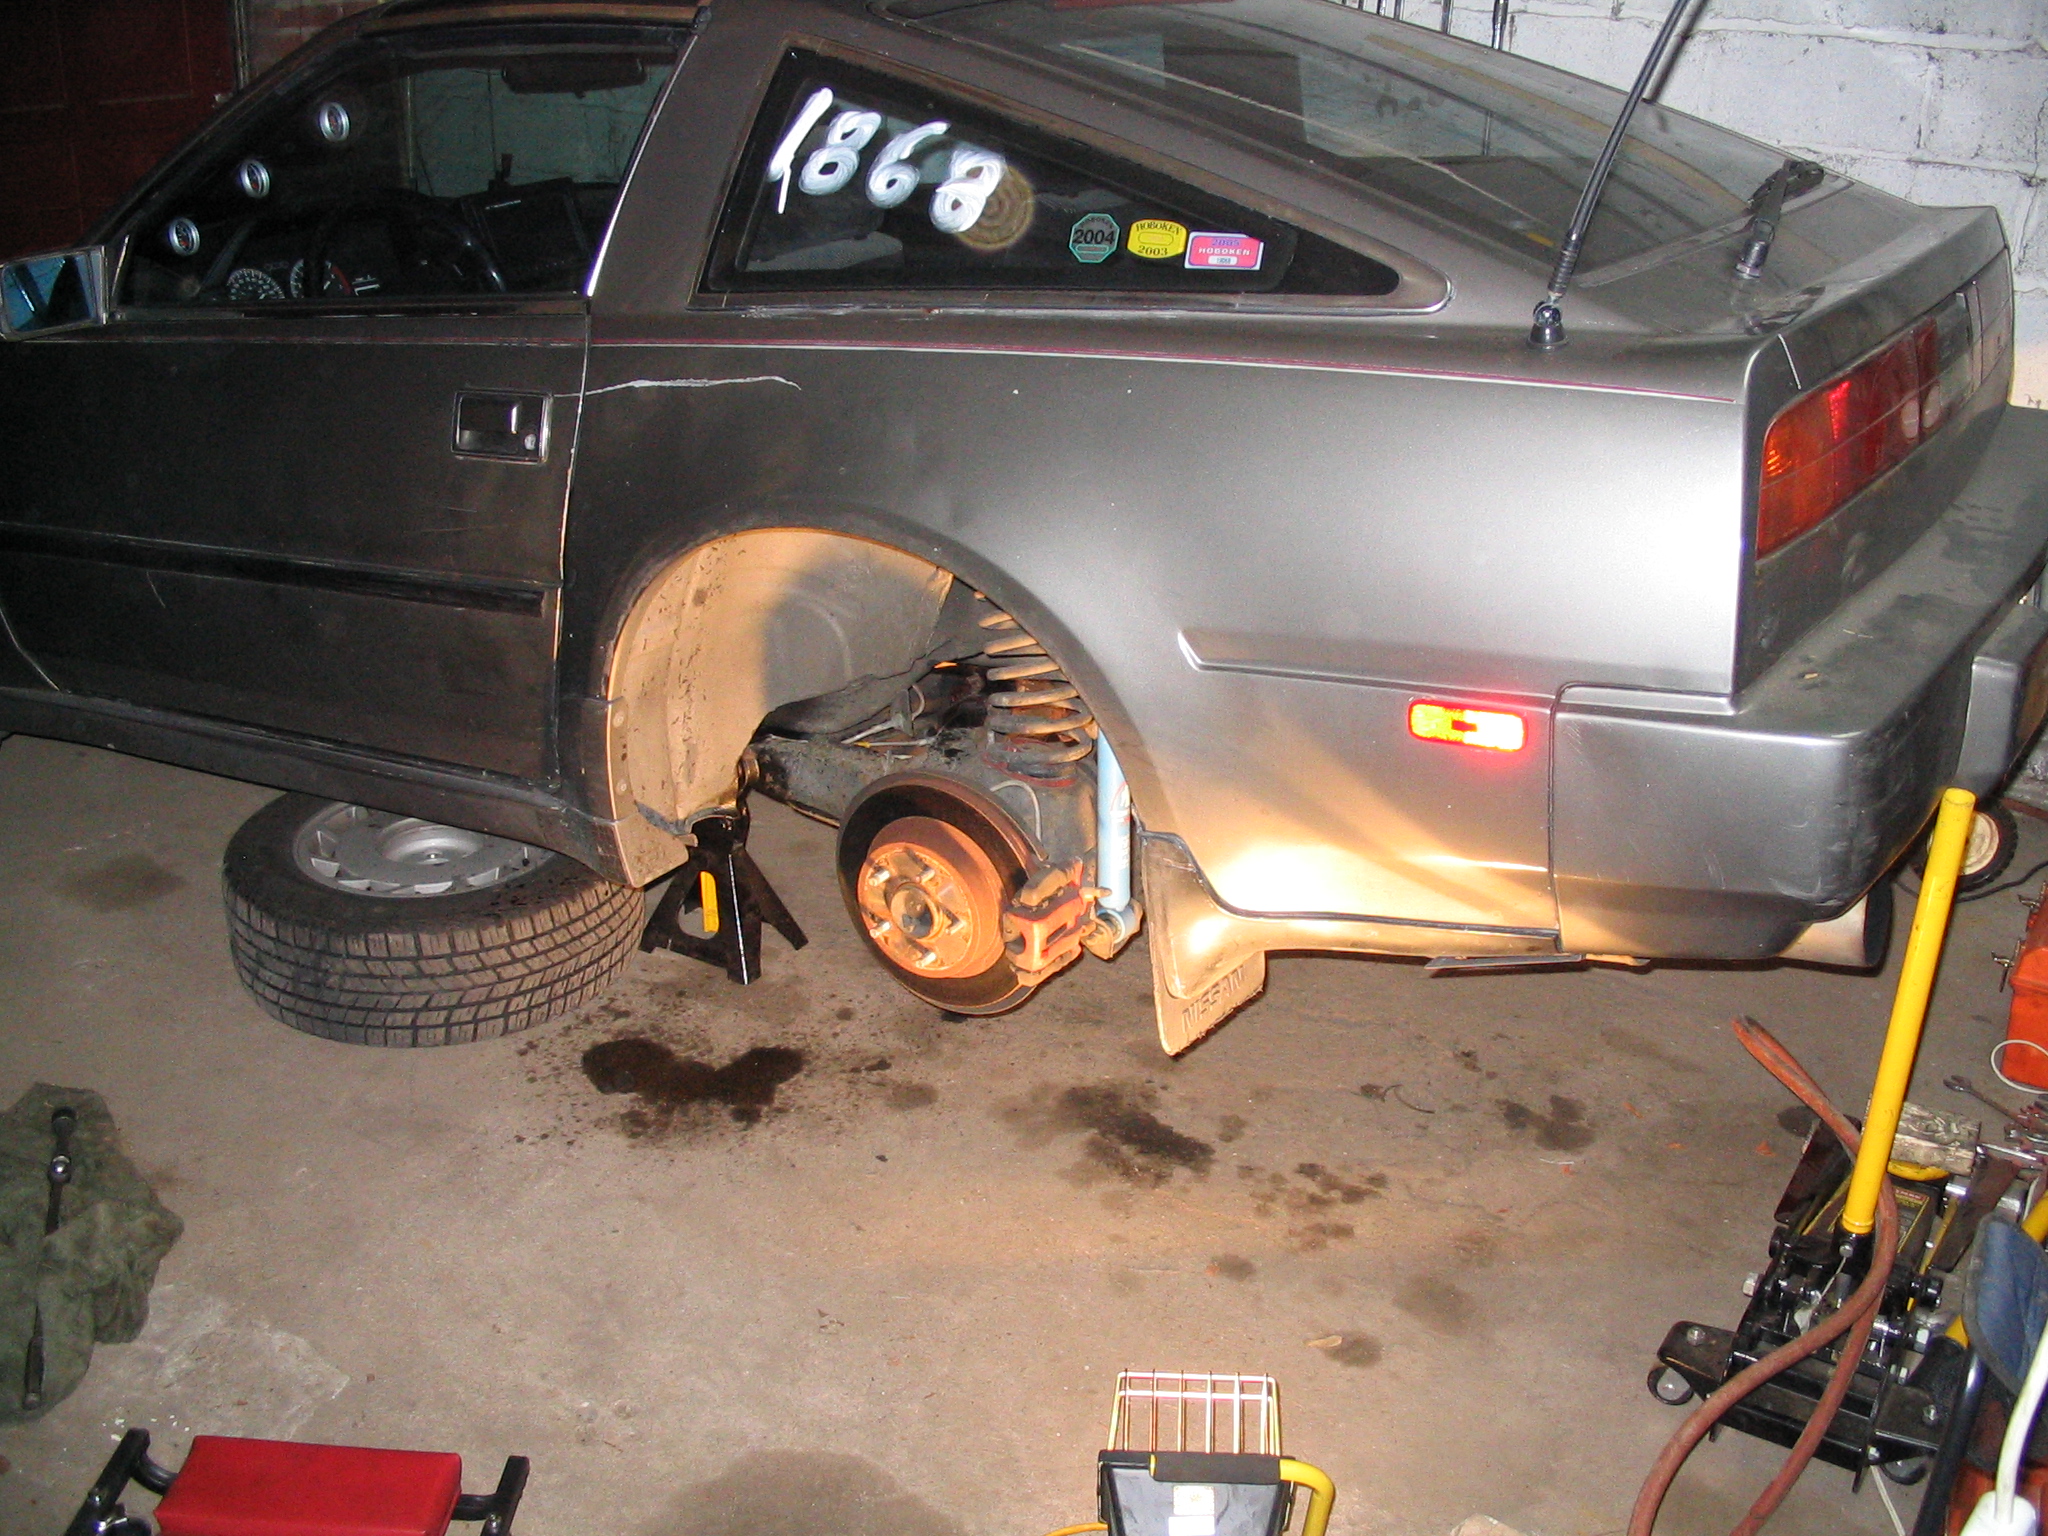 Start by putting the rear up on jackstands. Put it as high as you can to improve working space. |
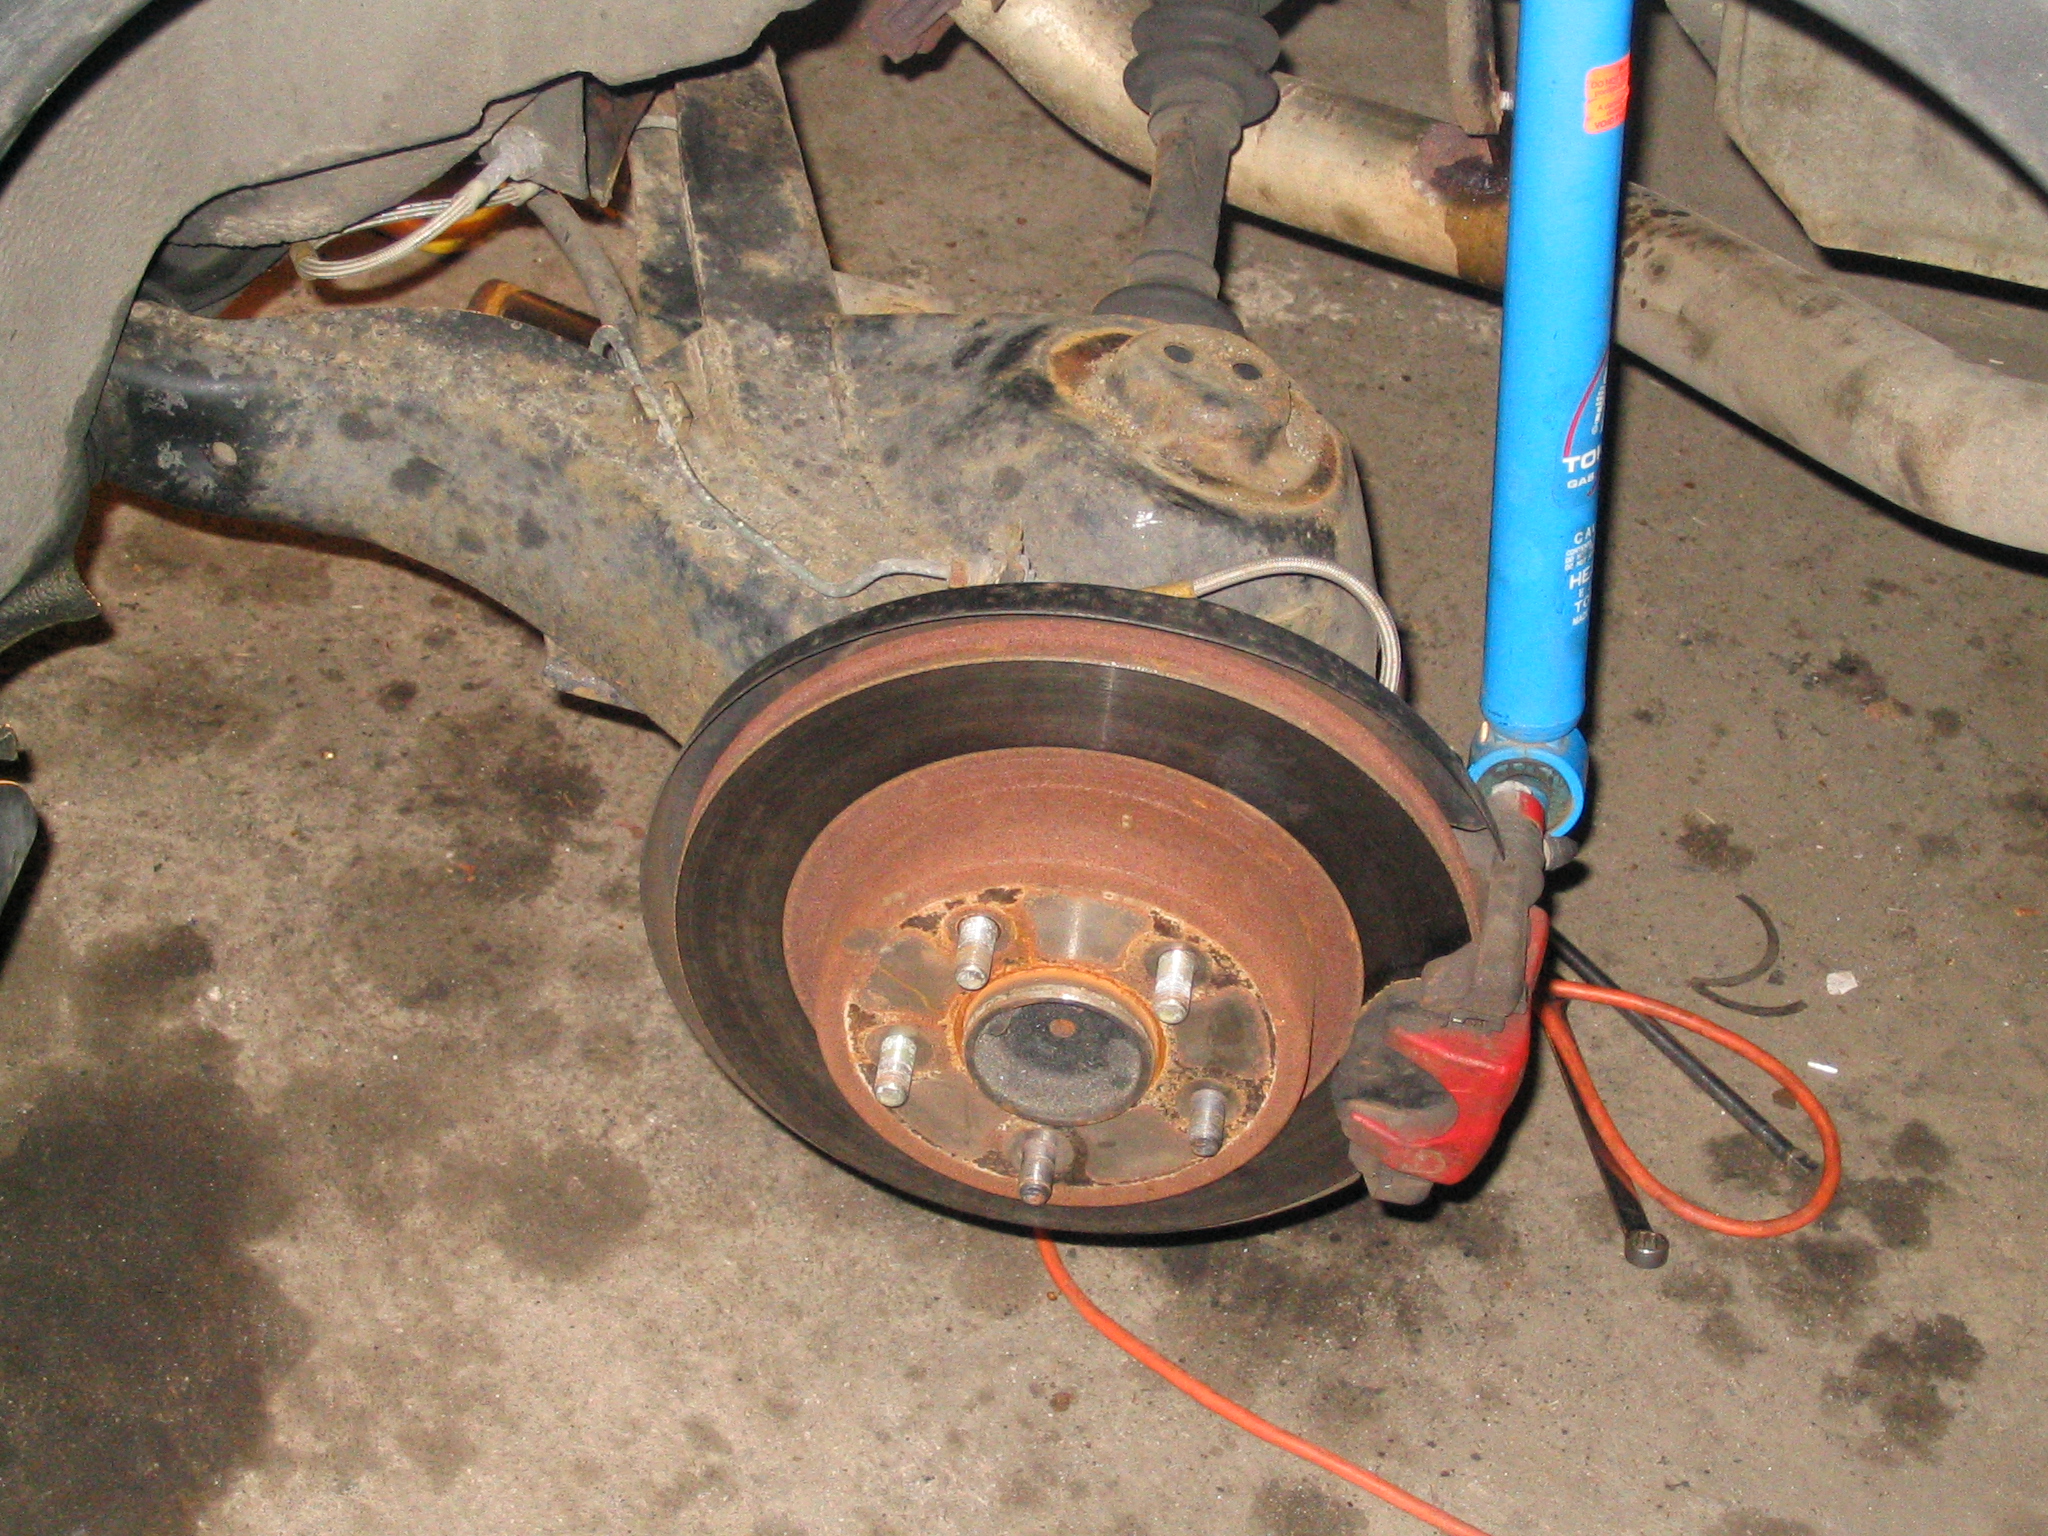 Next unbolt the bottom of the shocks and remove the springs |
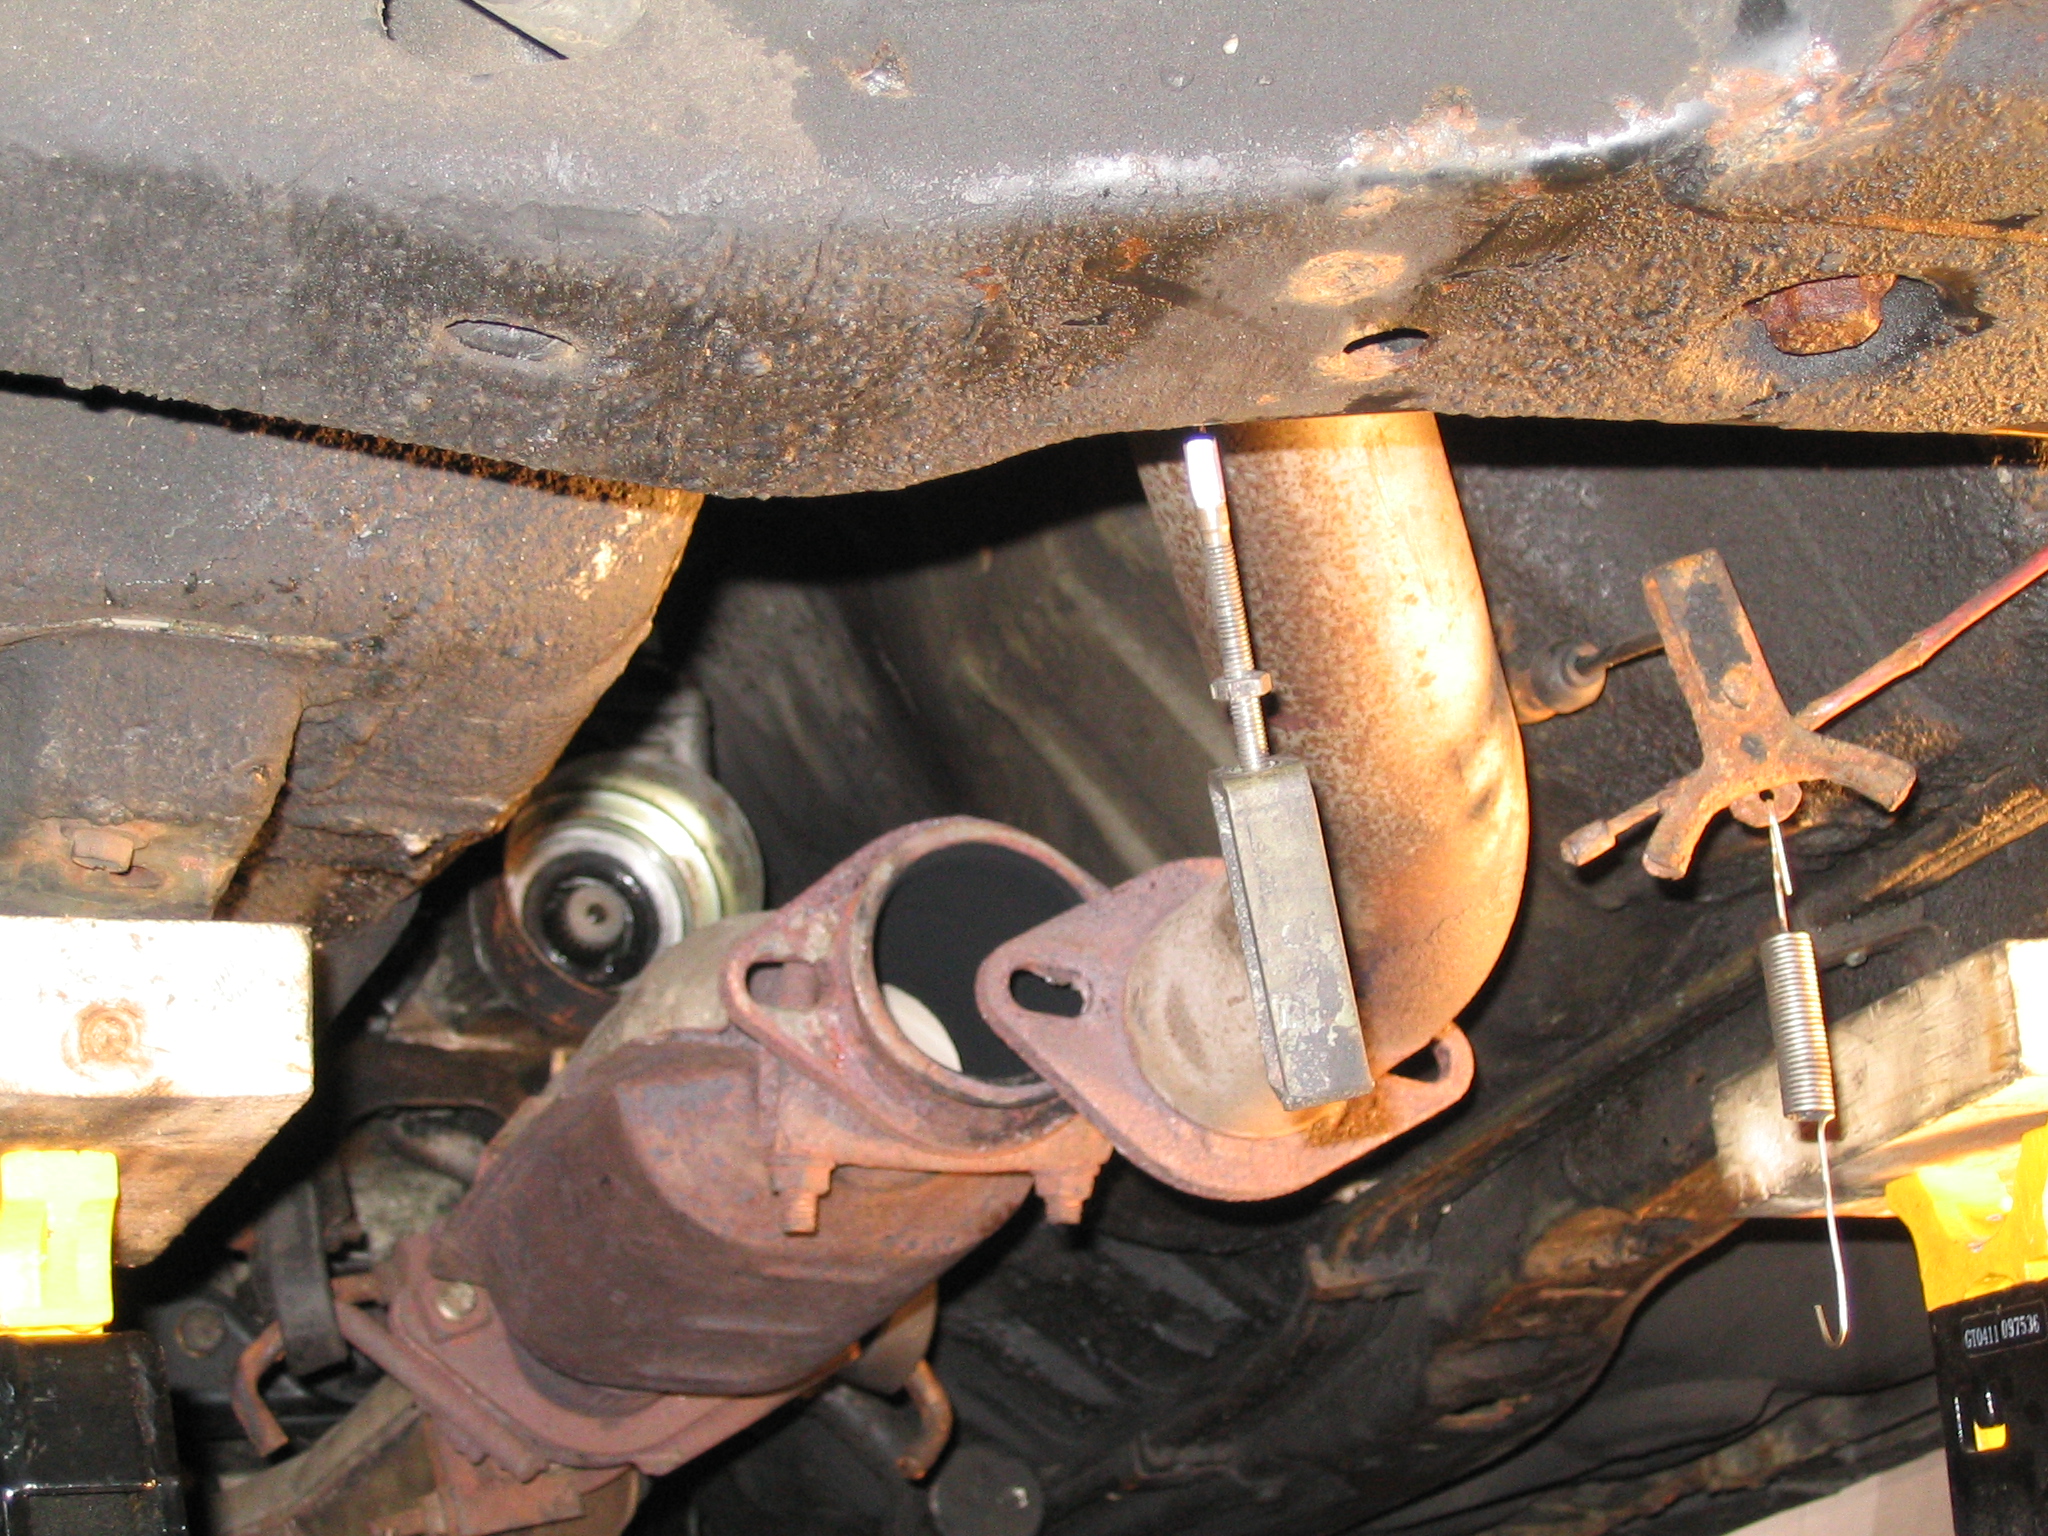 Unbolt the exhaust, remove the driveshaft, and disconnect the parking brake cabling |
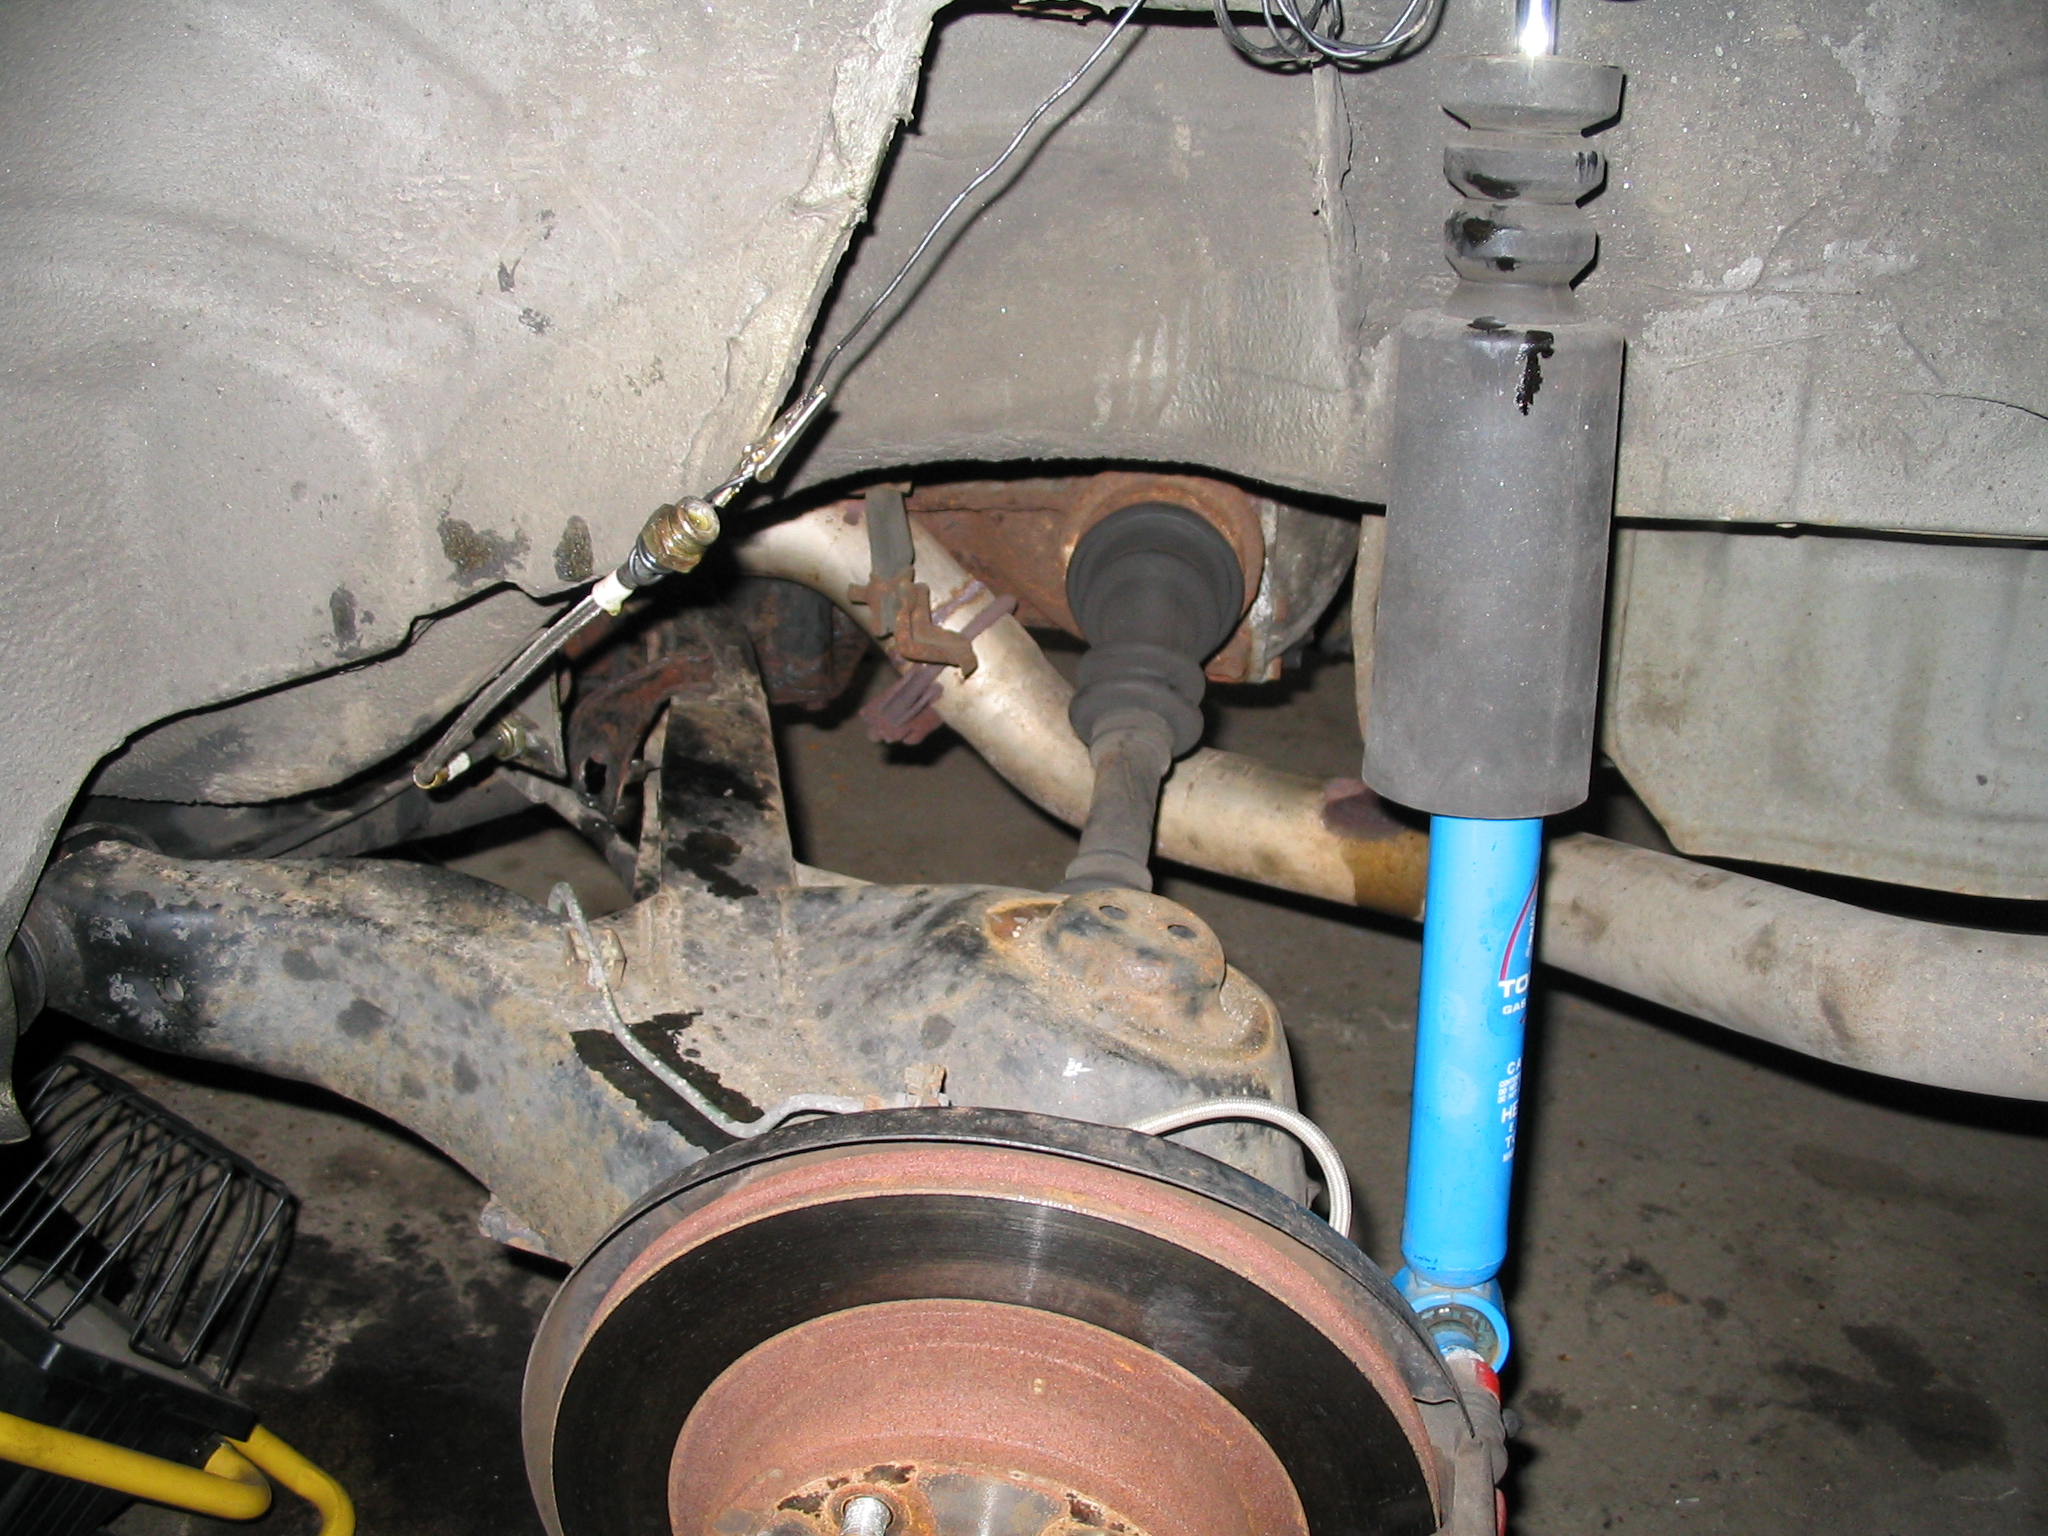 Disconnect brake lines and wire up out of the way to minimize dripping |
At this point, I found that my 2 year old CM 2.5" cat-back exhaust had merged from 2 pieces to a single piece. I would have to remove it with the crossmember/control arms/differential as well.
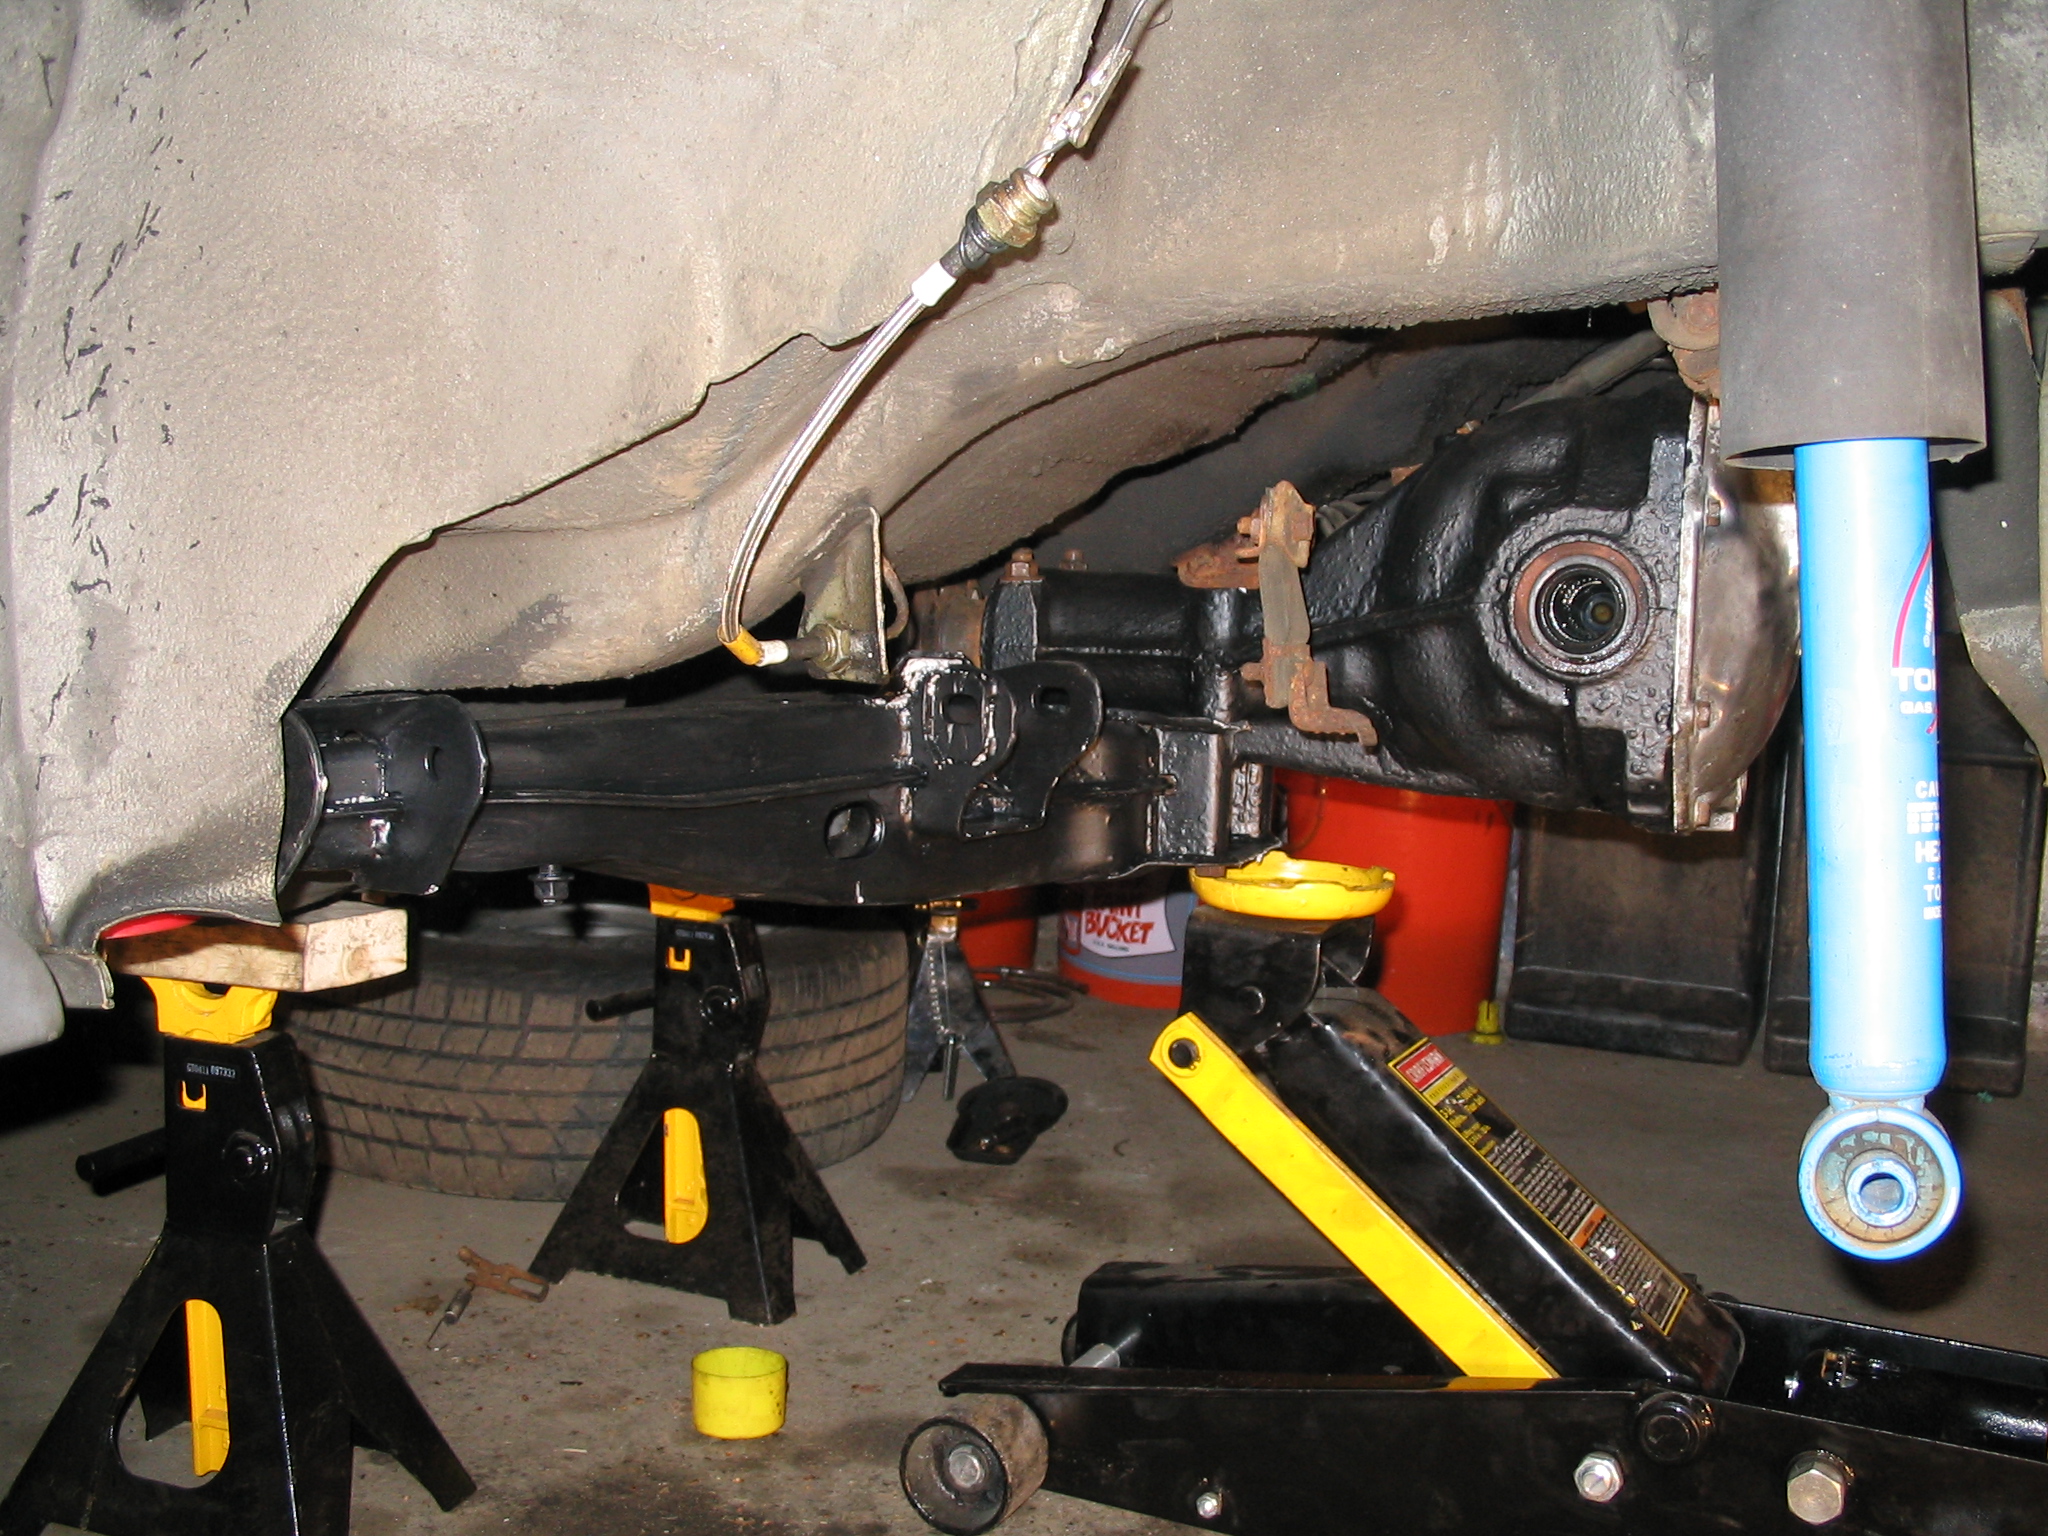
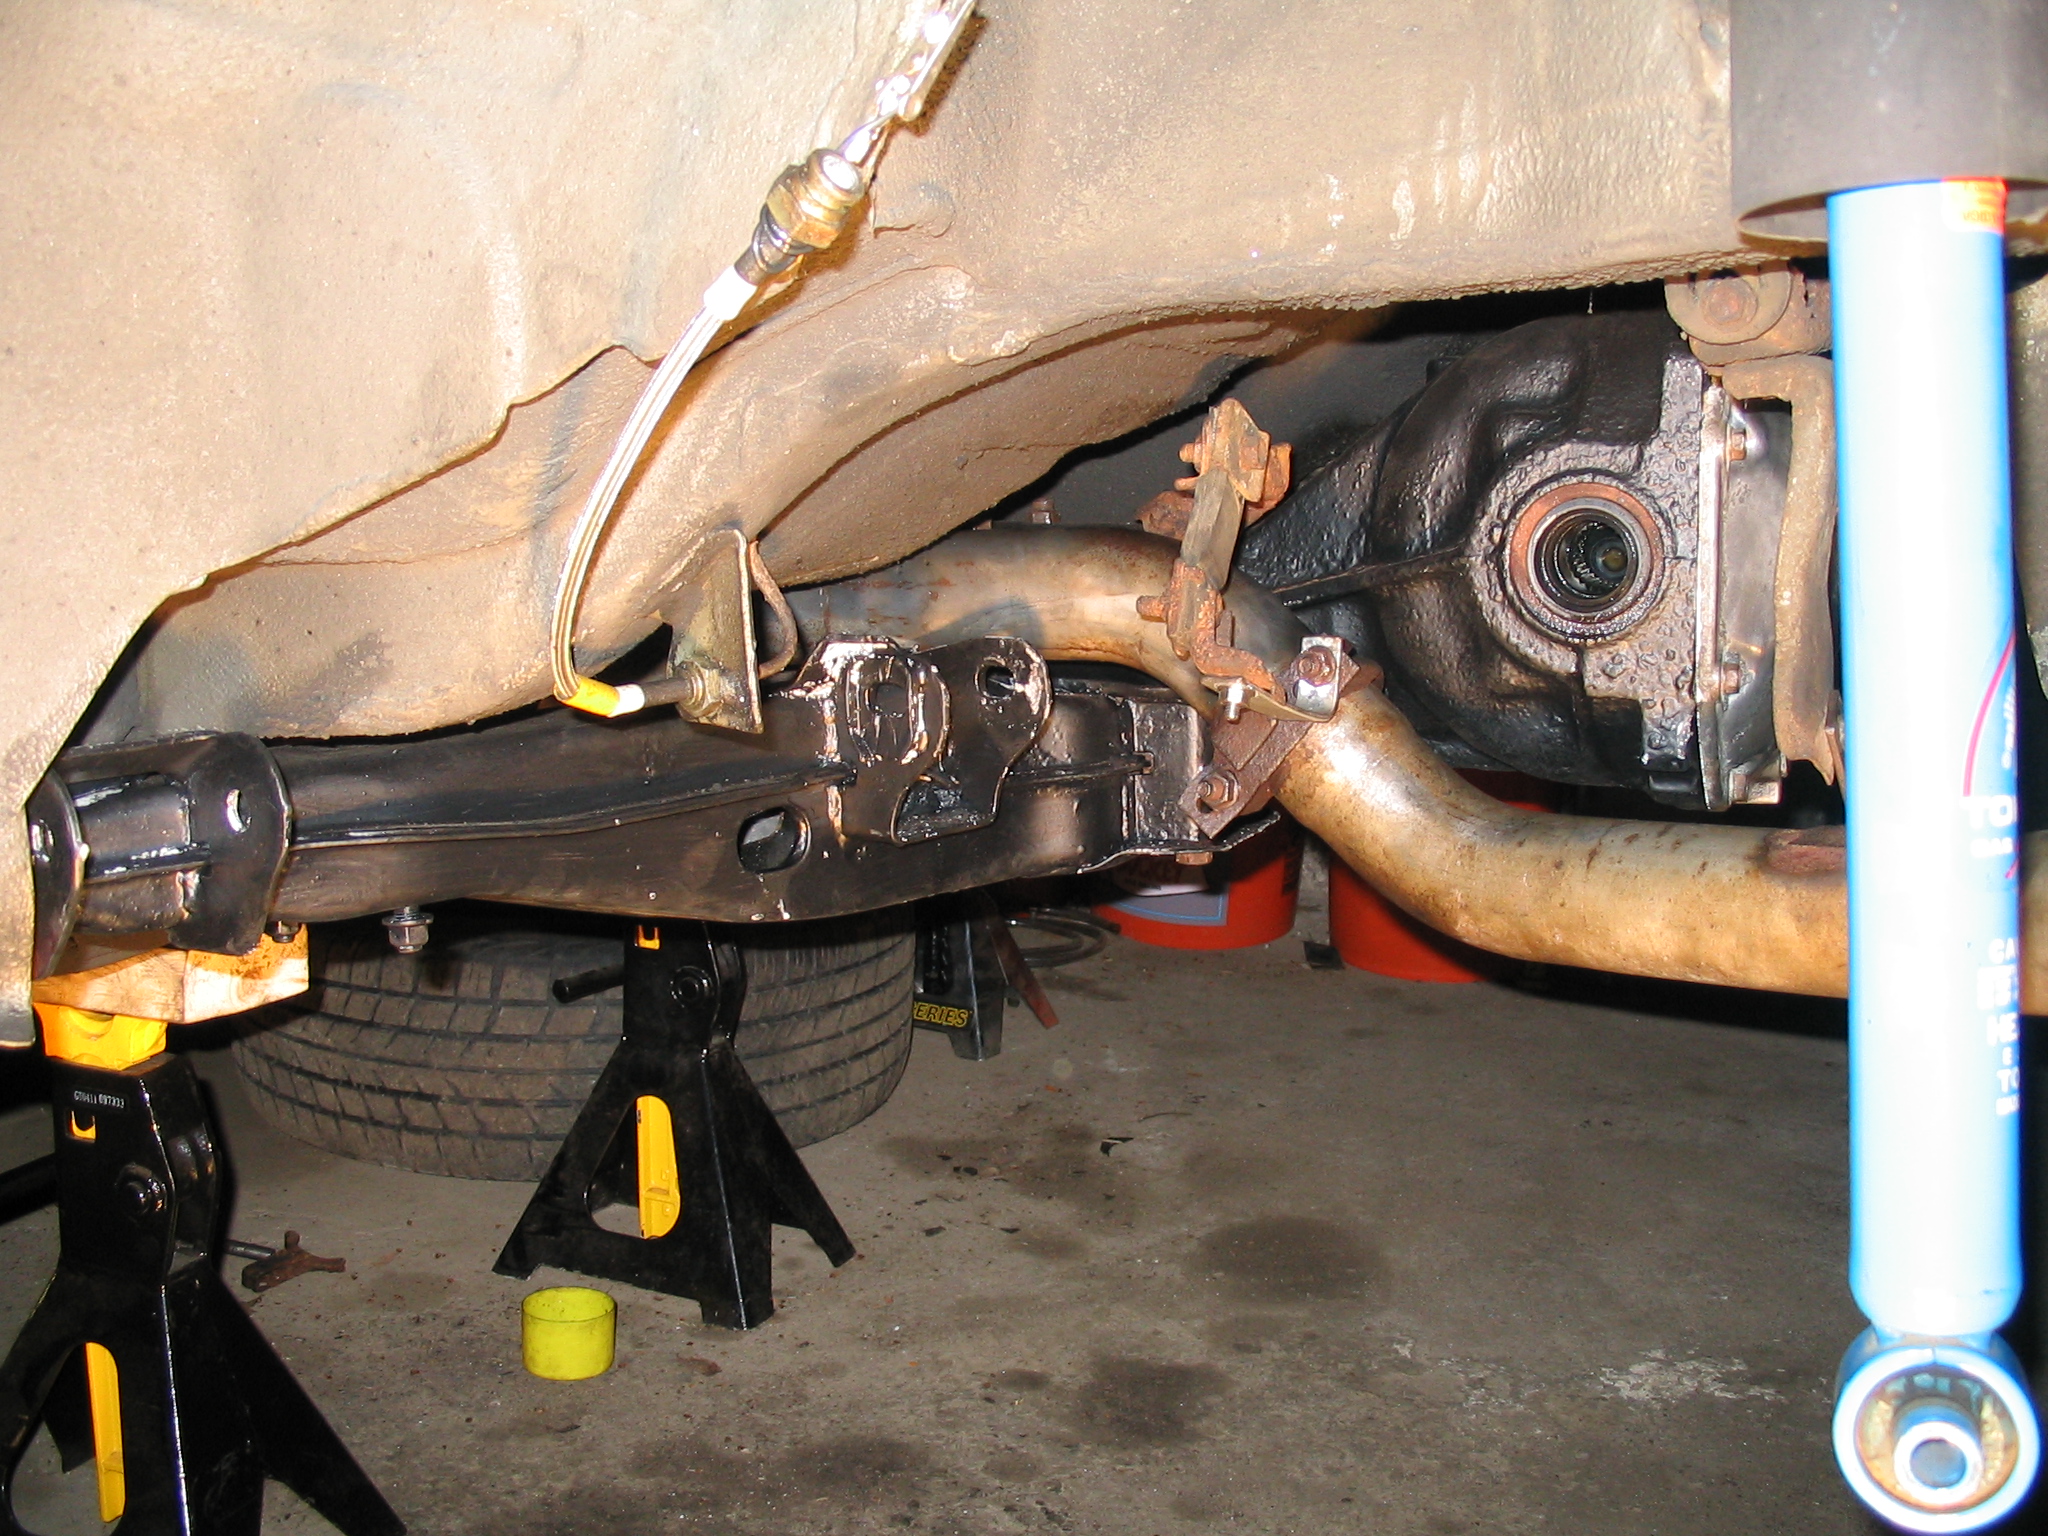
I supported the crossmember/control arms/differential/exhaust with a couple floor jacks under the mess as pictured. I removed the nuts on the crossmember's mounting studs, and the nuts and bolts attaching the differential mount to the body. The slowly lowered the whole thing down to the floor.
 2 or more jacks are recommended |
 My camera screwed up at this point, so this picture is from the seventies |
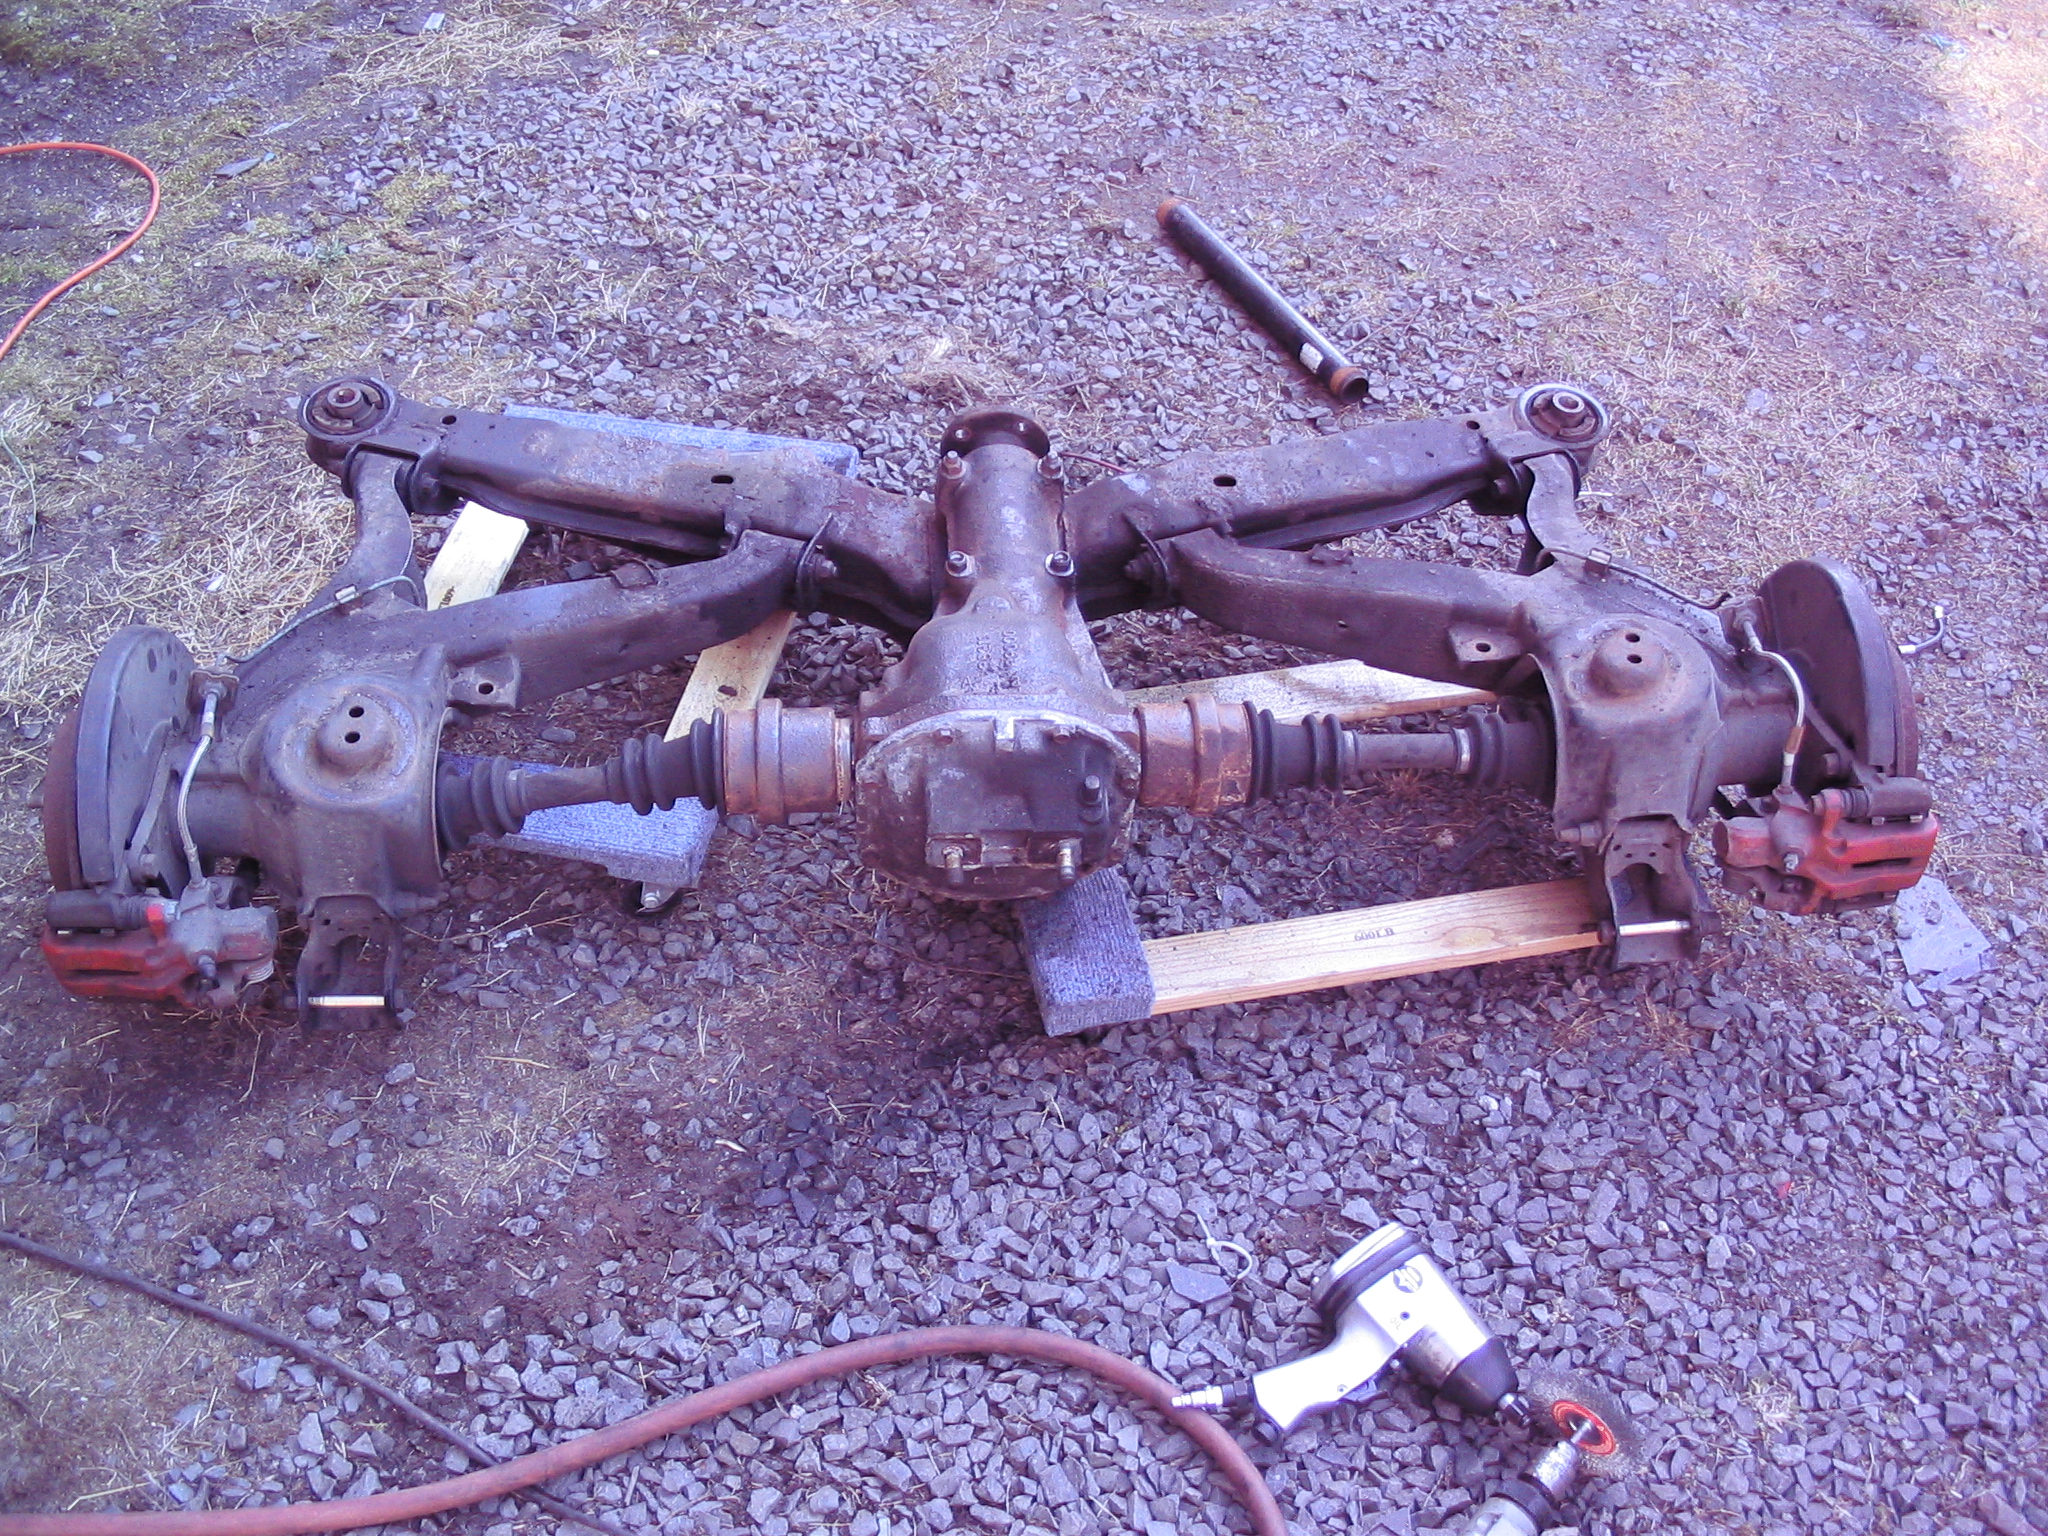
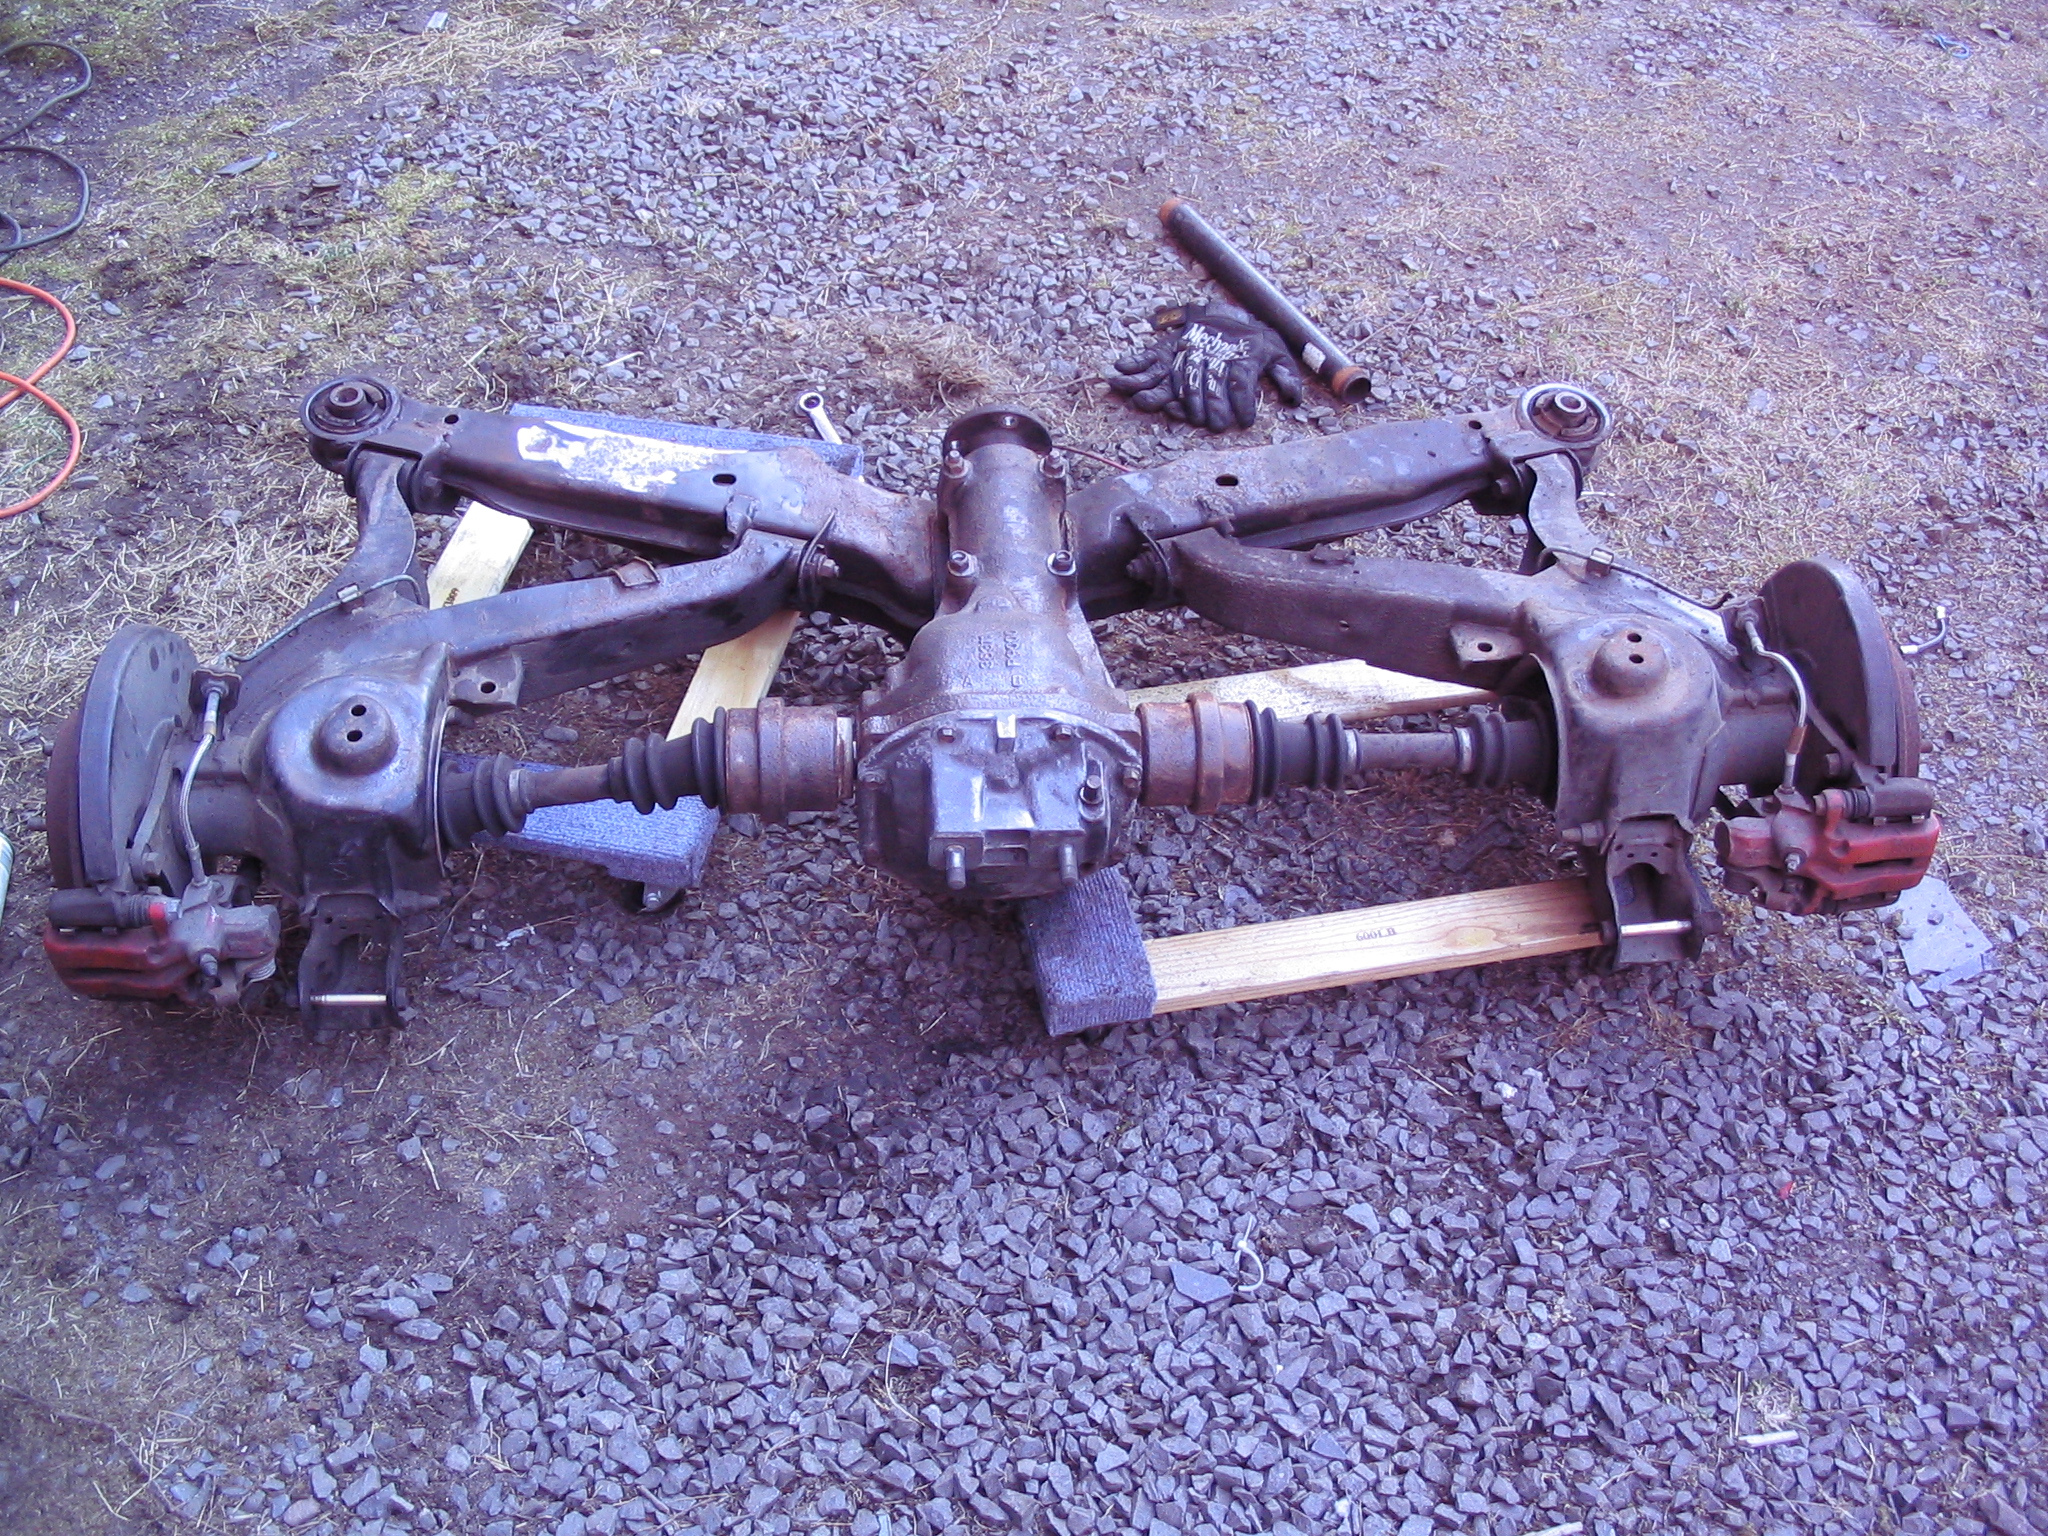
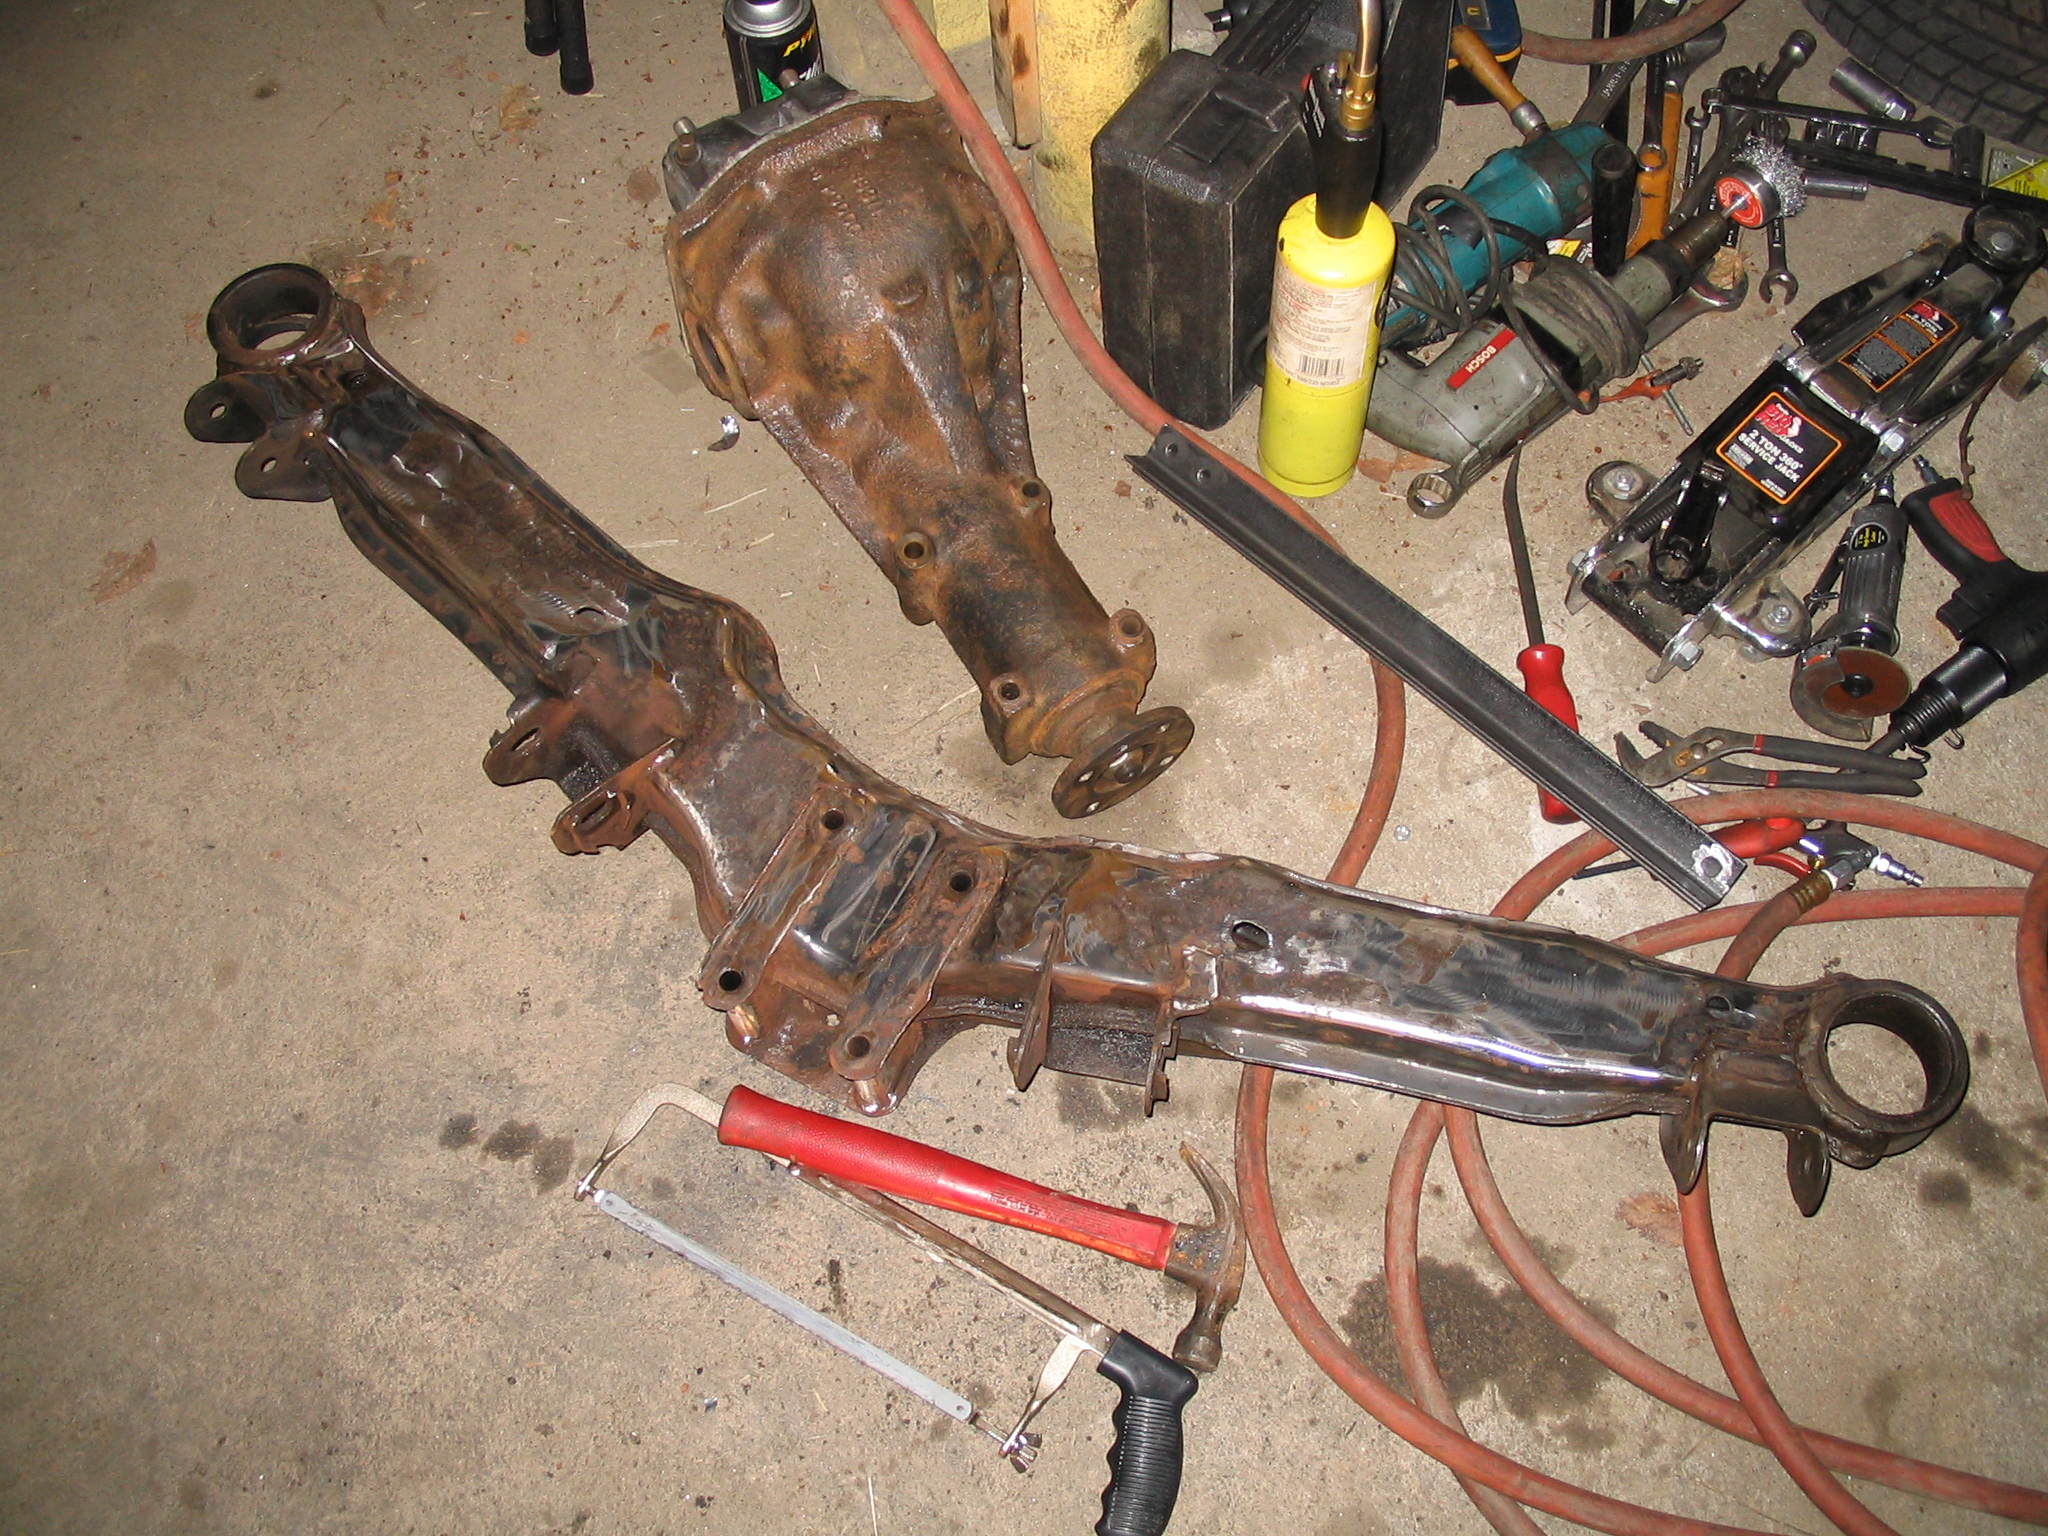
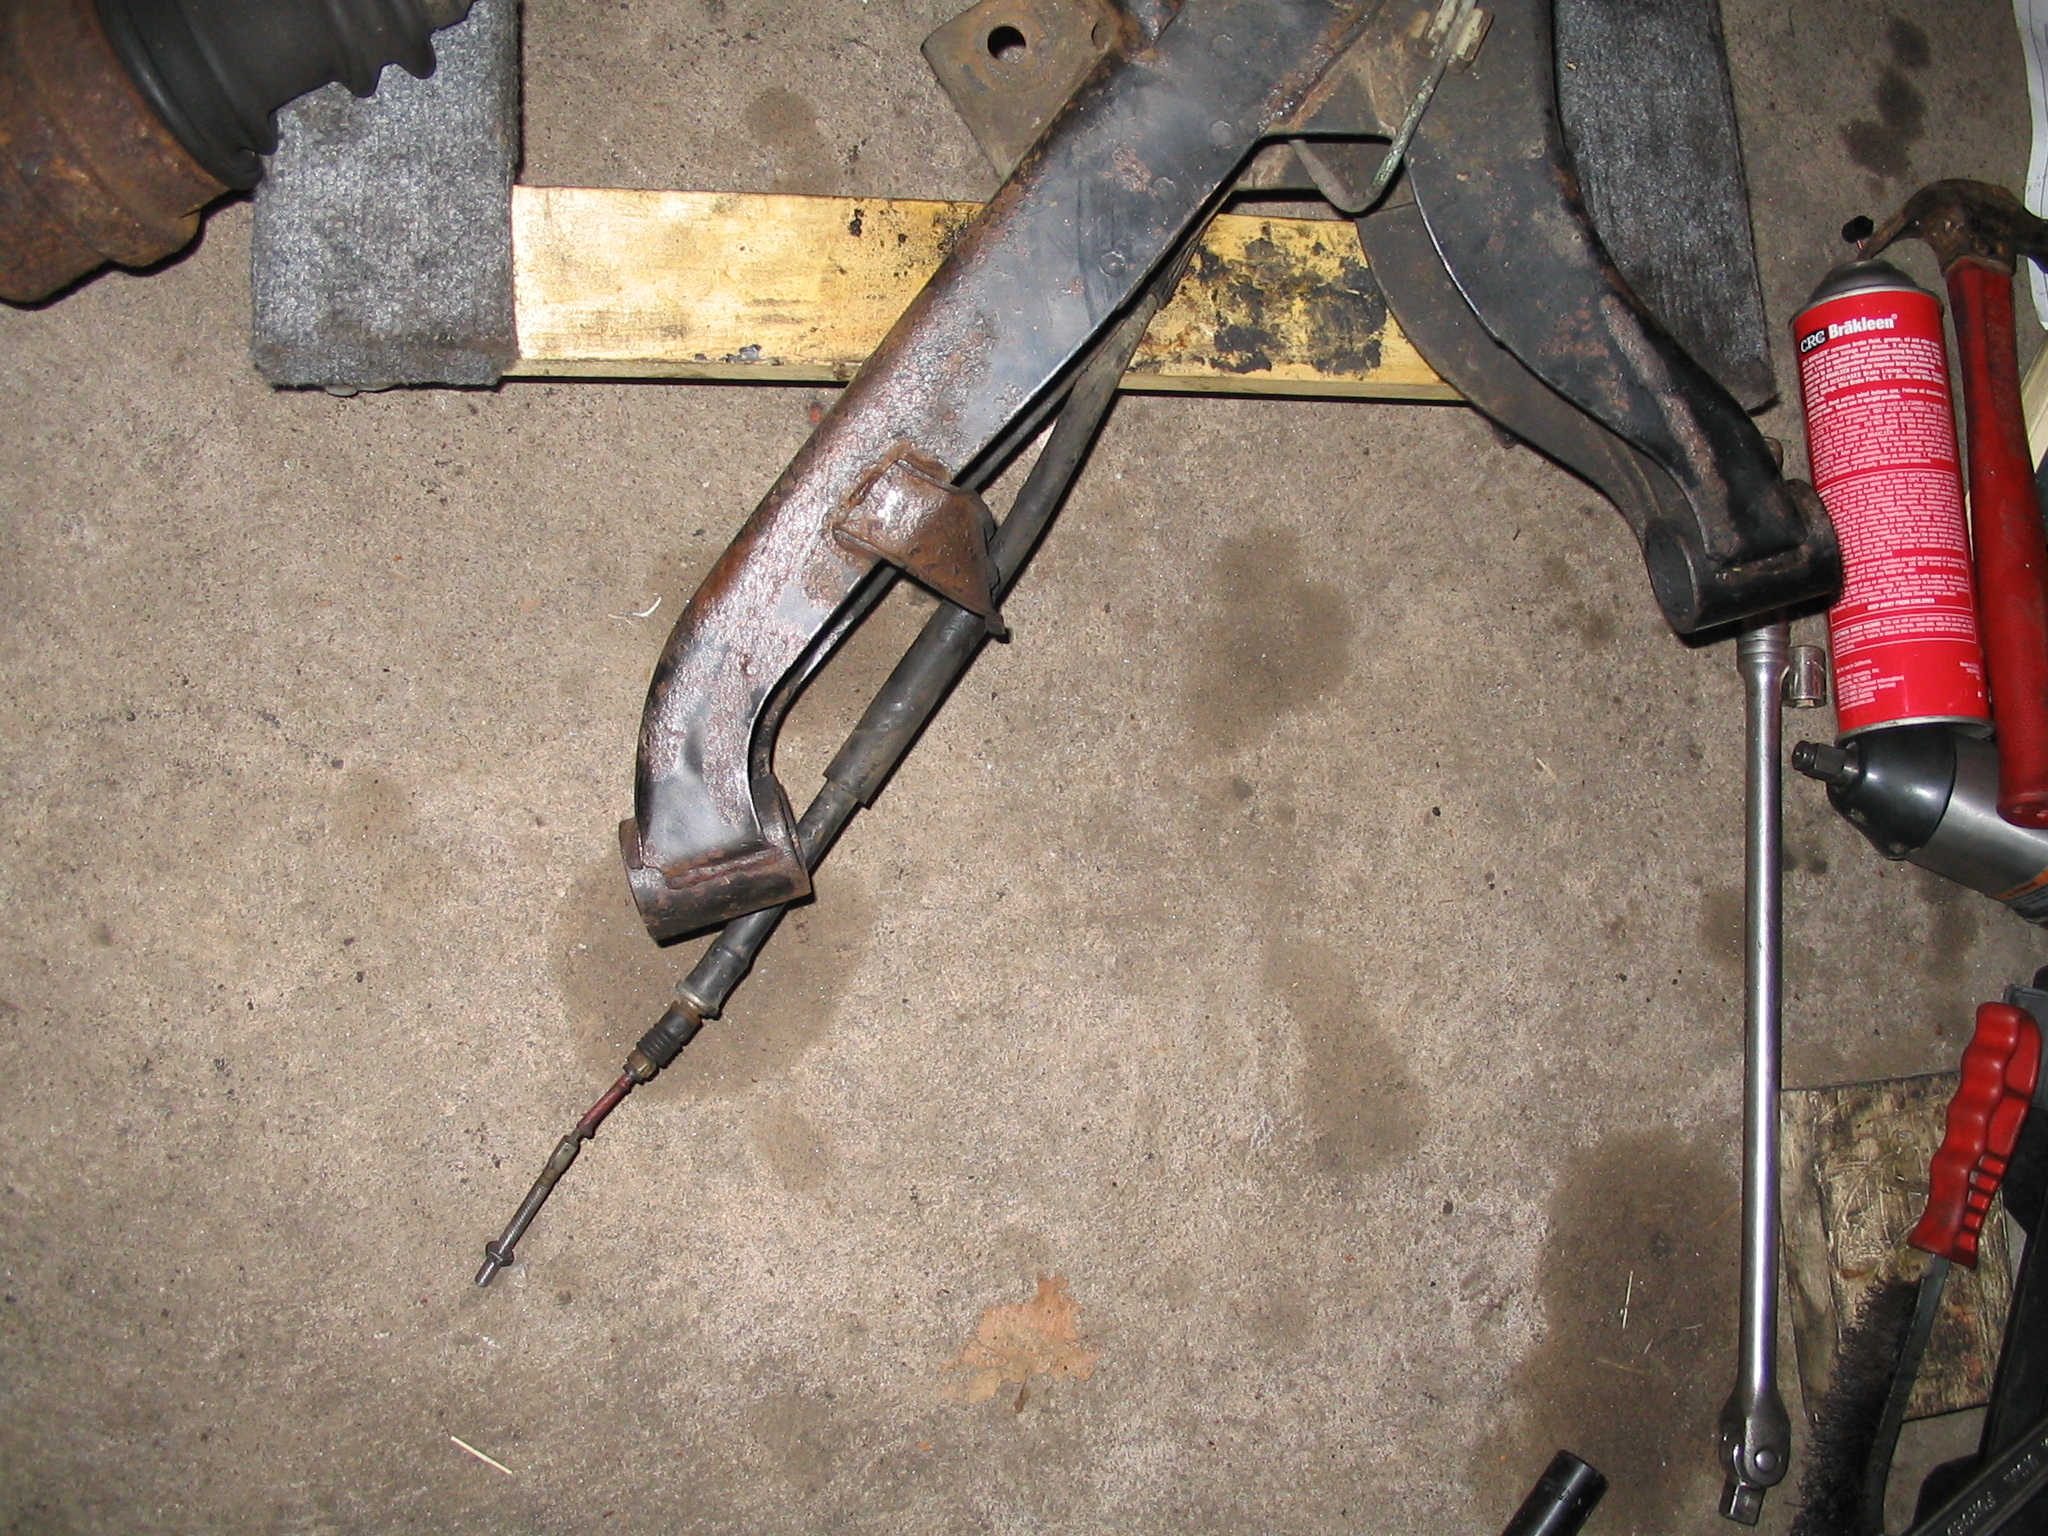
Now I extricated the exhaust and wheeled the rest of it outside for further work. It was a bit rusty, so I bought some Rustoleum Stop-Rust paint and primer, and began to wire brush and sand everything.
 Before stripping |
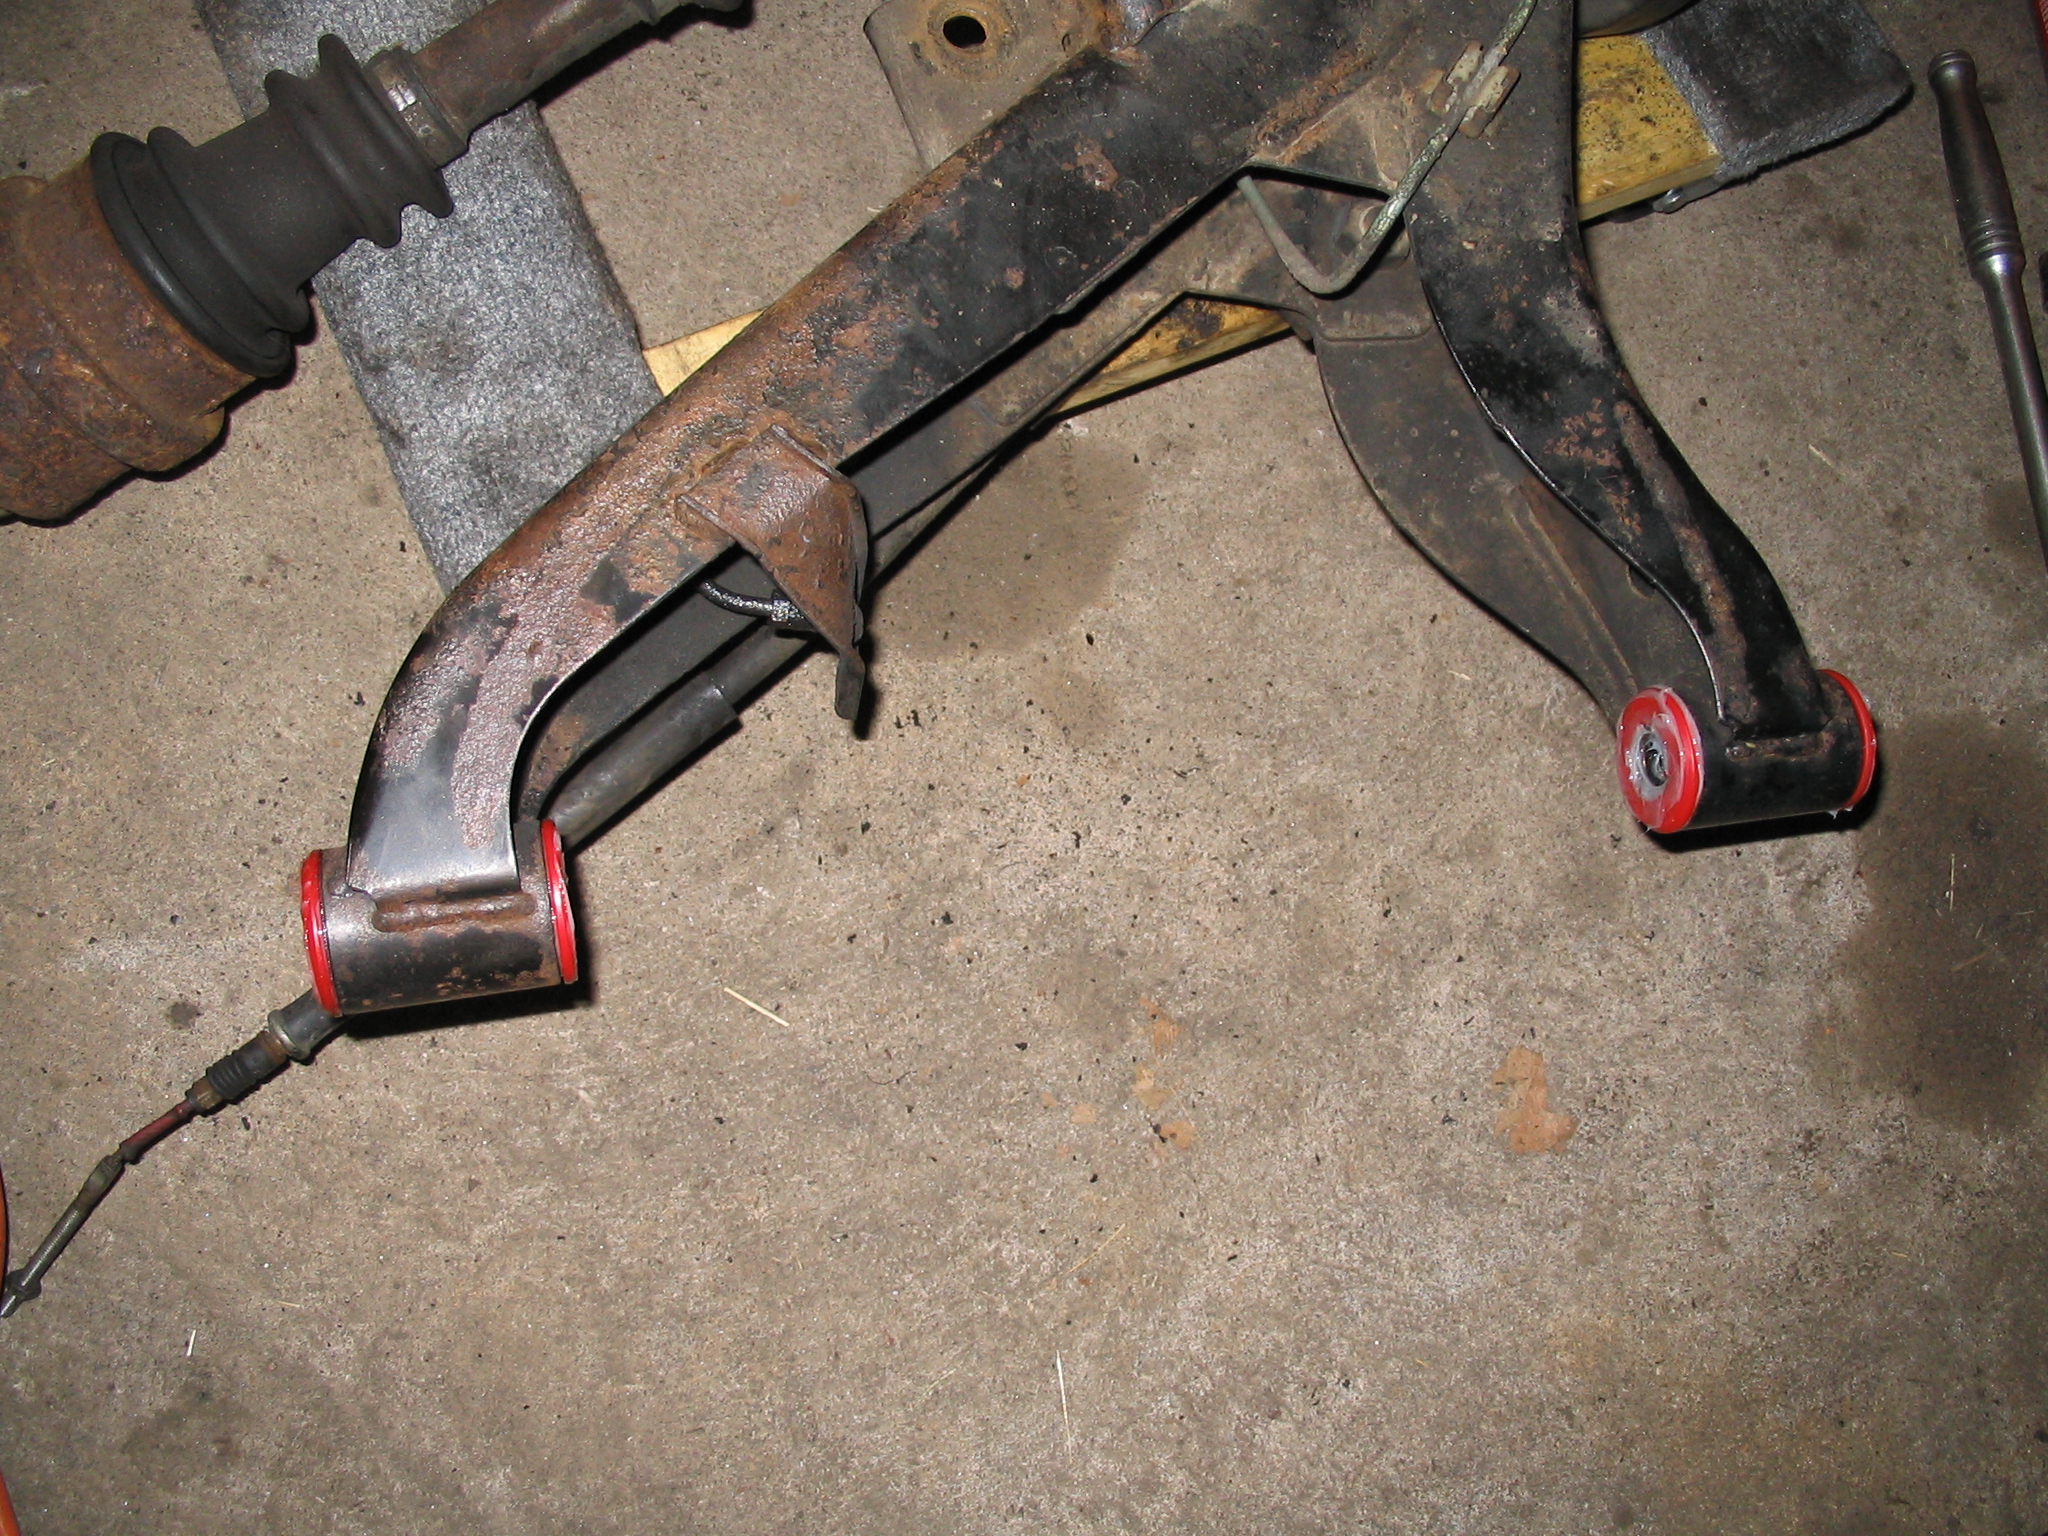
 Pulling off rusty parts and cleaning as I go |
 Getting there |
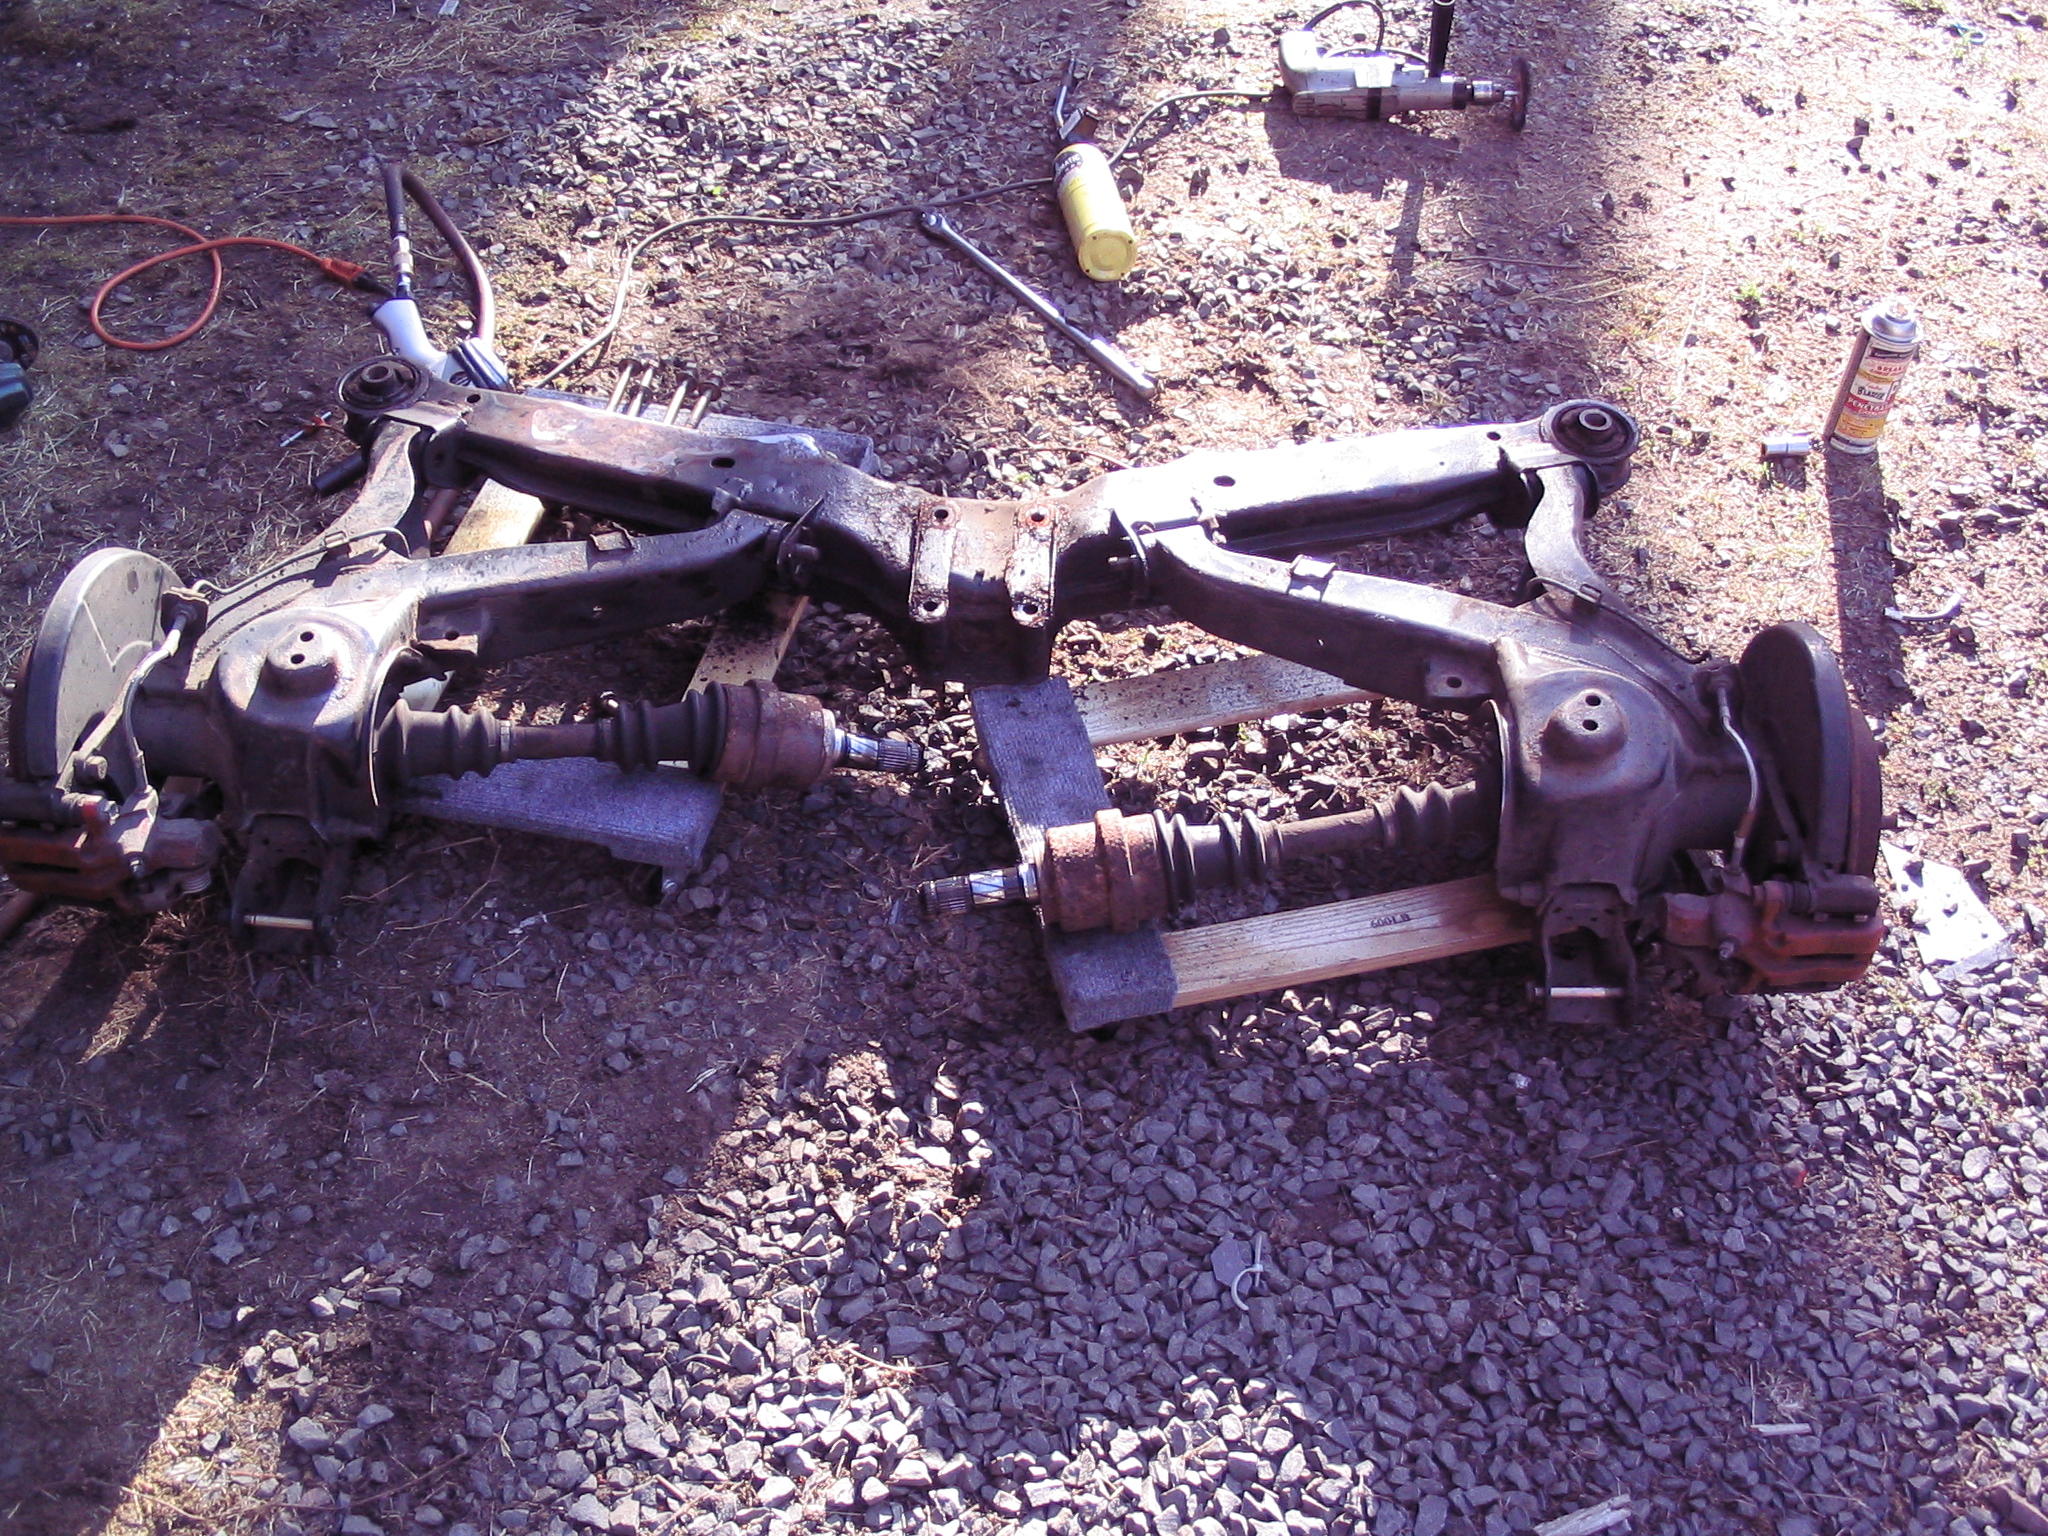 Differential removed |
You will notice in the 4 pictures above, that the tools are getting larger and larger. In the last picture you can see a can of PB Blaster, a 1/2" breaker bar, a MAPP gas torch, and a 1/2" impact wrench. None of these could remove, or even budge the inner control arm bolt nuts. I would end up cutting the ends of these bolts off (both sides!) with an air wheel, and pulling the control arm with the bolt body still inside the control arm bushing sleeve.
Once the control arms were finally off, I set about removing the old bushings. The crossmember bushings were shot, and I was able to tap their center sections out with just a dead blow hammer. The control arm bushings had to be burned out with MAPP gas, similar to the front control arms.
 Back in the garage for more grinding and prep for paint |
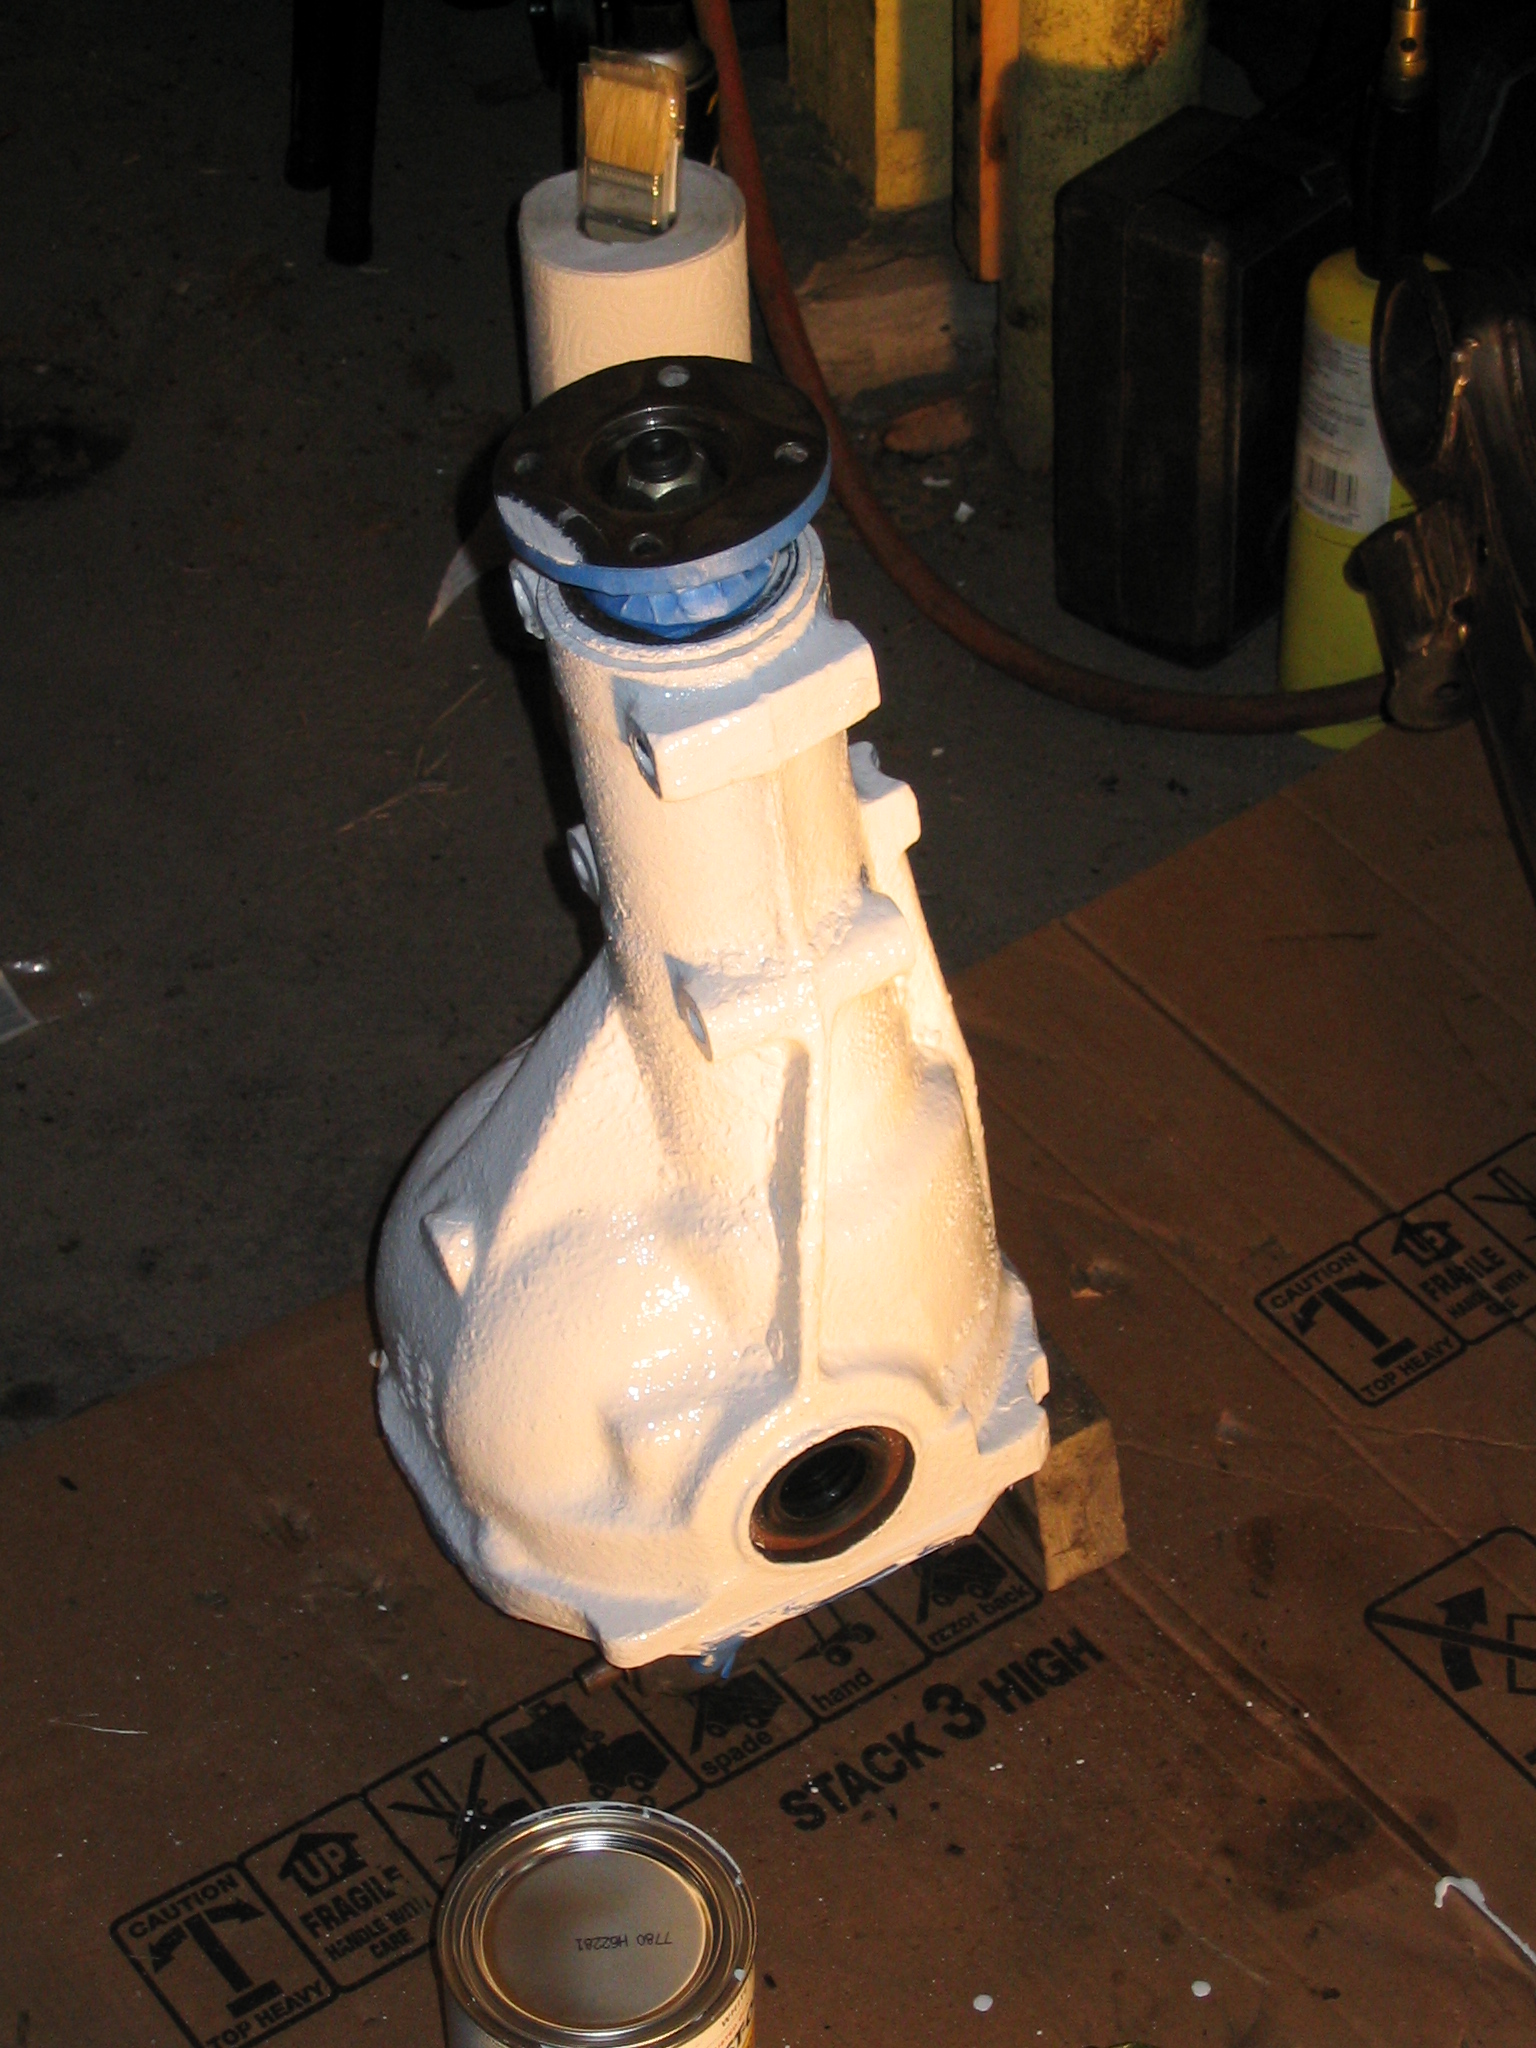 Nice coat of rust-inhibiting primer |
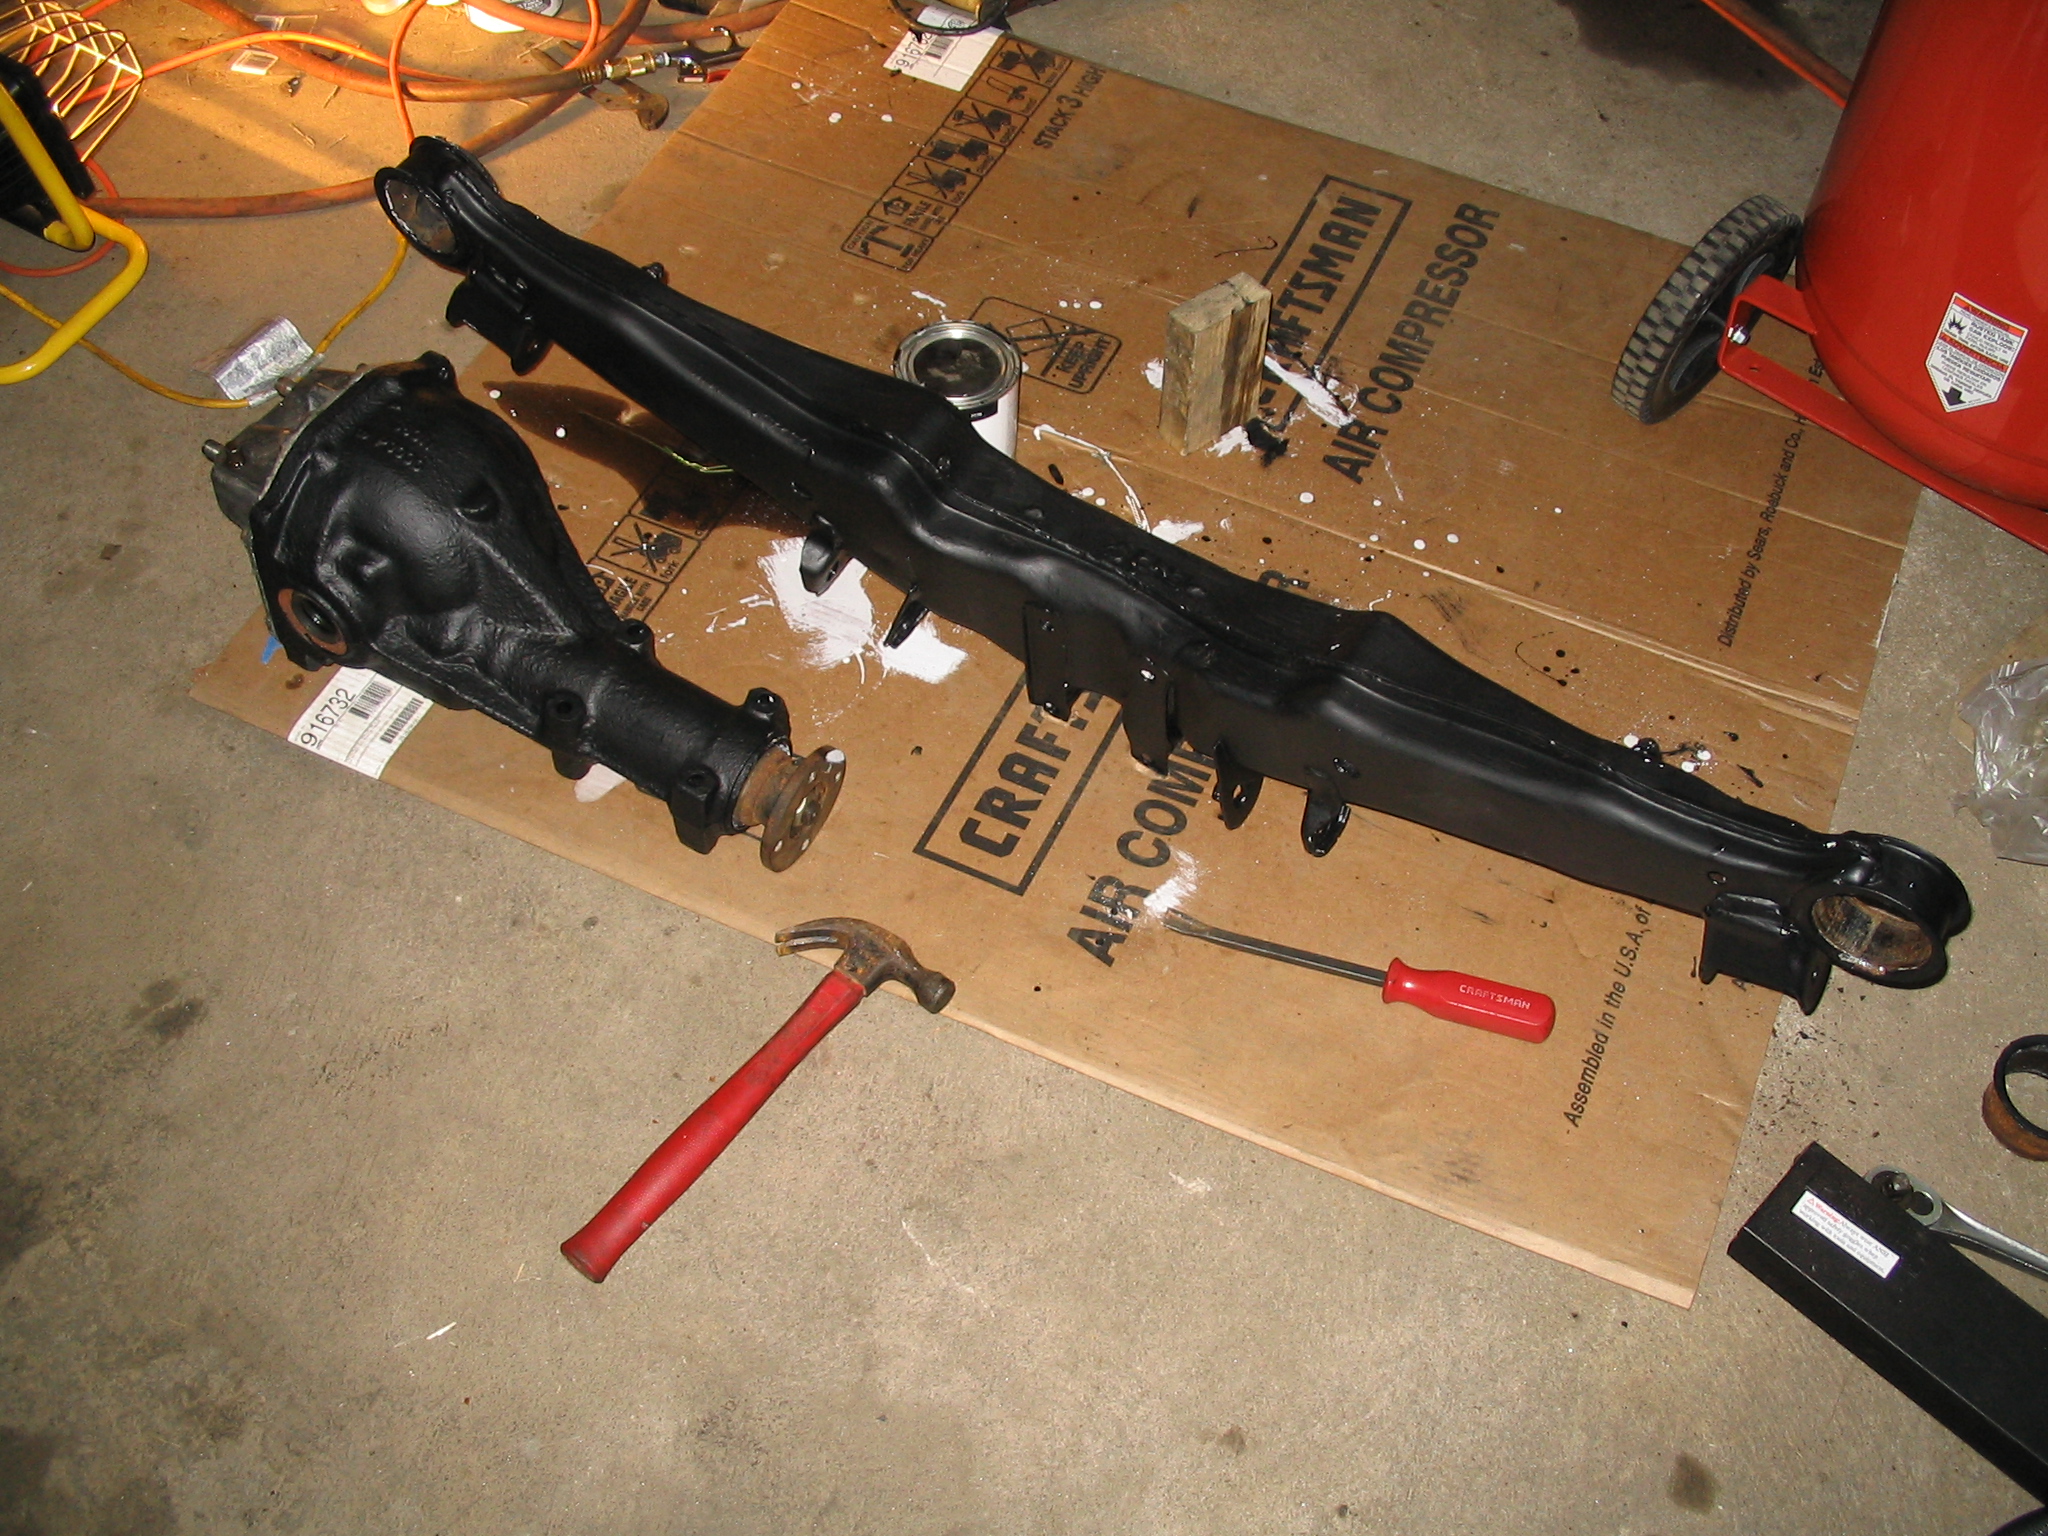 ... And 2 coats of Stop-Rust Satin Black |
|
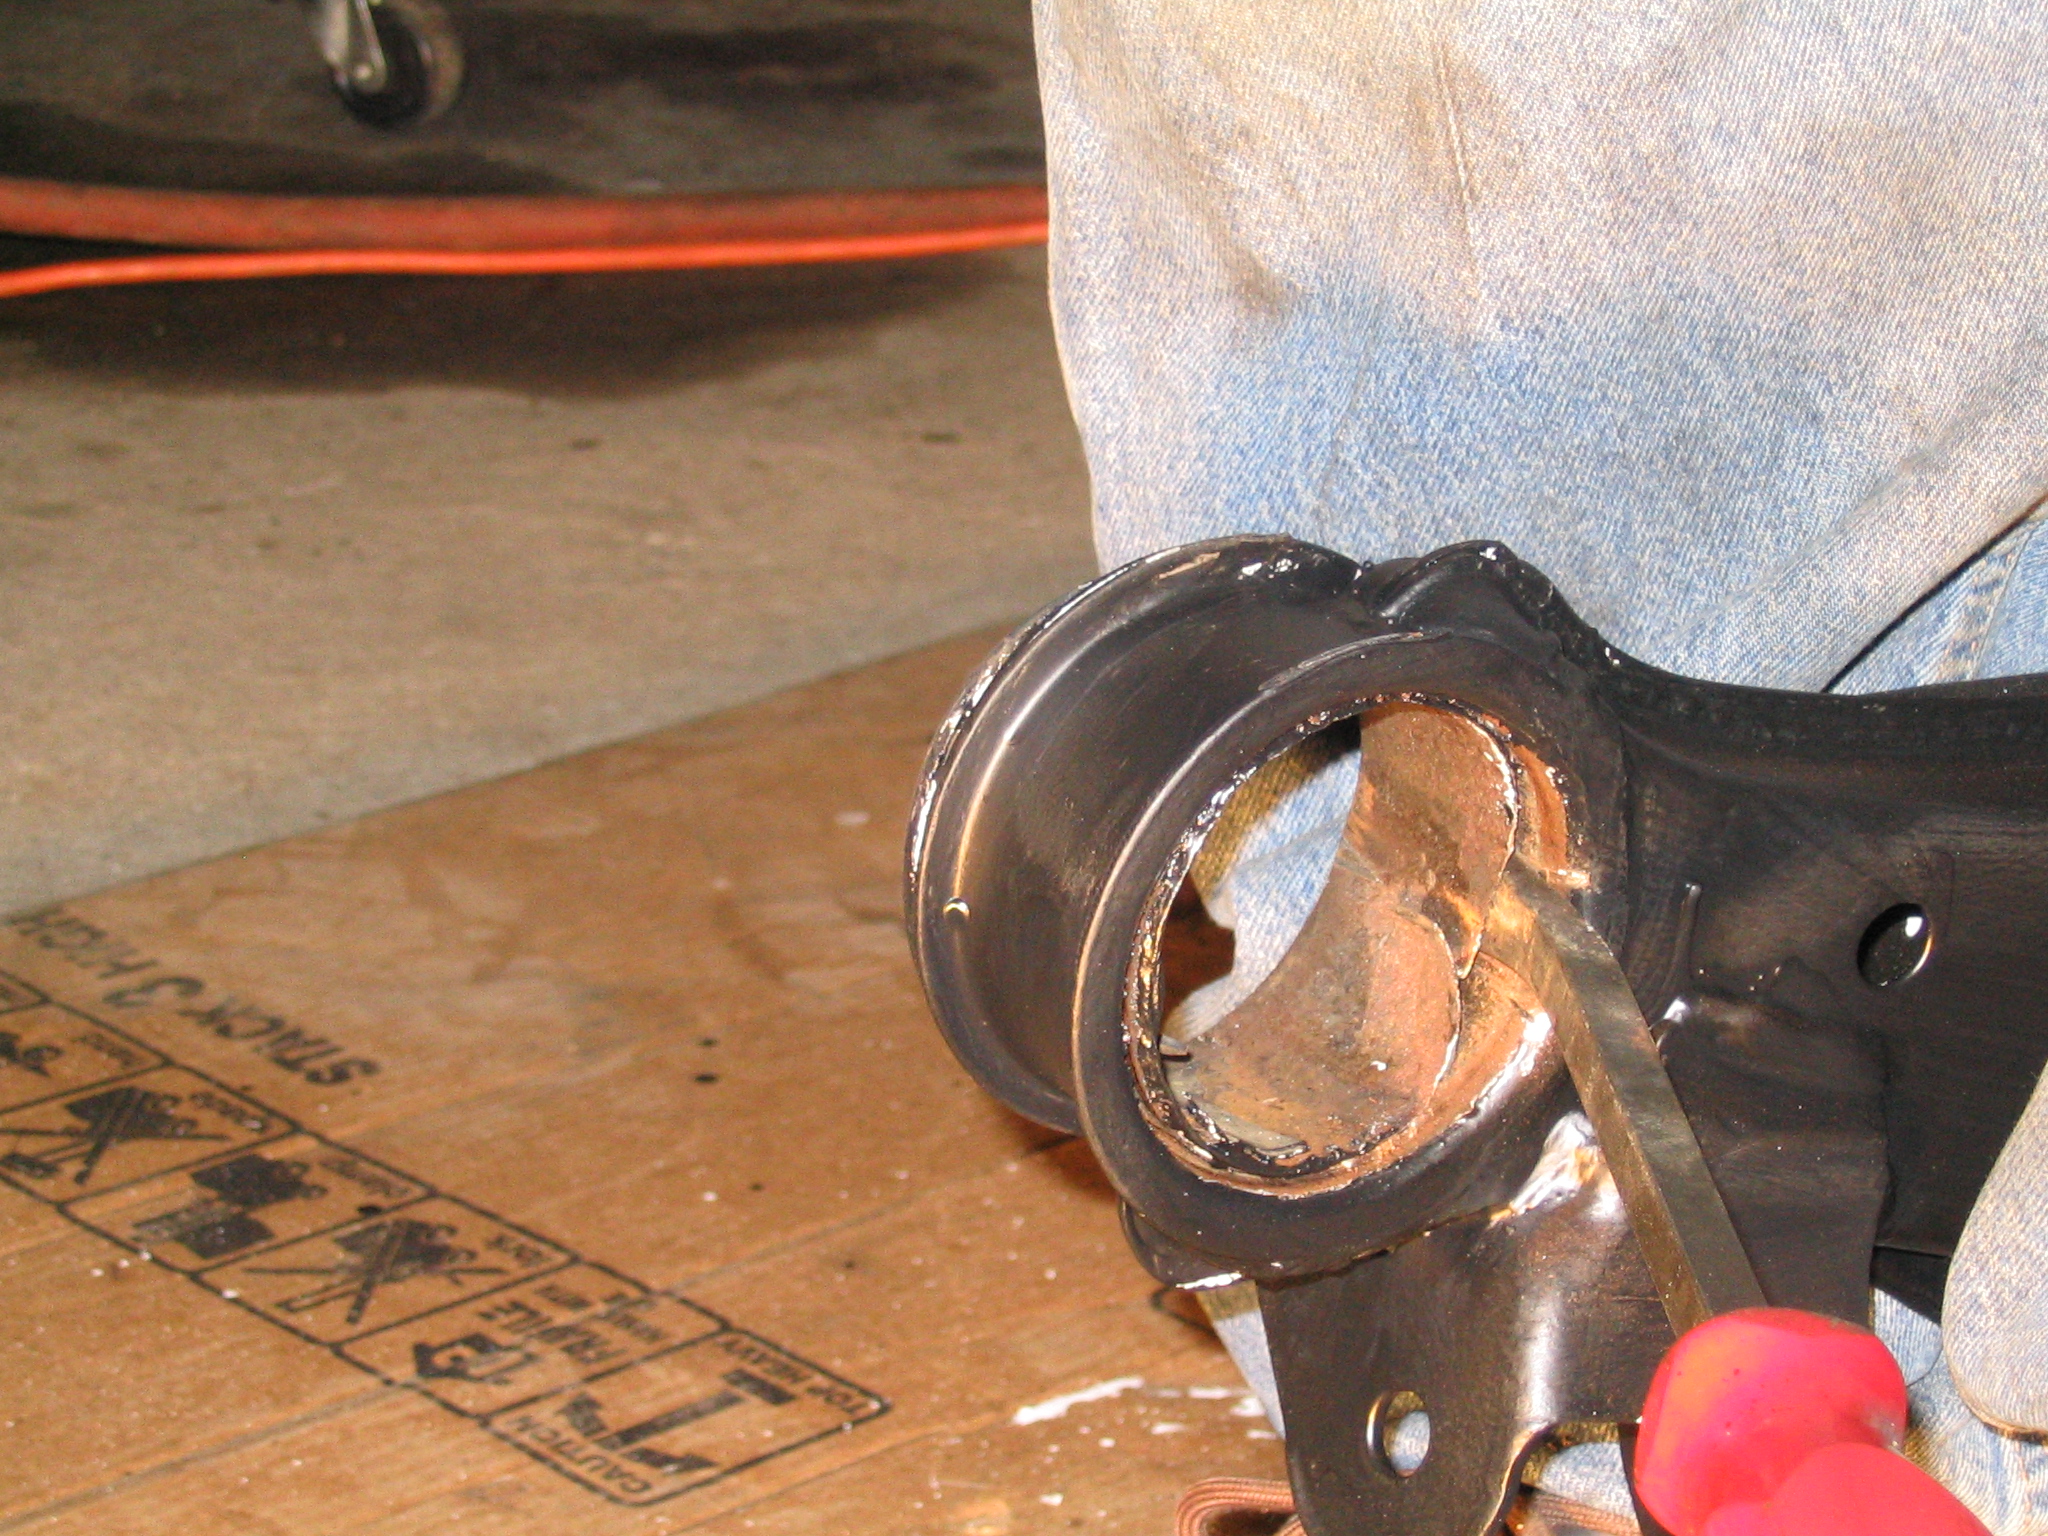
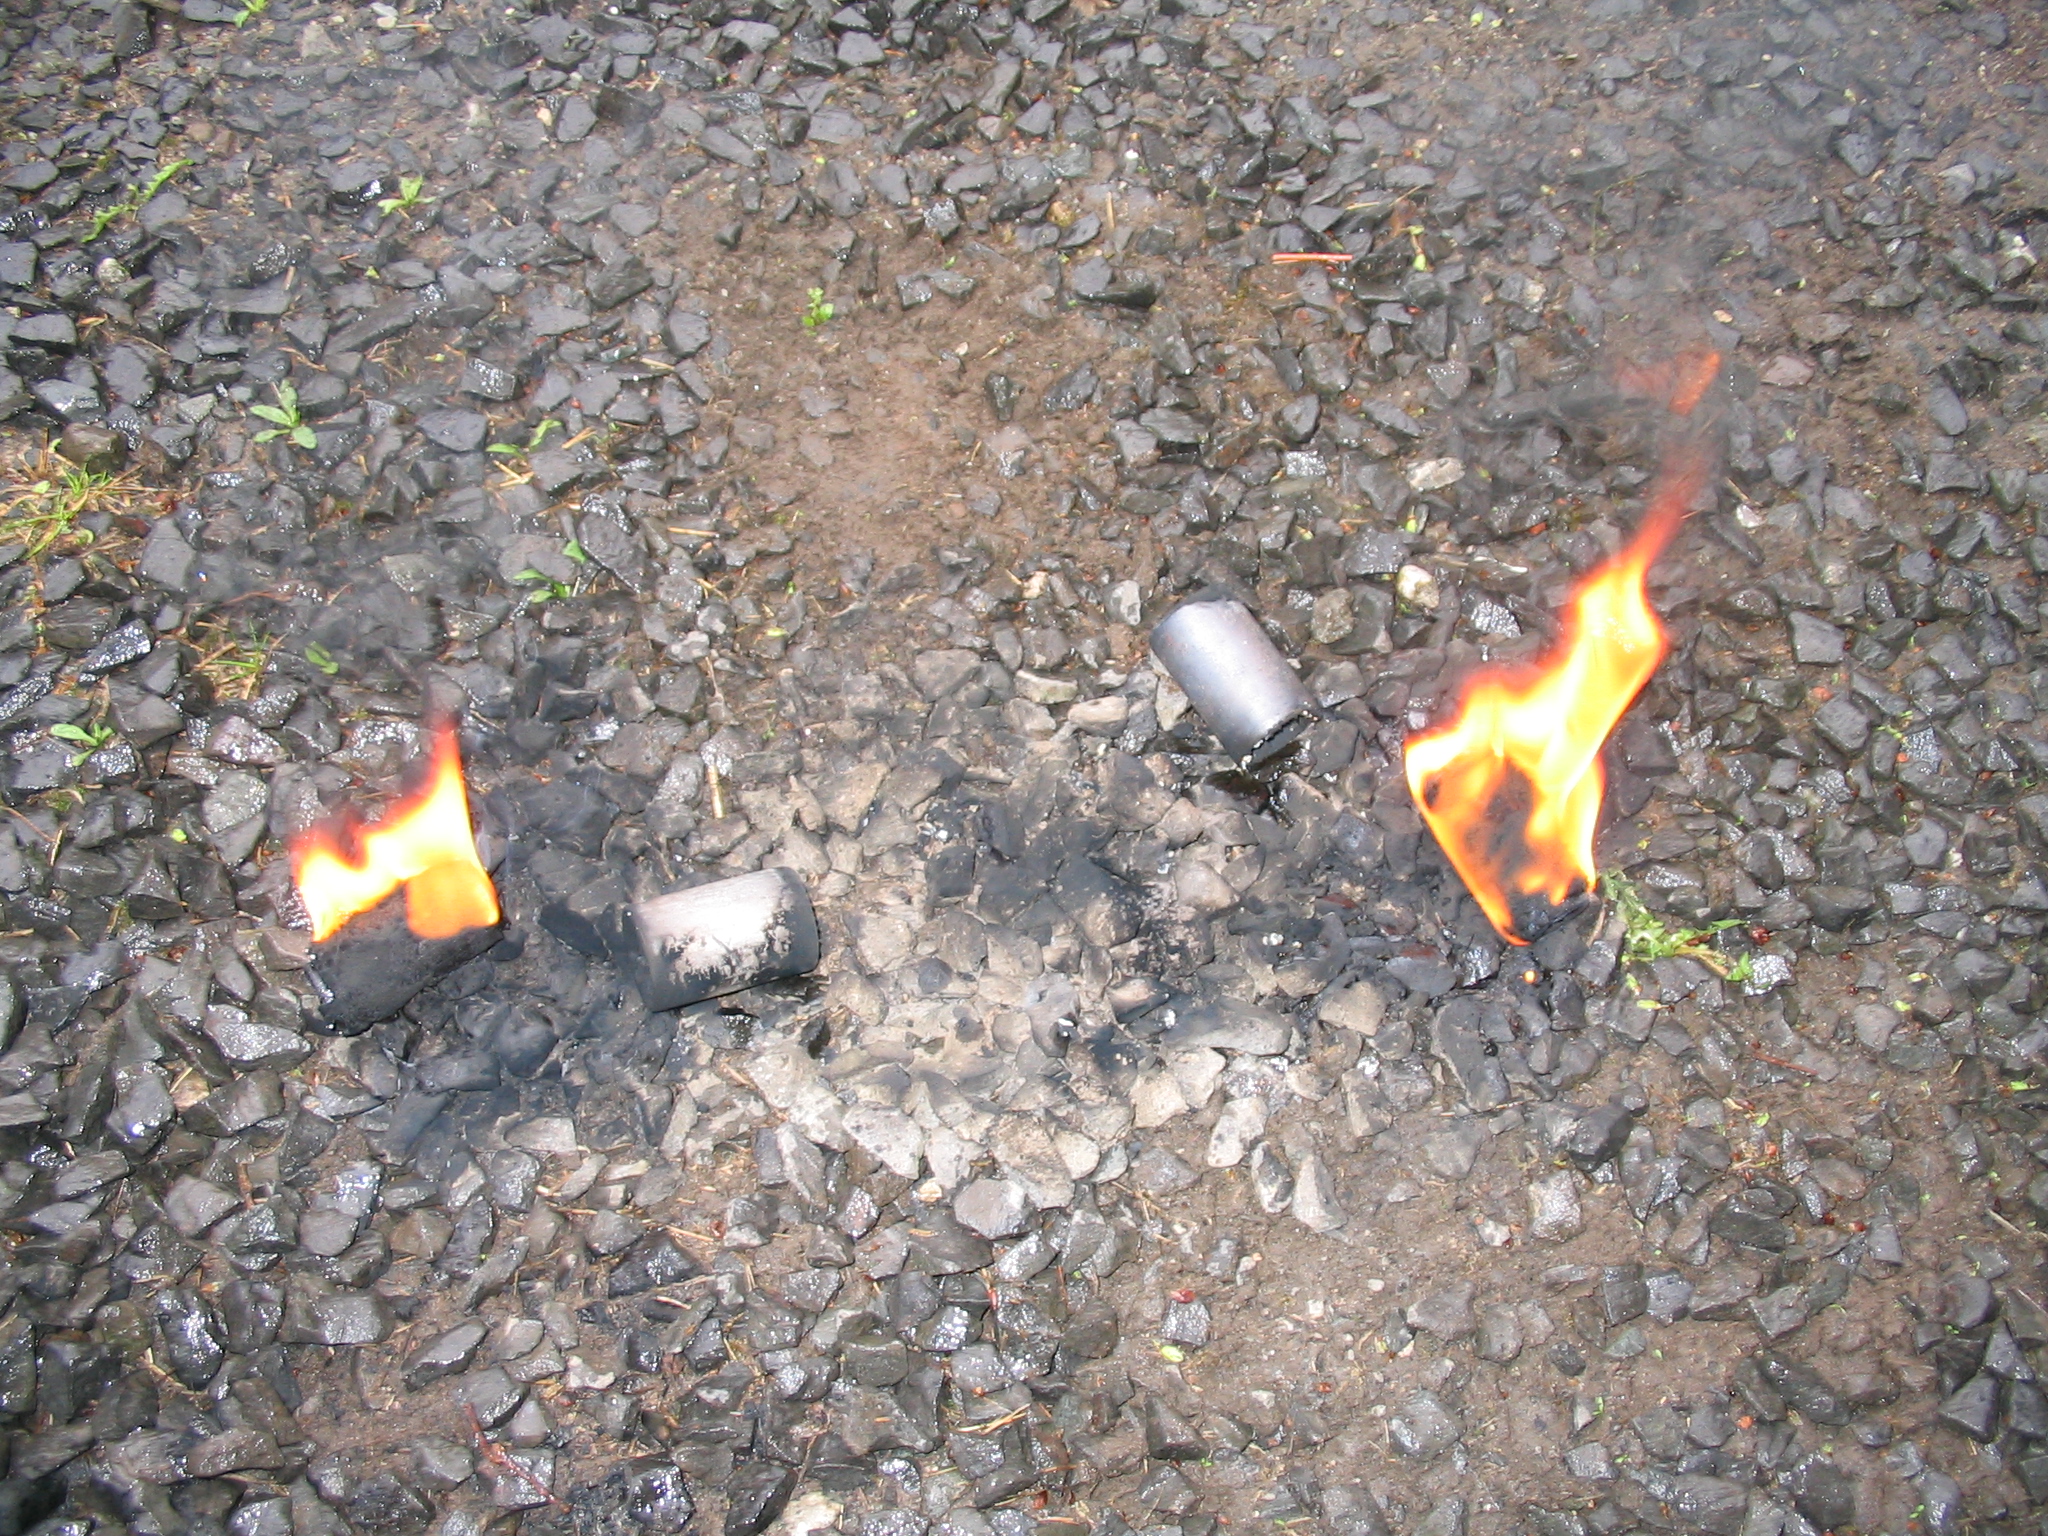
To install the new crossmember bushings, the rubber must be removed from the large washers that go above the bushing. I did this by lighting them on fire with my MAPP torch, worked great. Then the old bushings outer sleeves had to be removed from the crossmember. I did this with a hacksaw that I threaded through the opening. Pry the sleeve out and pop the new bushing in its place.
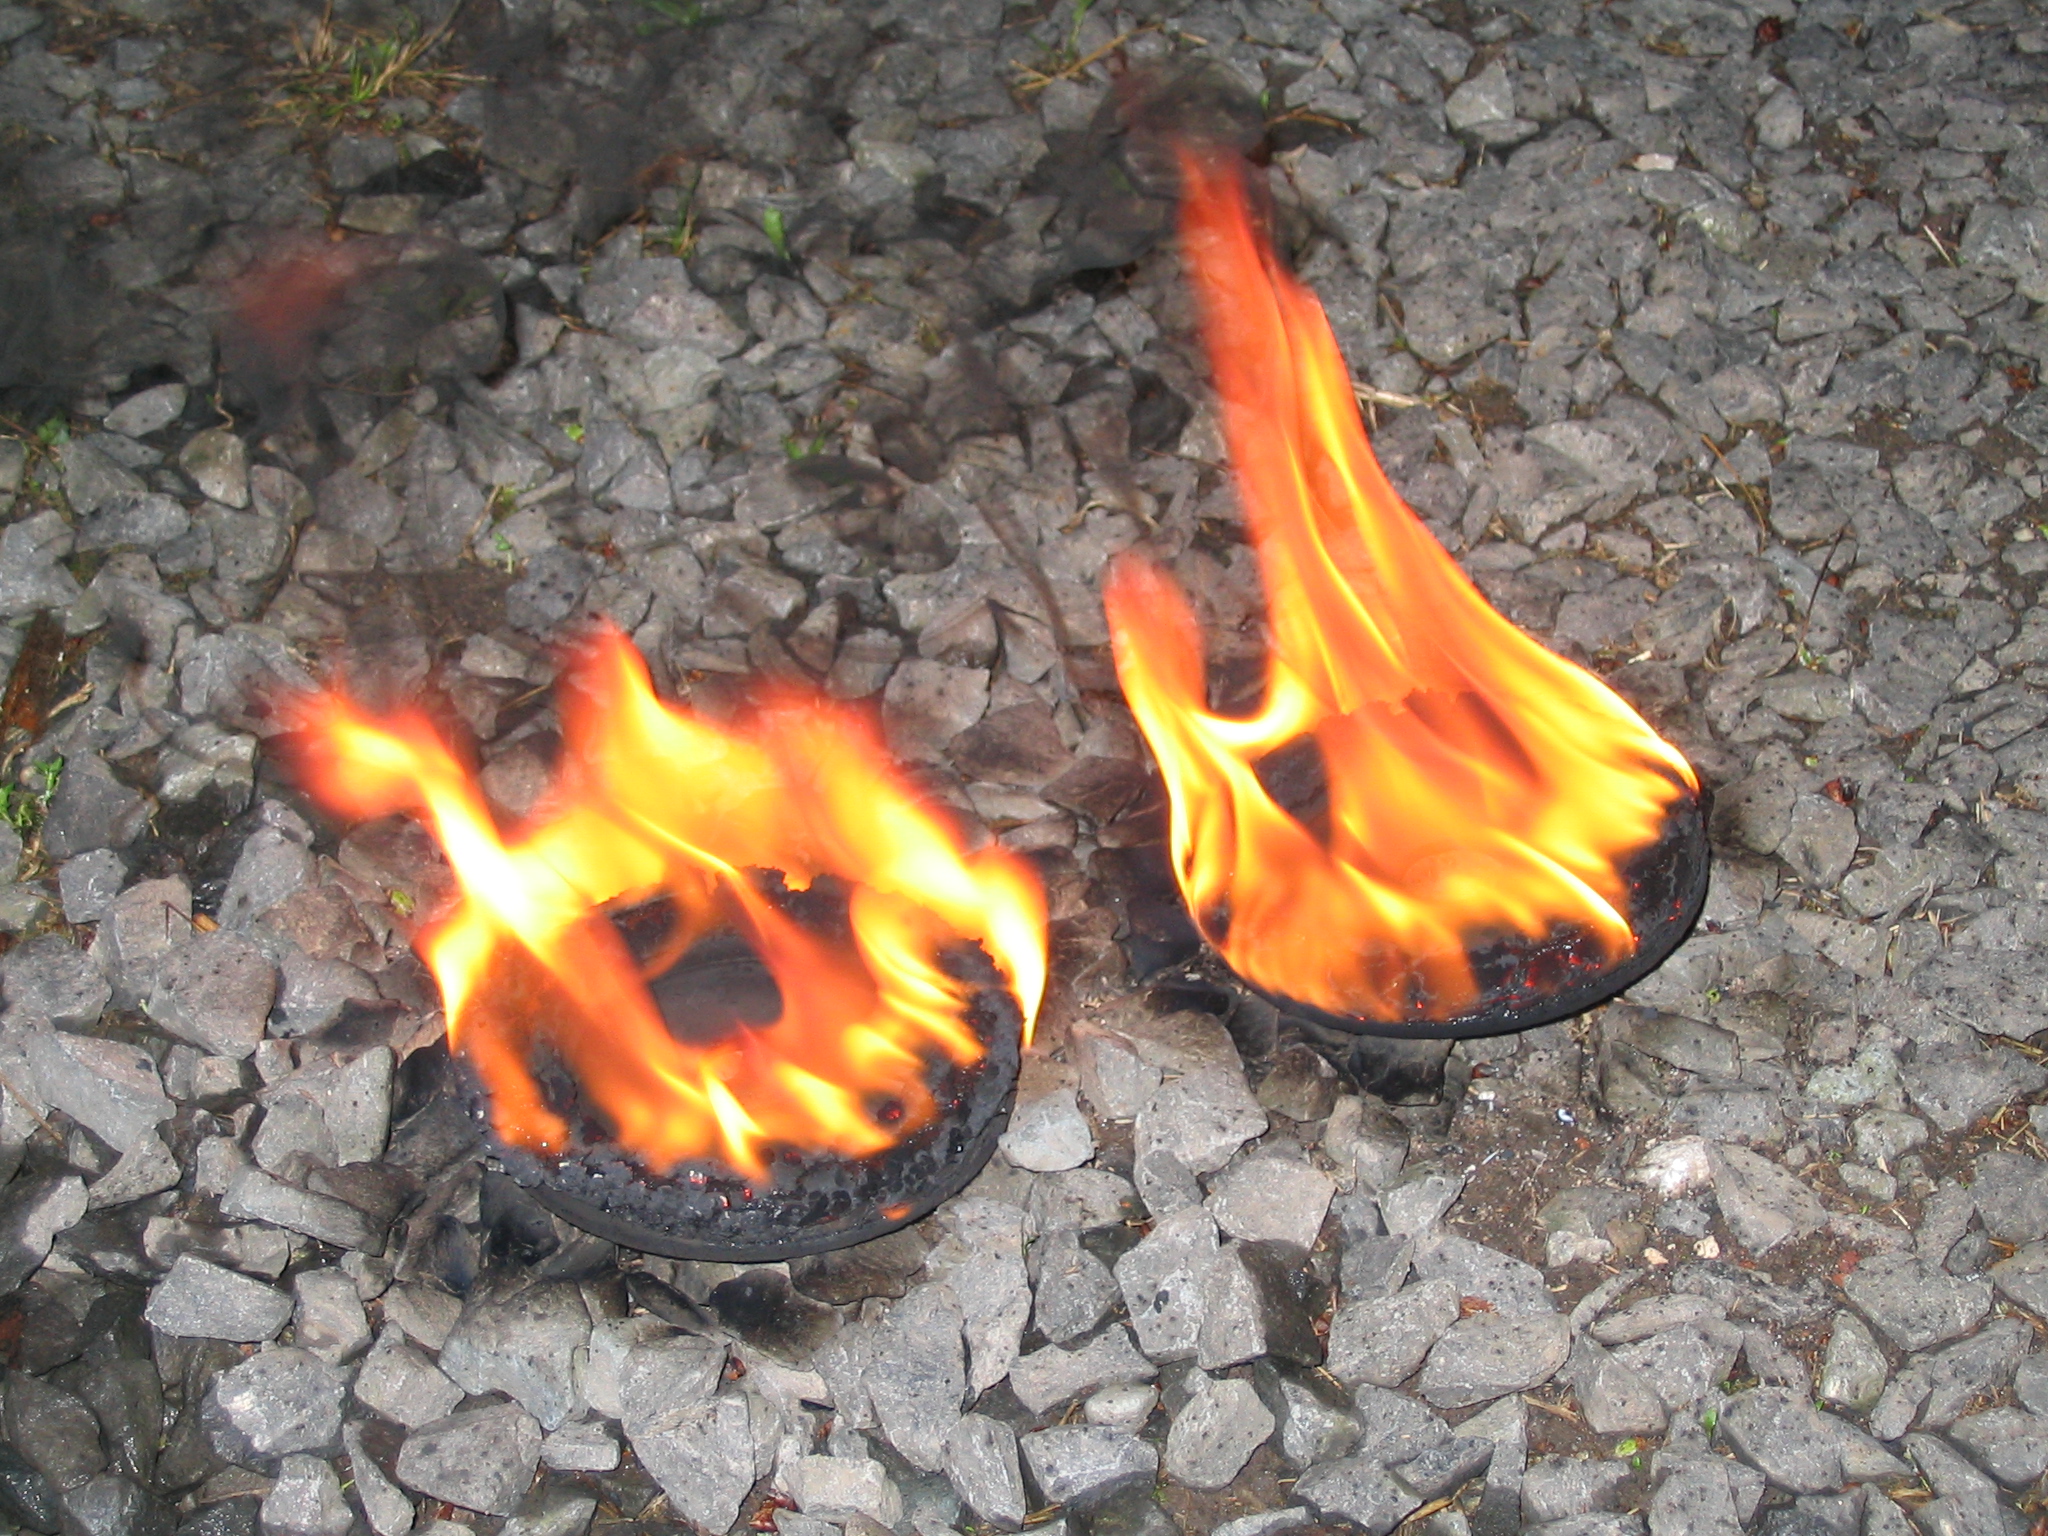 More fire to burn the rubber off of the large disc washers |
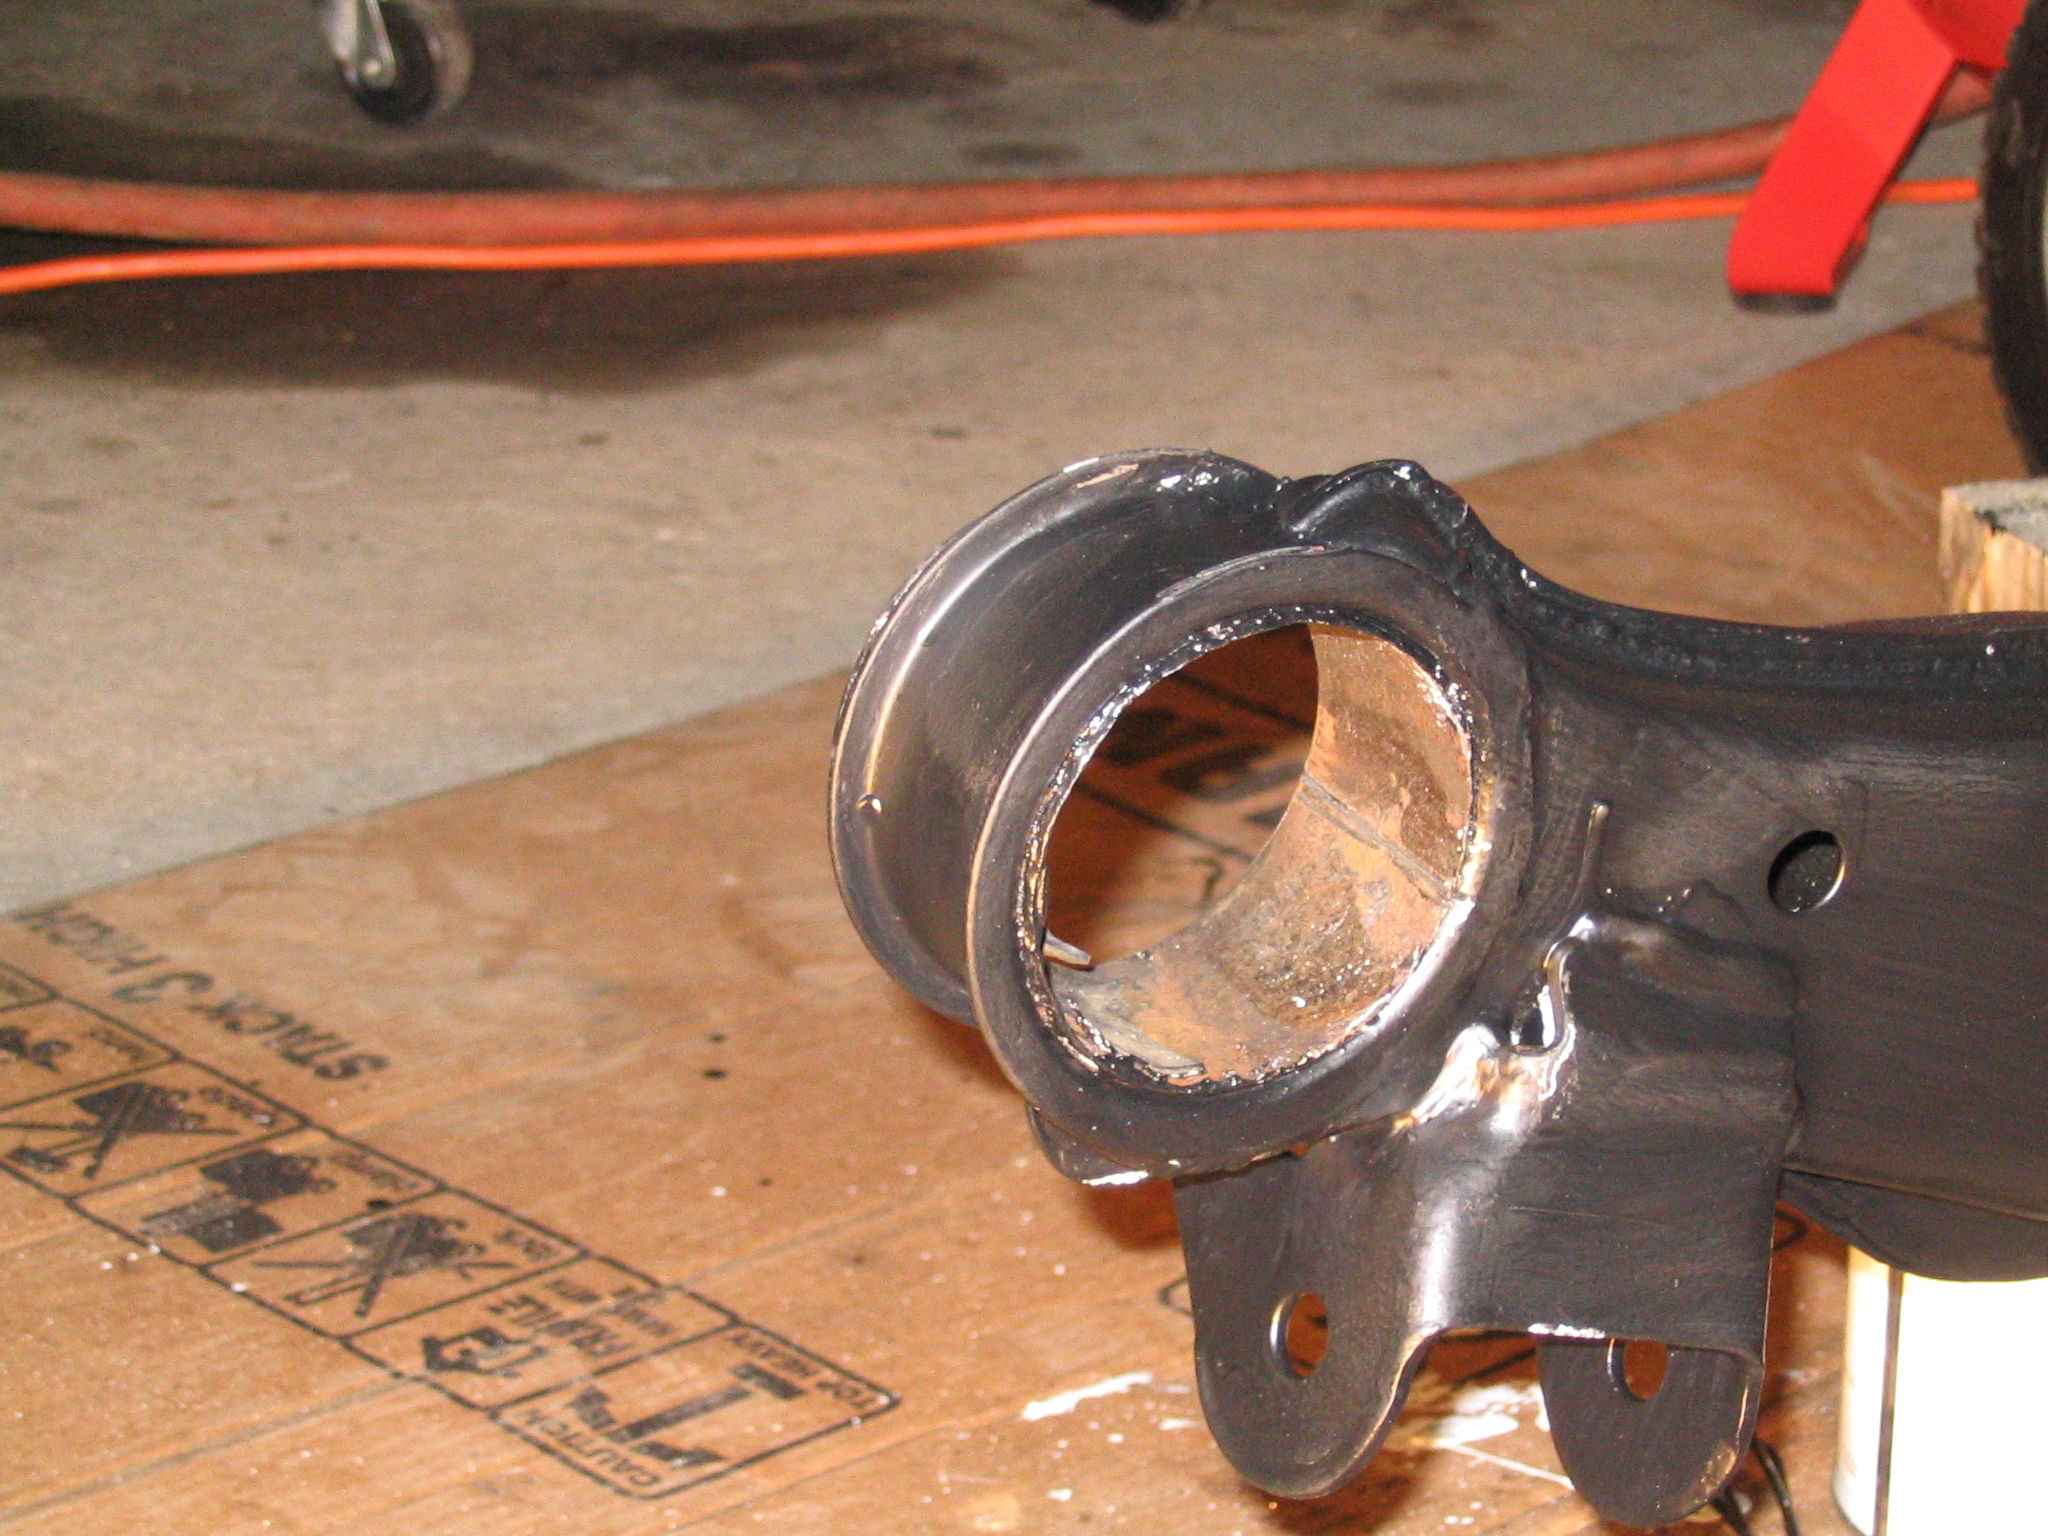 Slice the crossmember bushing's sleeve to remove pressure and it will tap out easily |
 Feel free to pry it out, don't worry about little scratches in the crossmember, the bushing doesn't rotate or slip, so it won't matter |
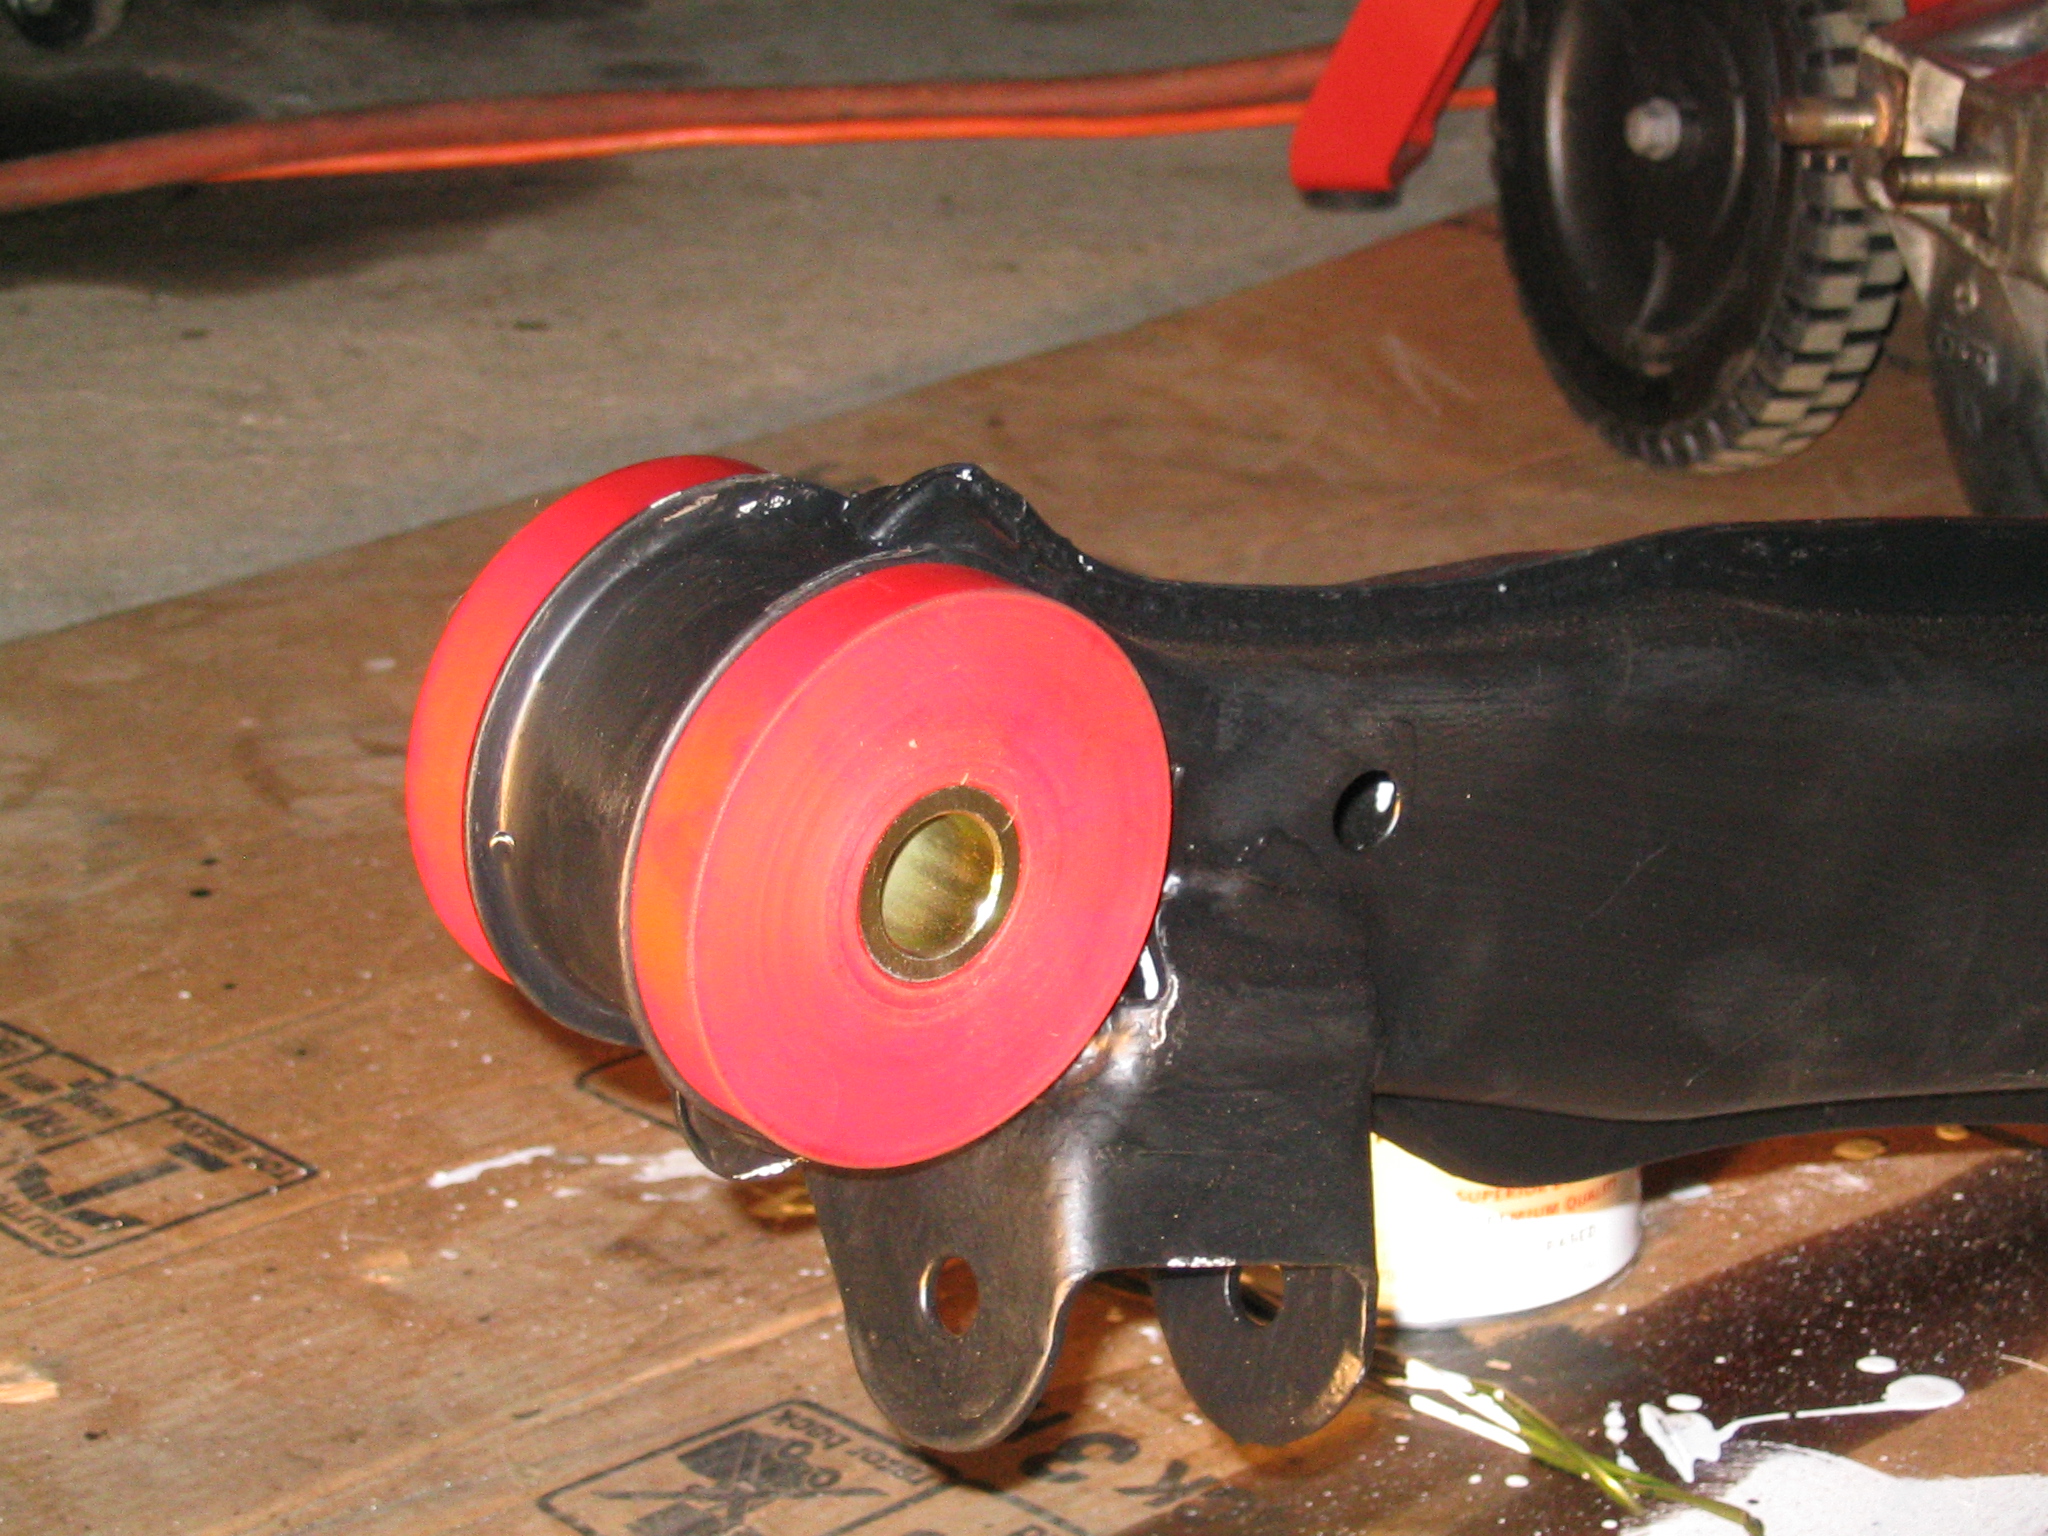 New bushing halves and sleeve installed. Note that the half with the indent goes up. |
And now it's time to raise the crossmember and differential back up into the car. Install the differential to crossmember bolts, but do not tighten them. They will need to be tightened once the crossmember and differential to body hardware is installed.
 Lining things up |
 And raising them into place |
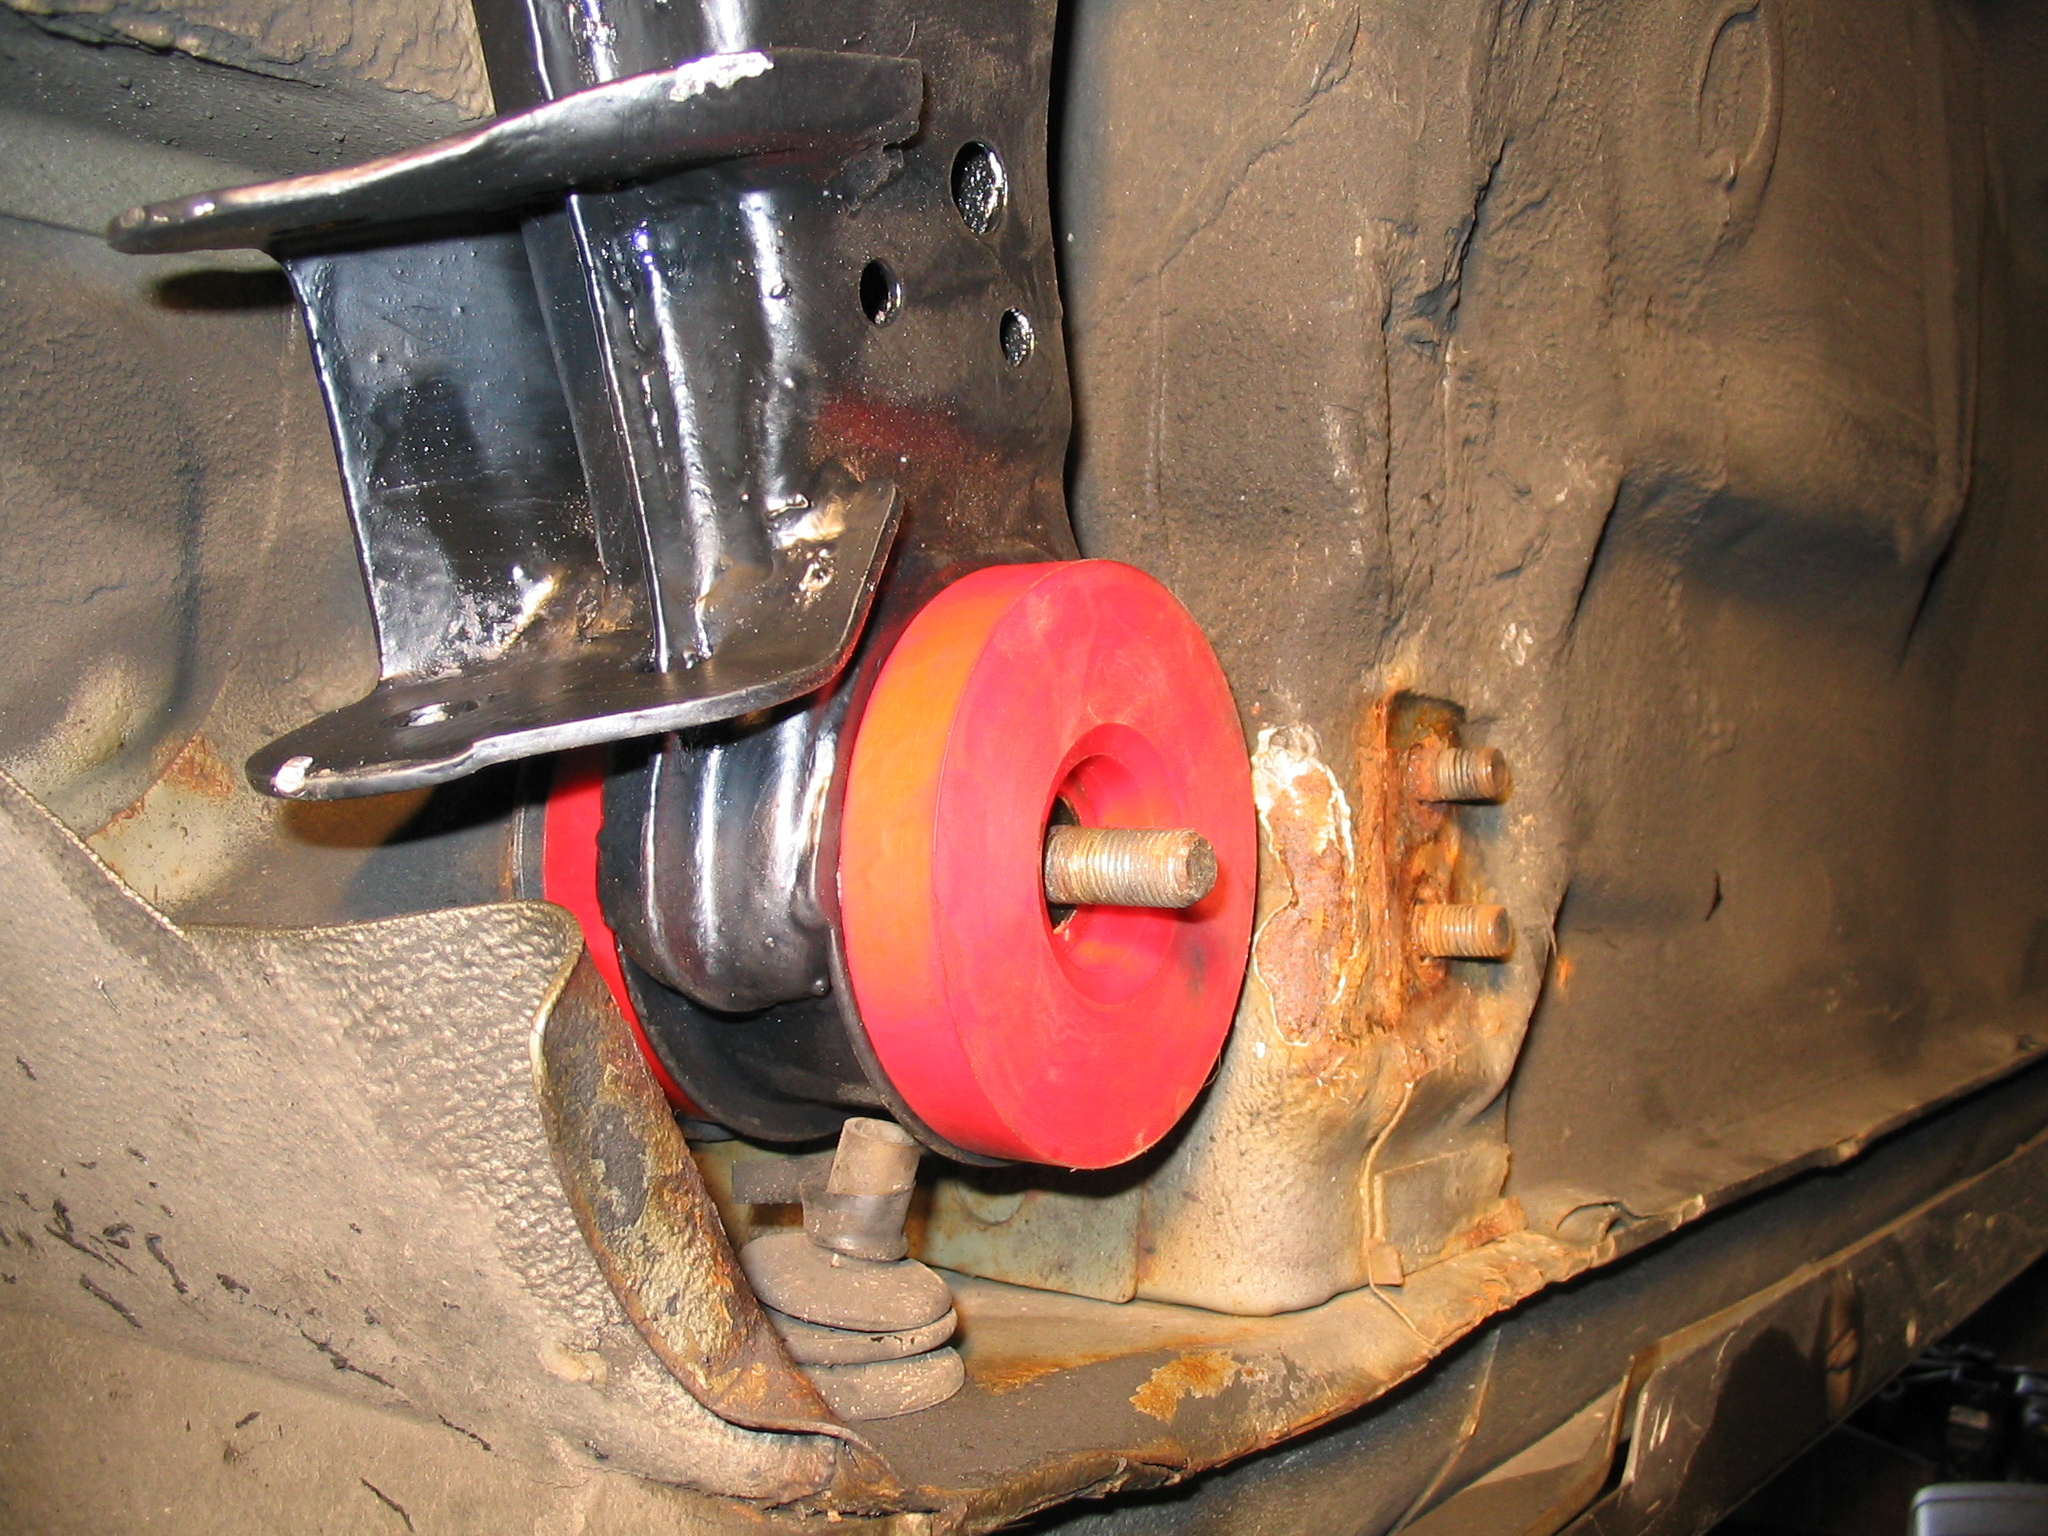 Back on its mounting posts (don't forget the big washer goes on top of the bushing) |
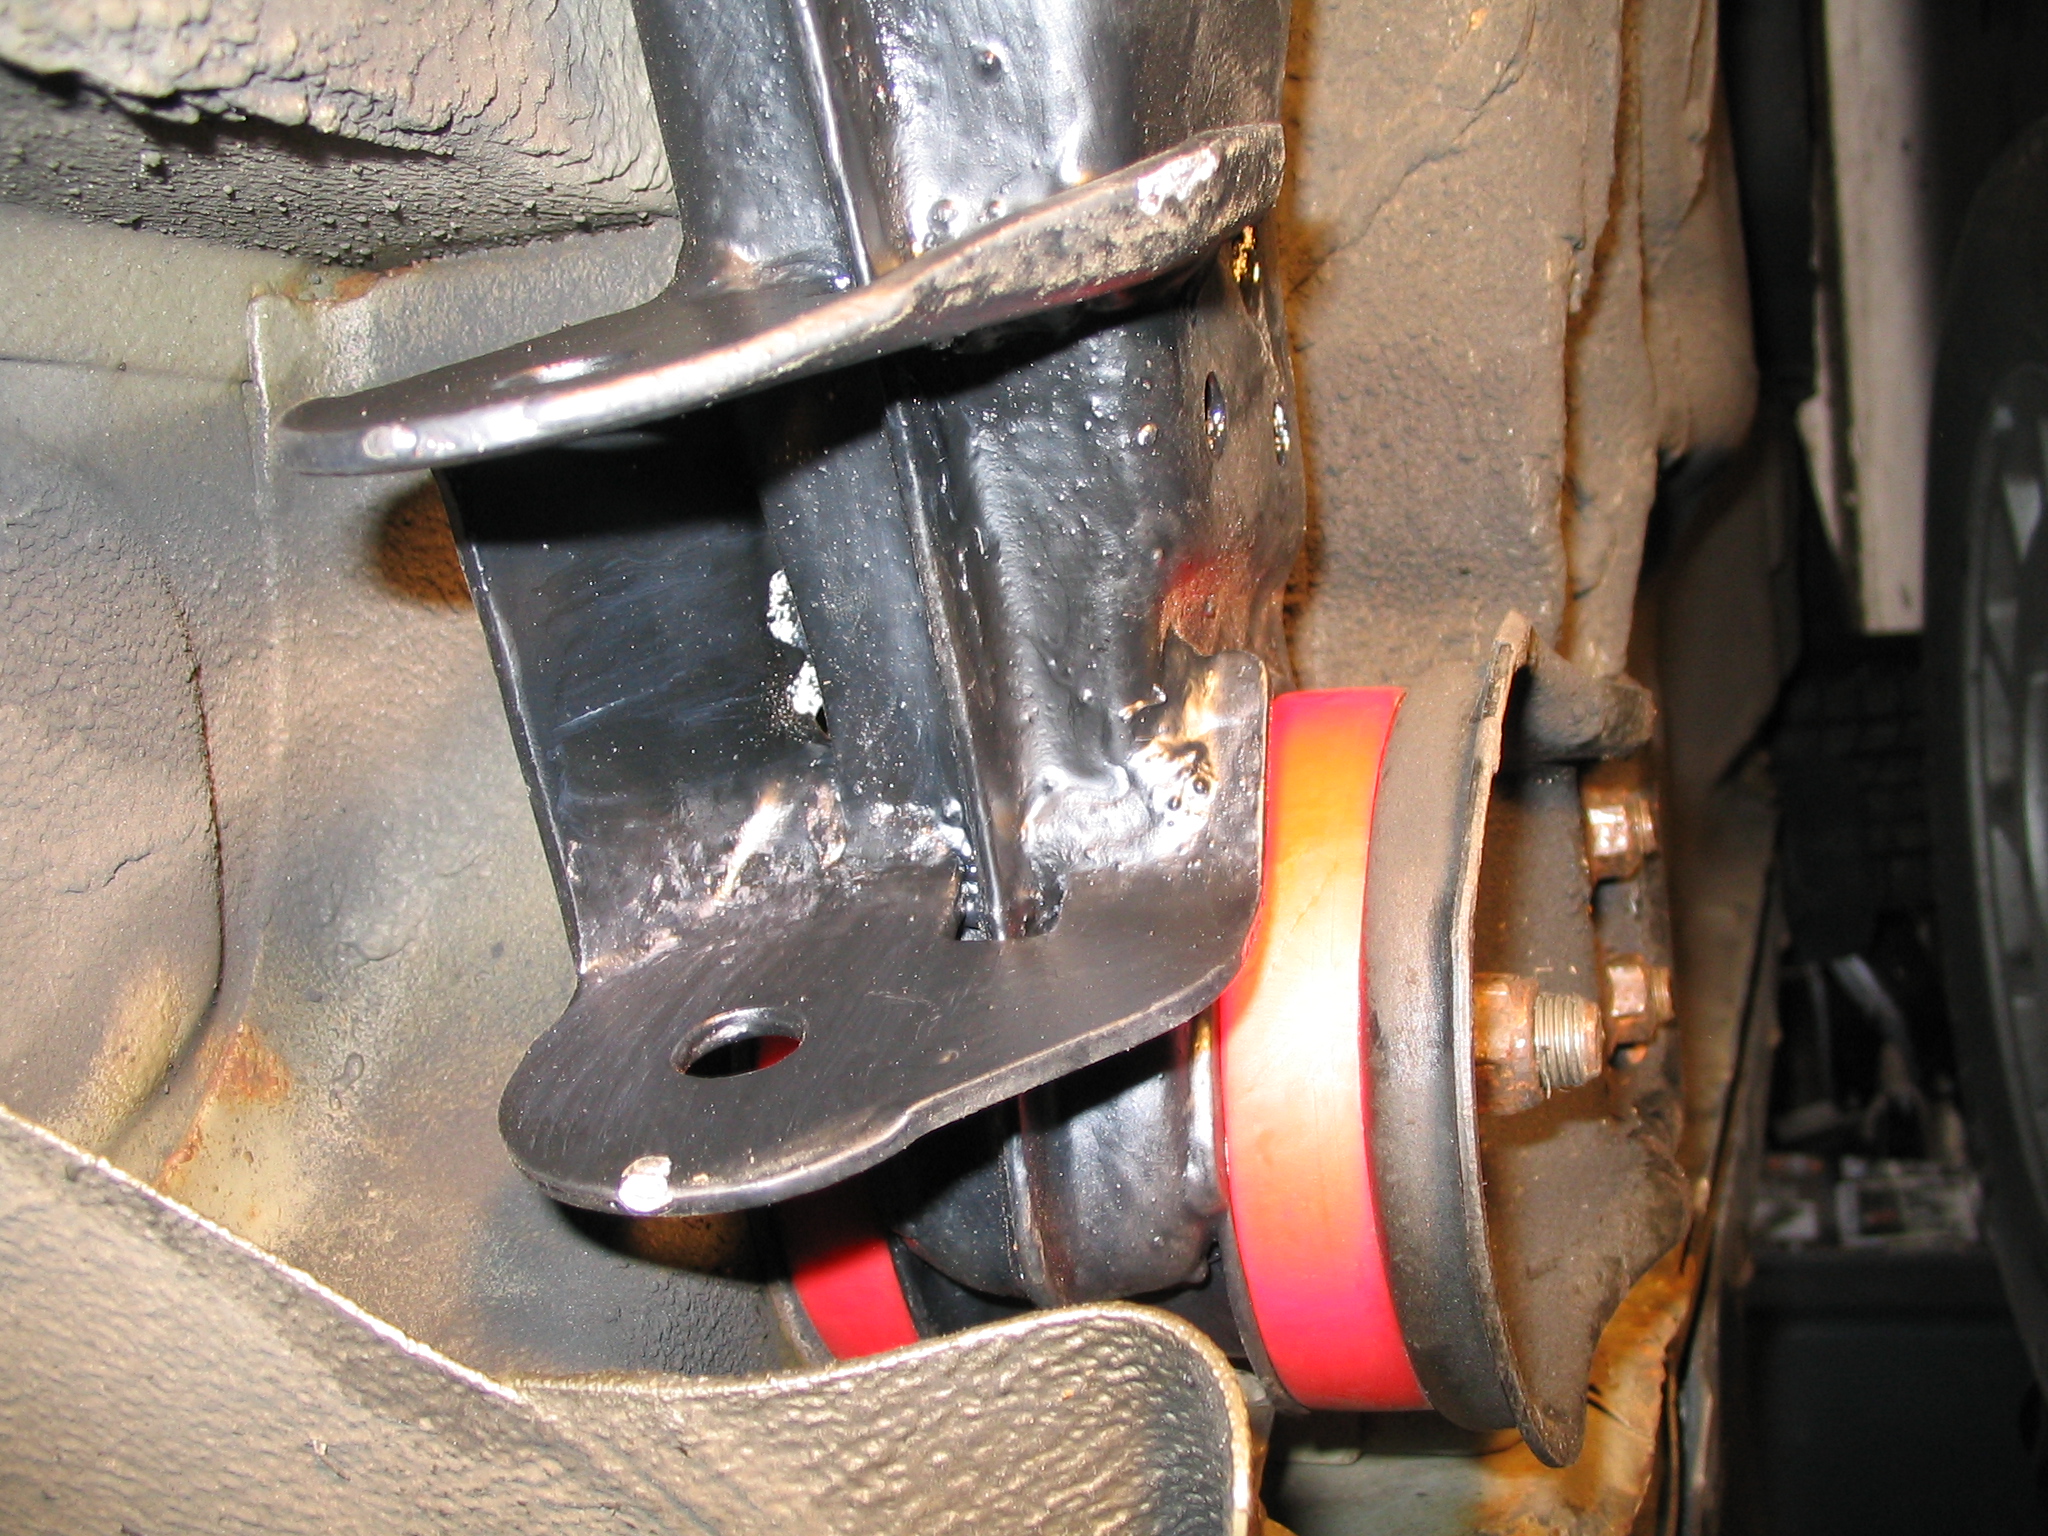 And torqued down to spec. Note how the bushing deforms slightly in compliance. |
Now, I was ready to reinstall the control arms. The only problem being that I wasn't able to remove the bolt bodies from the old inner control arm sleeves. I needed to reuse those sleeves to install the new poly bushings. I took the old sleeves to a machine shop, and they were unable to remove the bolts with a hydraulic press. That was the end of that, and I contacted Dan at The Specialty Shop, who was able to hook me up with a set of OEM bushings to burn out, and in a hurry.
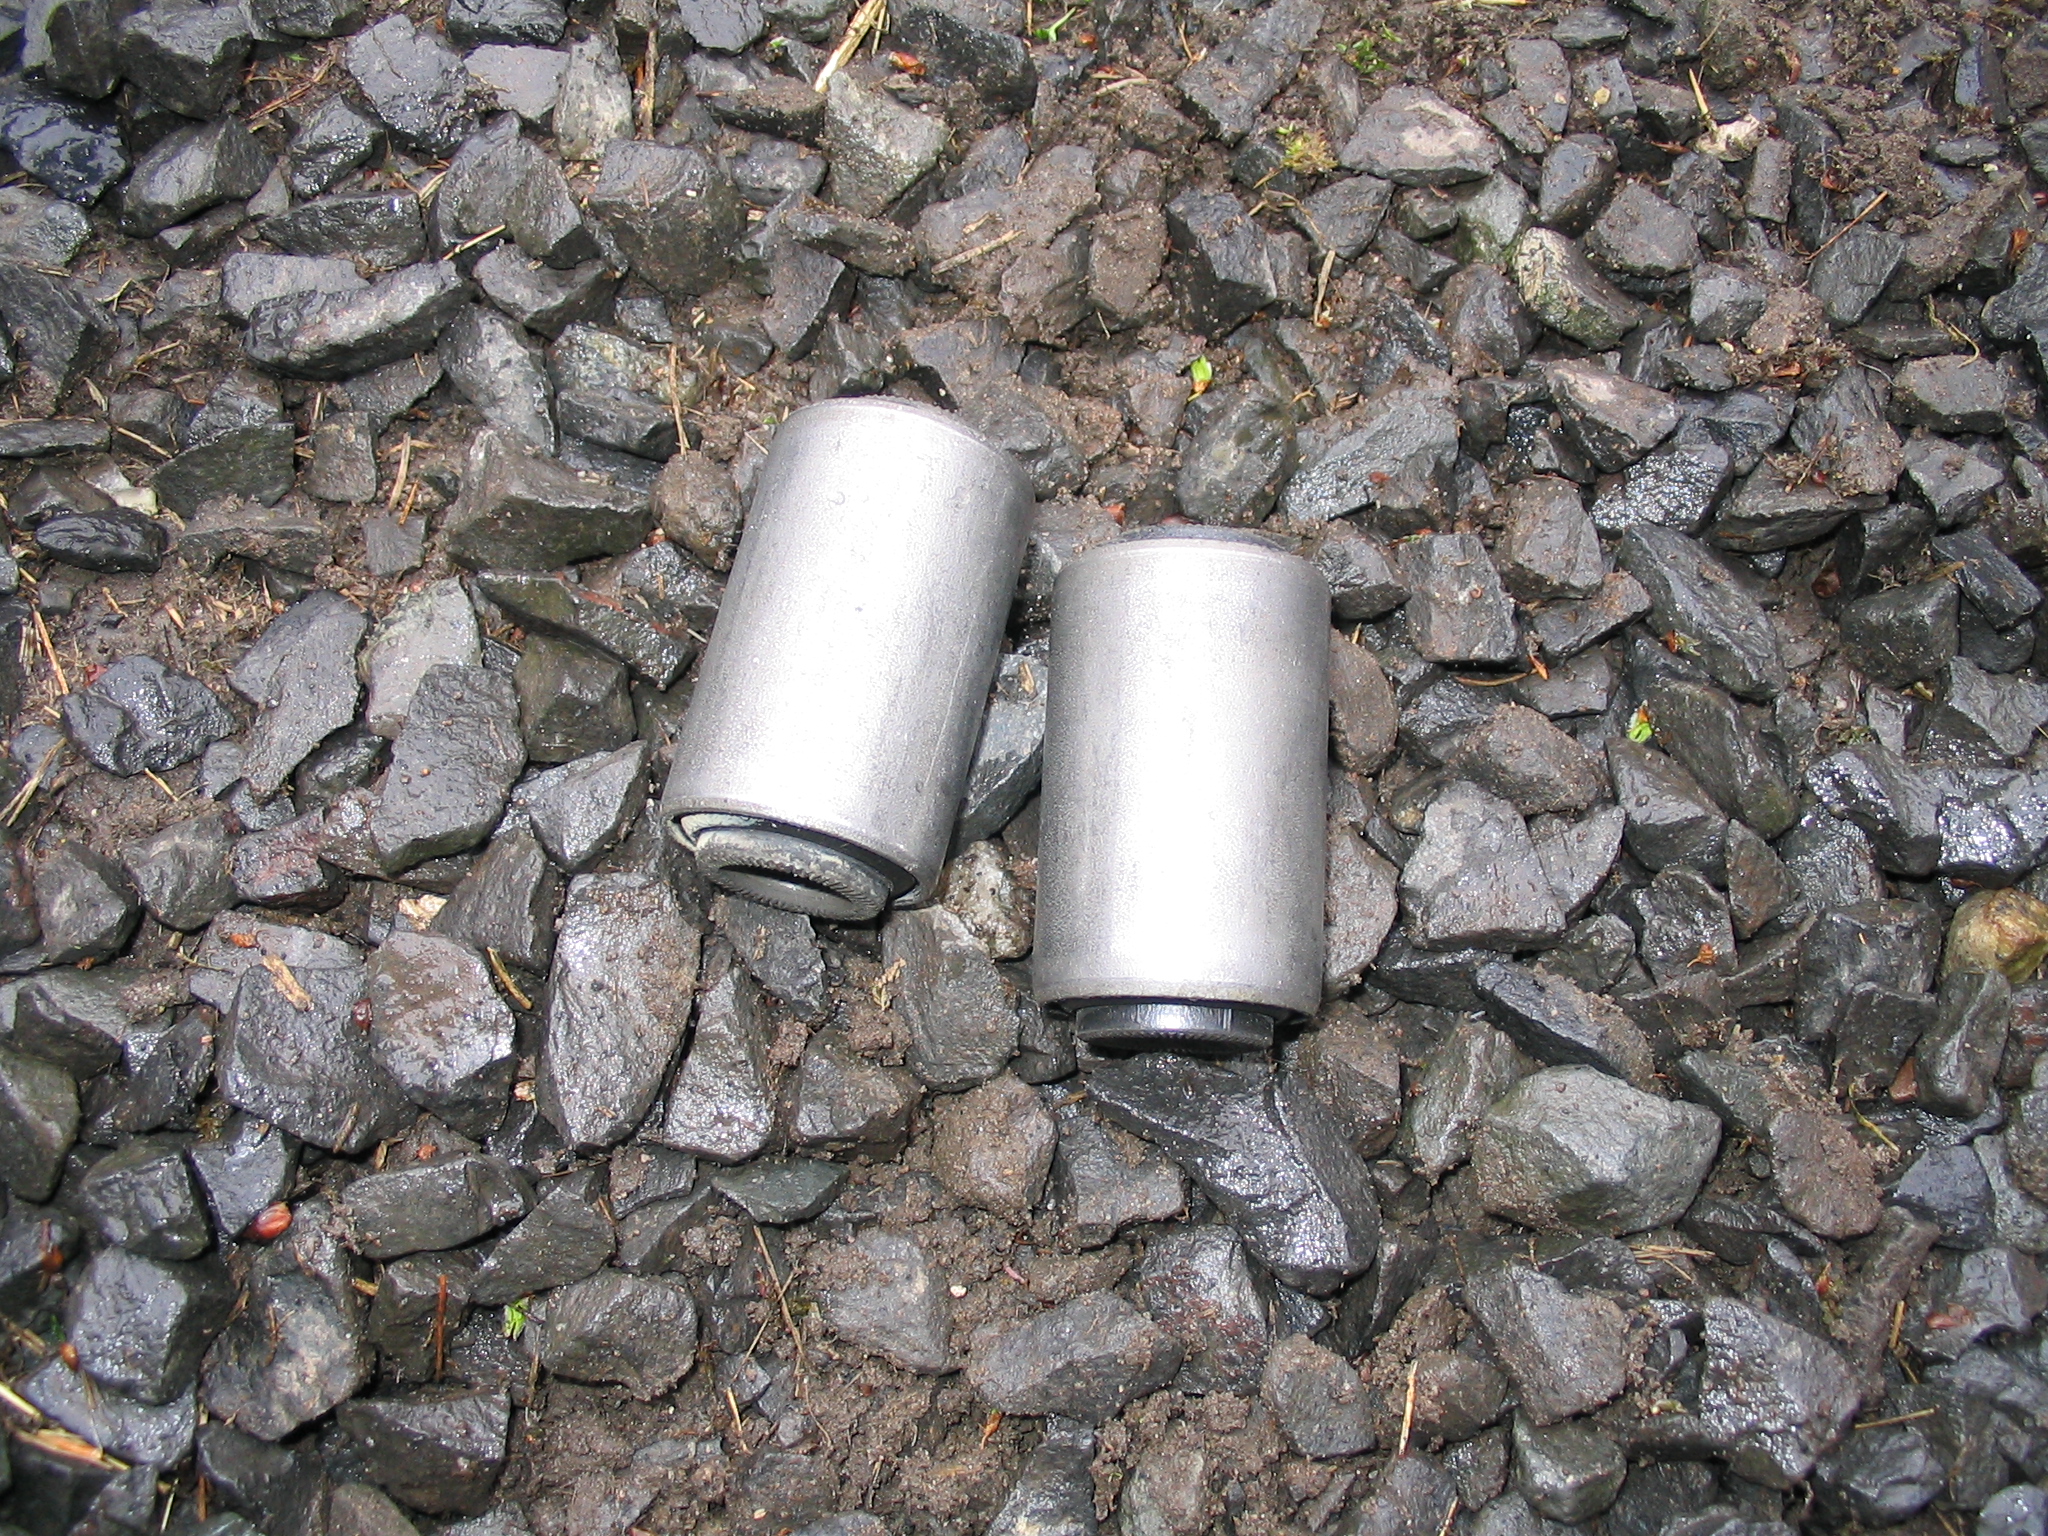 Pristine... |
 This ought to fix that |
 Almost ready... |
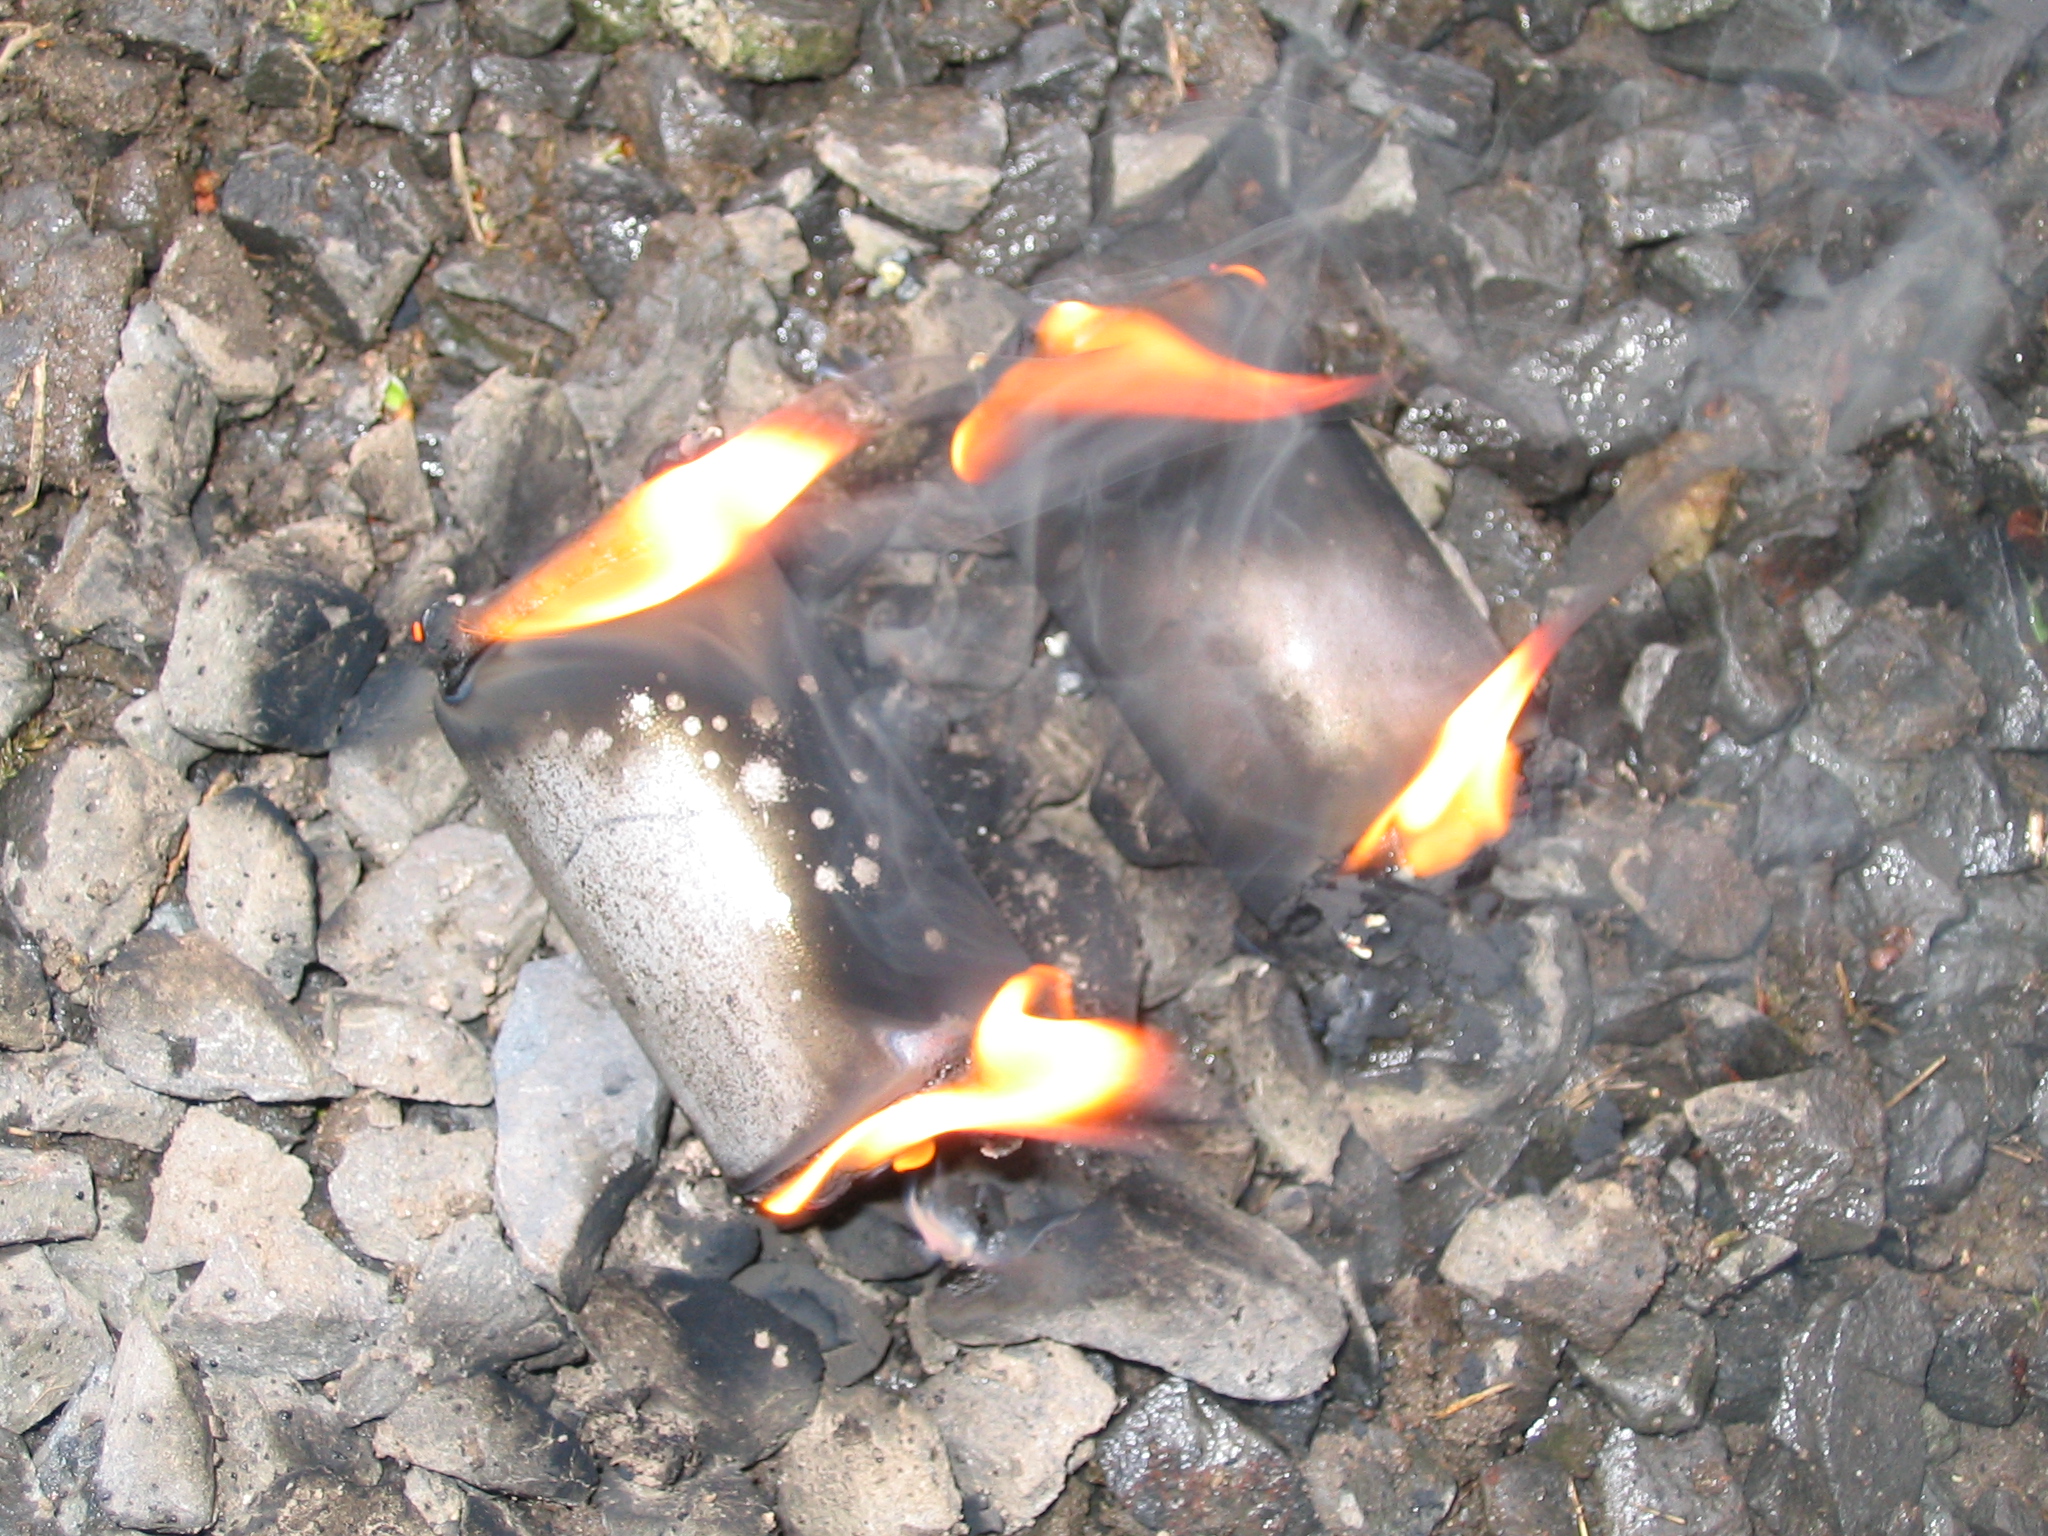
 And sleeves burned out. I really like how there is so much fire involved in this project. |
Closer and closer to done... and then...
Dammit, I forgot the exhaust is one piece... Pulled the crossmember again and reinstalled with exhaust in place above. Fabricated a new bracket to stop some annoying vibration into the body. Moving on...
 |
So now that I had my sleeves, I assembled the new bushings into the control arms, and remounted the control arms with new bolts and nuts, using a good helping of anti-seize so that I won't have to face them being frozen in place again.
 |
 Don't be bashful with the lube... let it fly and avoid squeaks. I haven't had any squeaking problems yet (/knocks on wood) |
 Control arms back in. Make sure to tap the axle back in place until it snaps home. |
 Shiny new hardware |
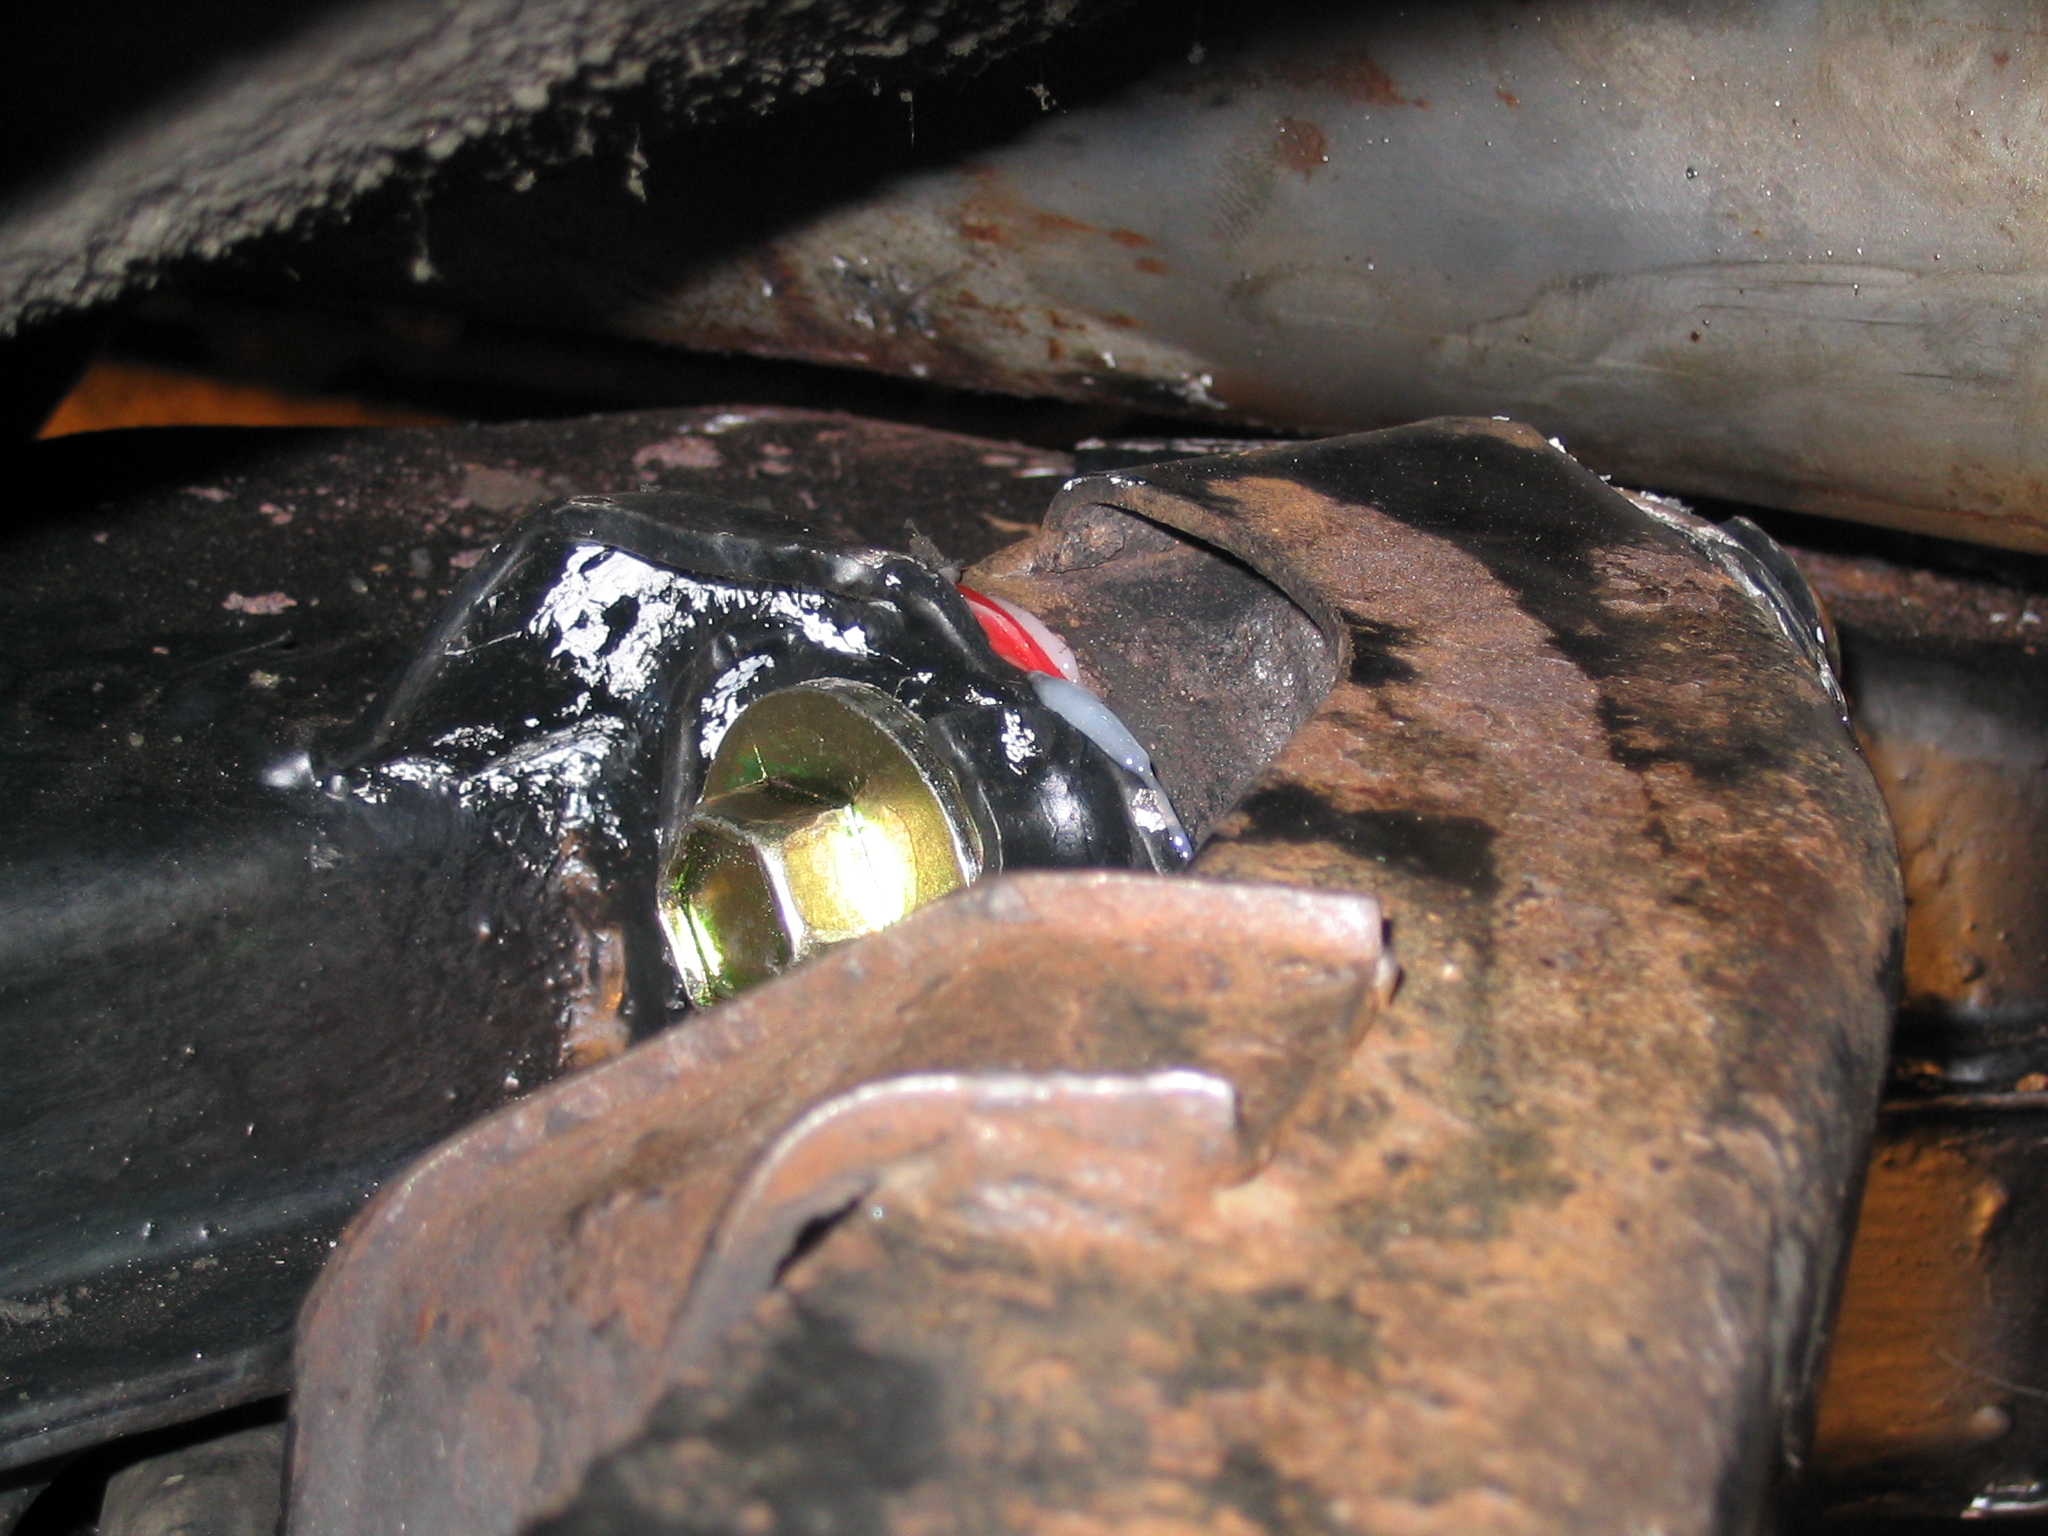 More shiny hardware and gobs of lube. Make sure that you install the inner bolts in the same orientation as the ones that you removed. |
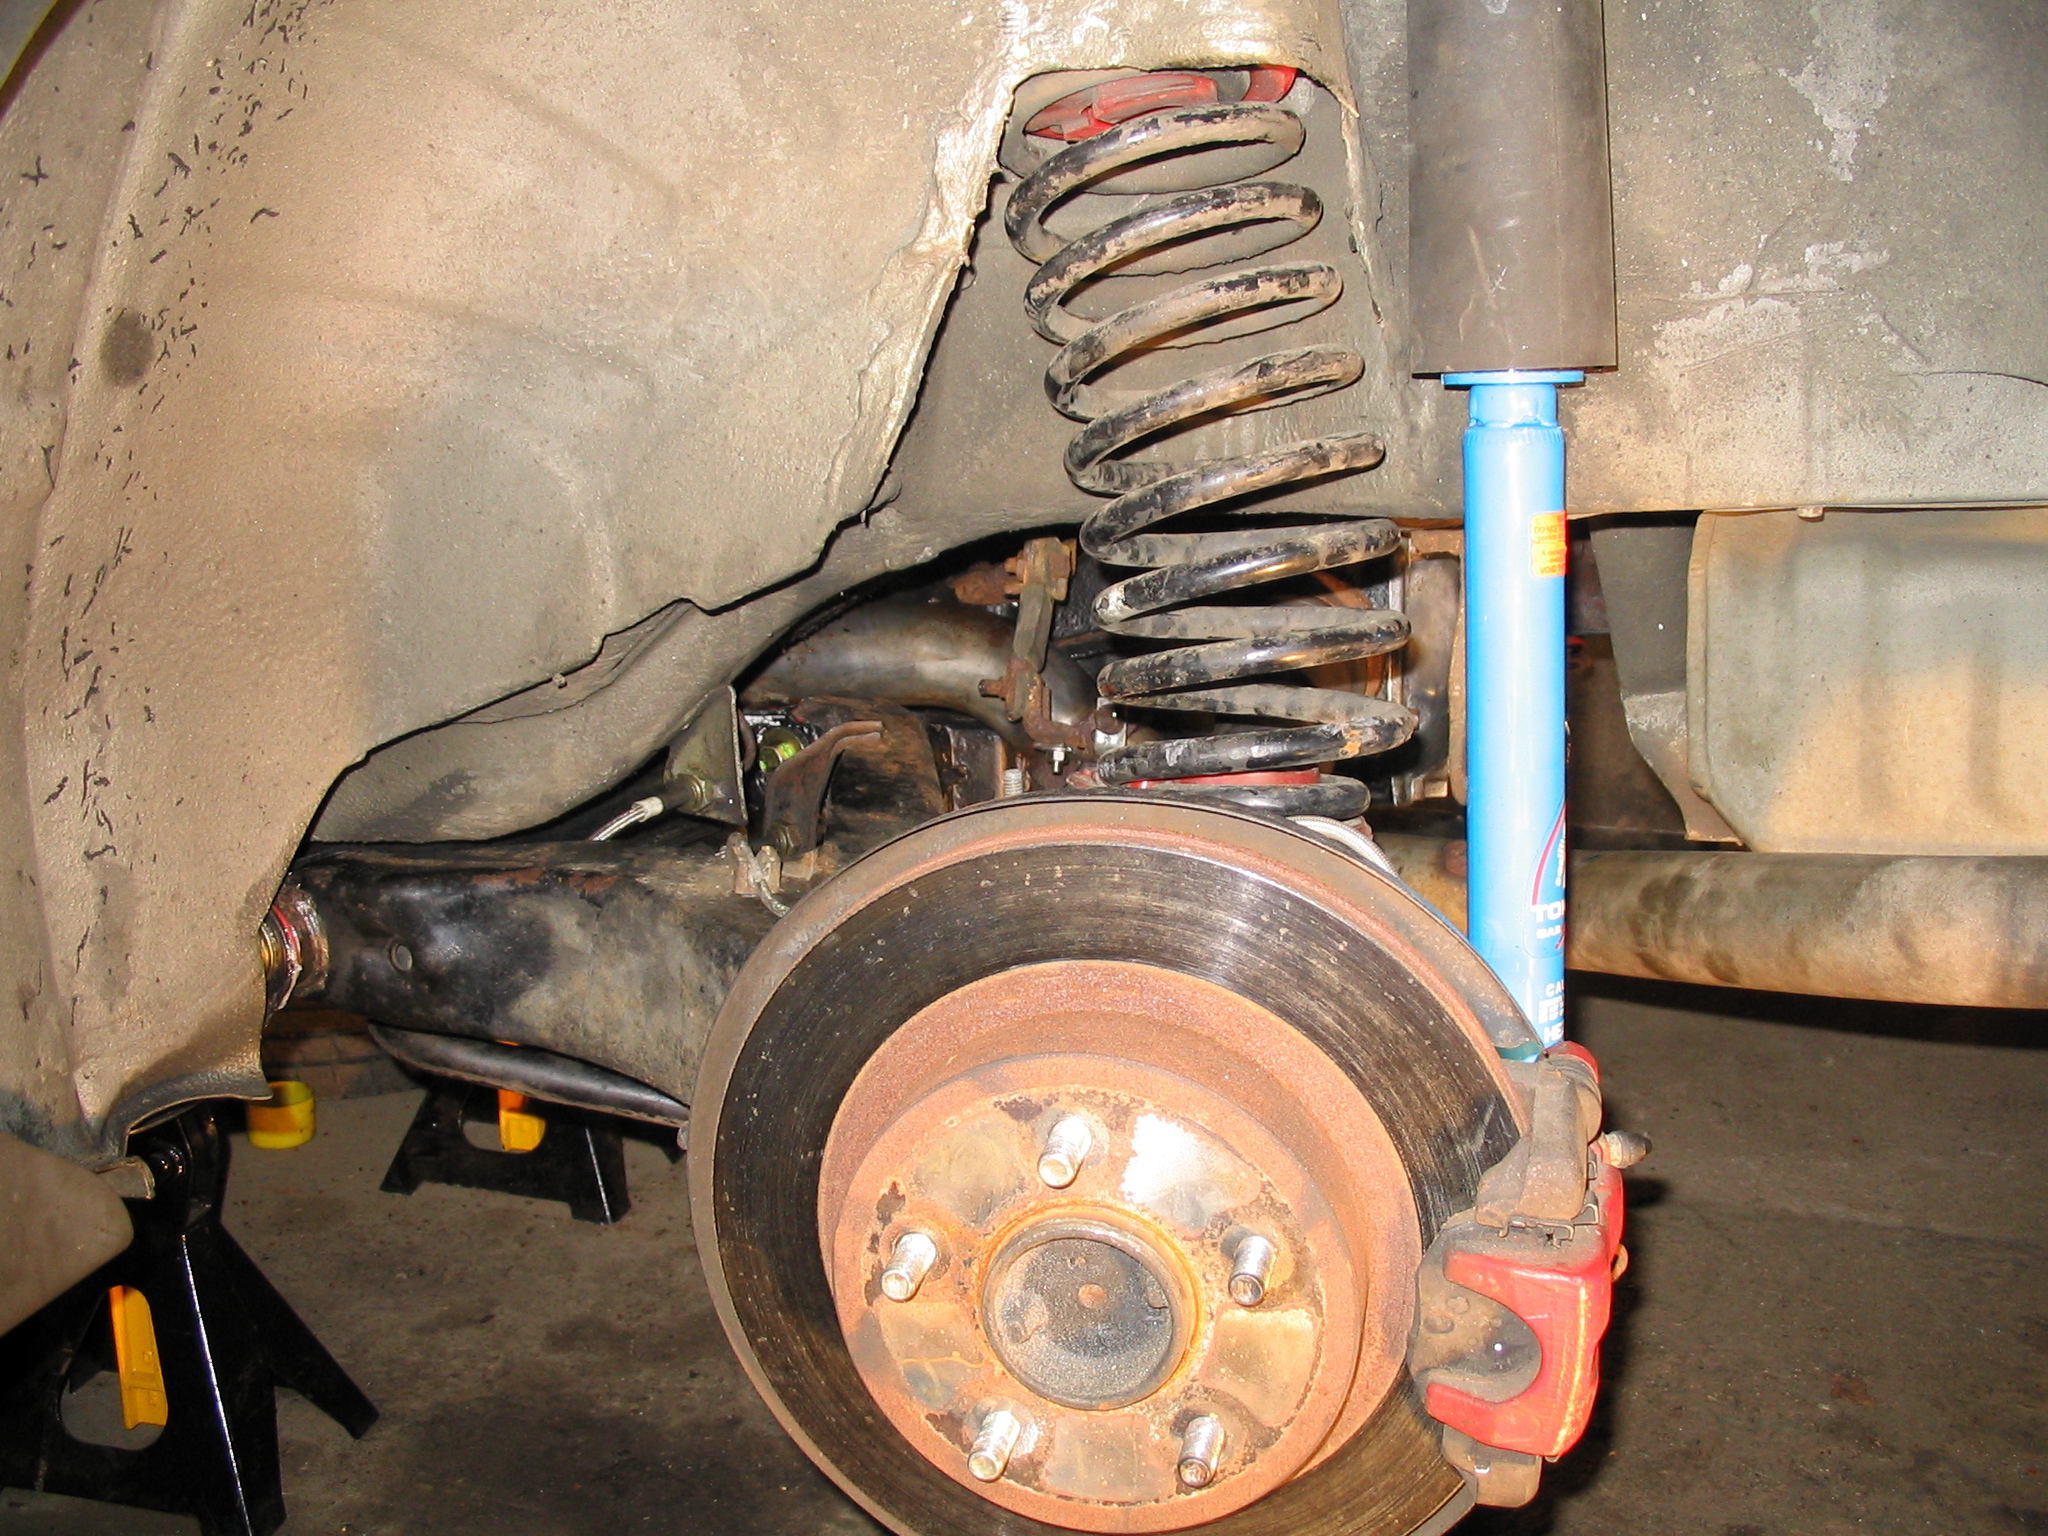 Spring reinstalled and shock reconnected |
The car handles so much better now it is amazing. Coupled with the poly motor mounts and transmission mount, everything just feels nice and solid. There is slightly more differential noise as a result of the crossmember bushings higher durometer compared to the stock rubber units, but it is negligible, and far outweighed by the cleaner handling characteristics.
|
|||||
|
|||||