|
|||||
|
|||||
Fuel Pressure Gauge Installation
10/20/05 —
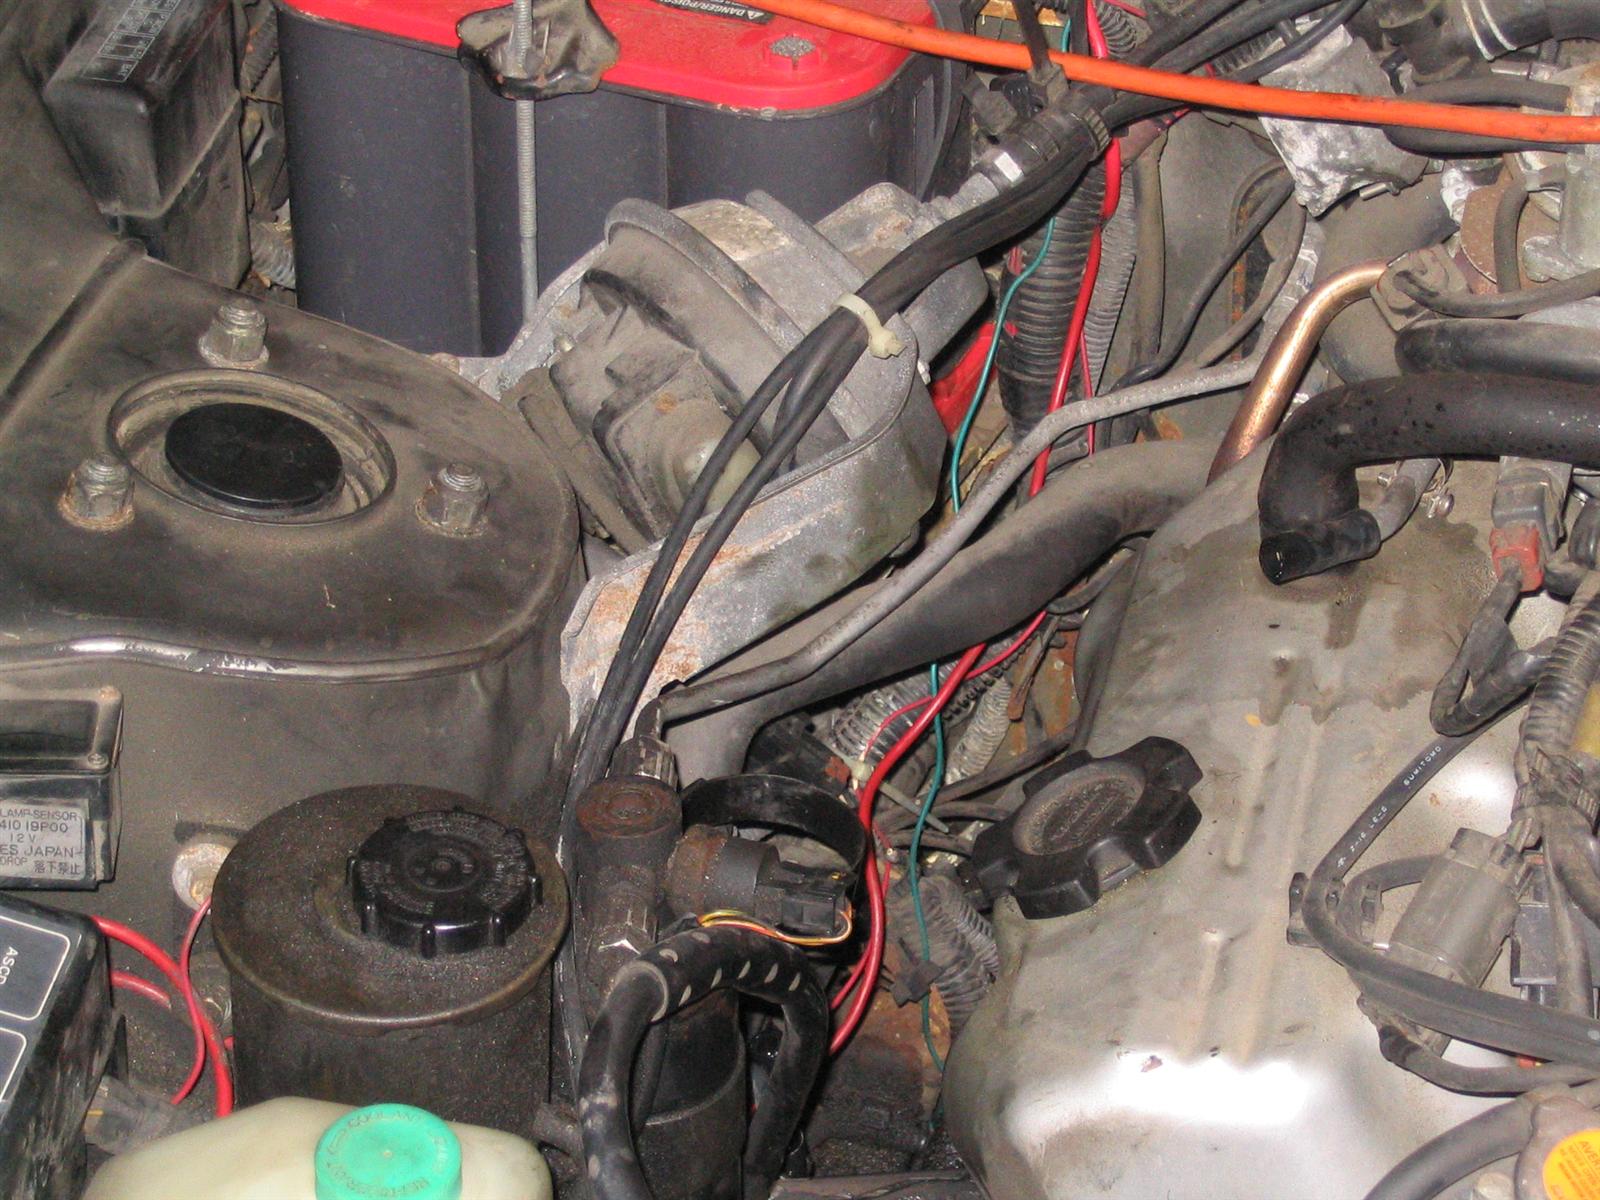
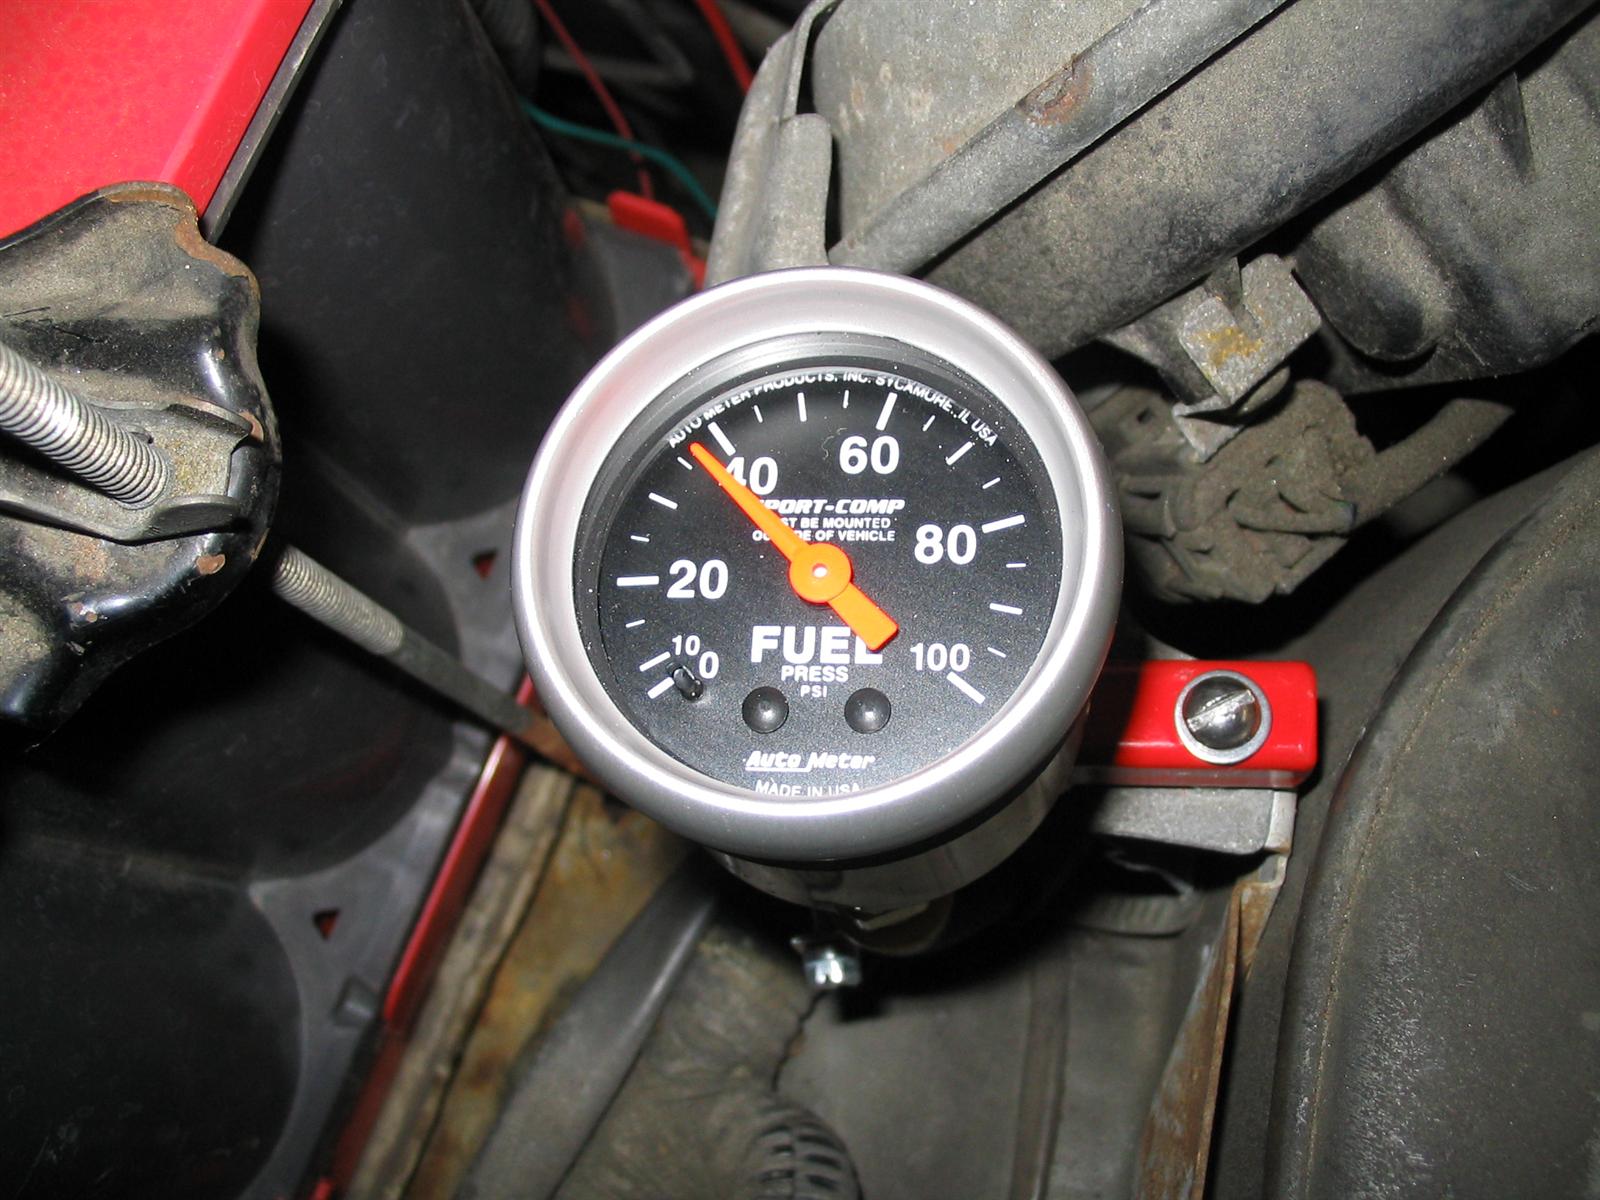
I had been having a tough time tracking down a stumble on acceleration problem that started after the Z went through some more water than it should have. As part of this diagnostic, I installed this fuel pressure gauge to monitor what pressure the injectors were seeing.
The installation was quite easy. I tapped into the line between the fuel filter and the rail. I used a brass T with the T'd side going to the gauge, in order to not cause a pressure drop forcing the fuel flow to redirect.
|
 ... but don't be fooled, there will still be pressure in the line when you open it up. Crank the engine a couple more times and have a rag ready. Here I've removed the line between the filter and the fuel rail |
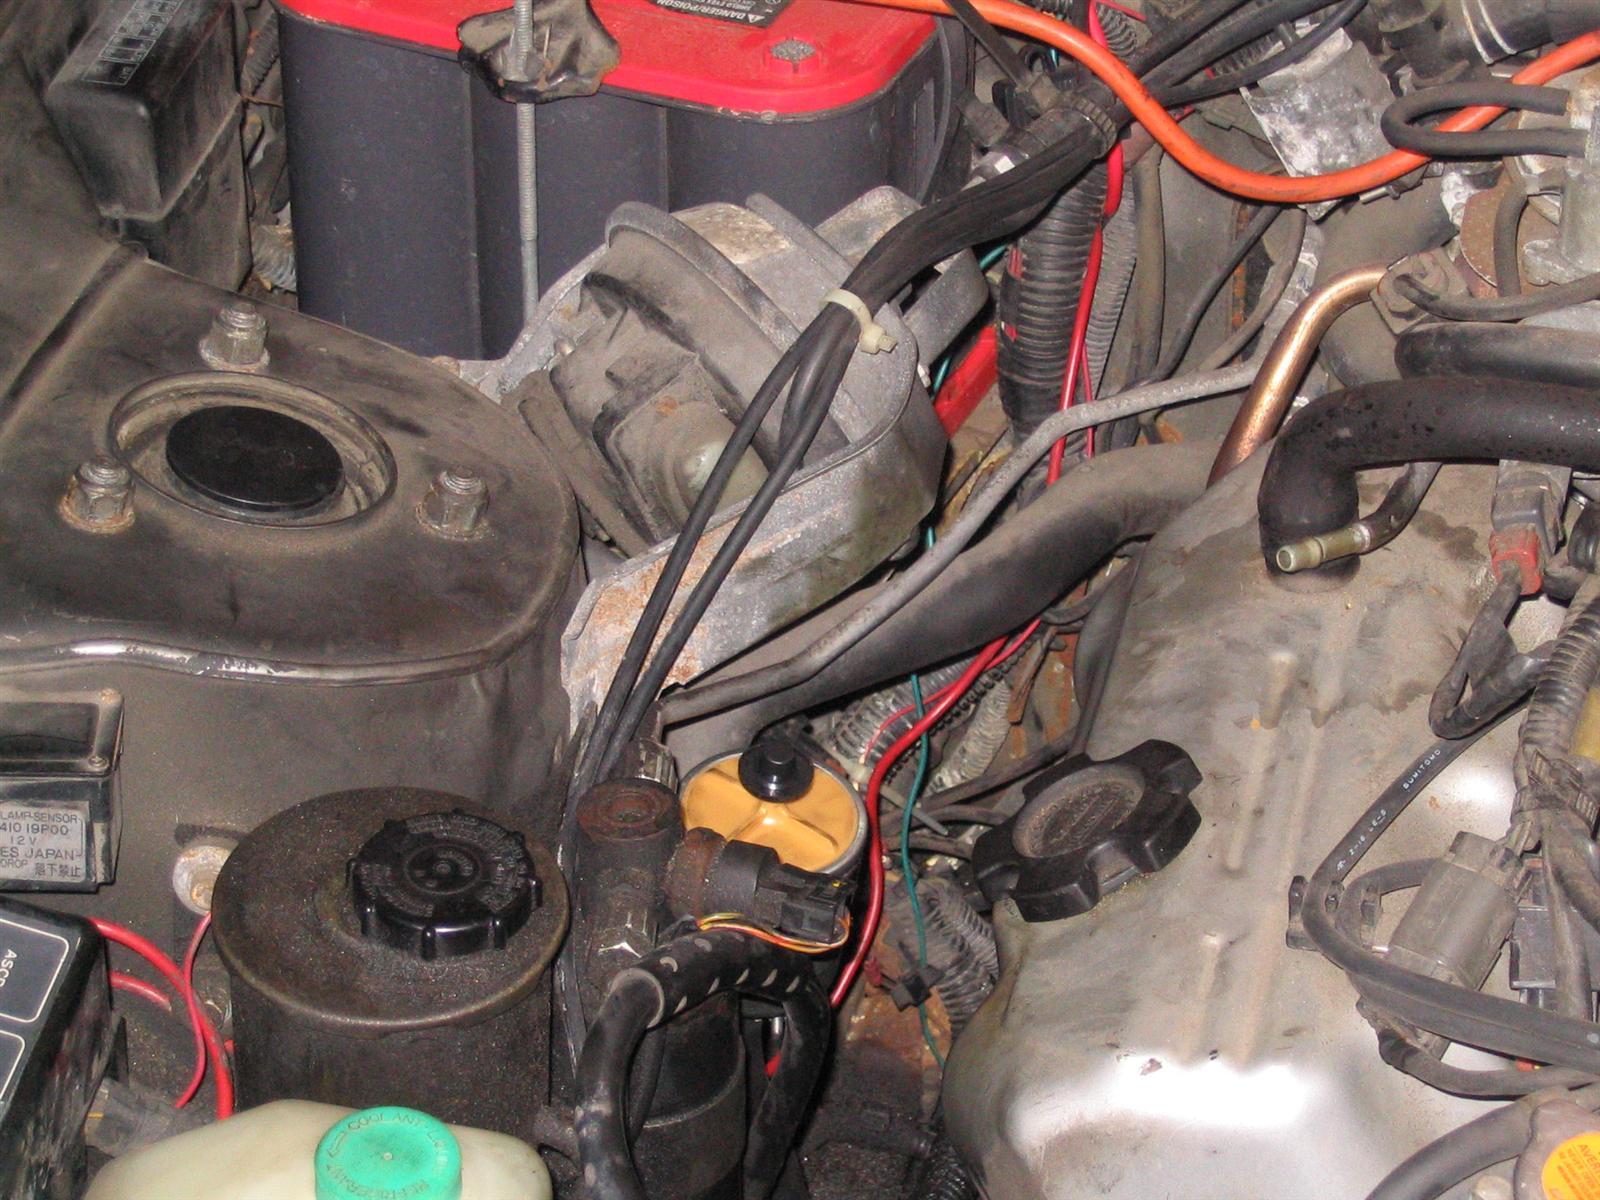 New fuel filter installed | 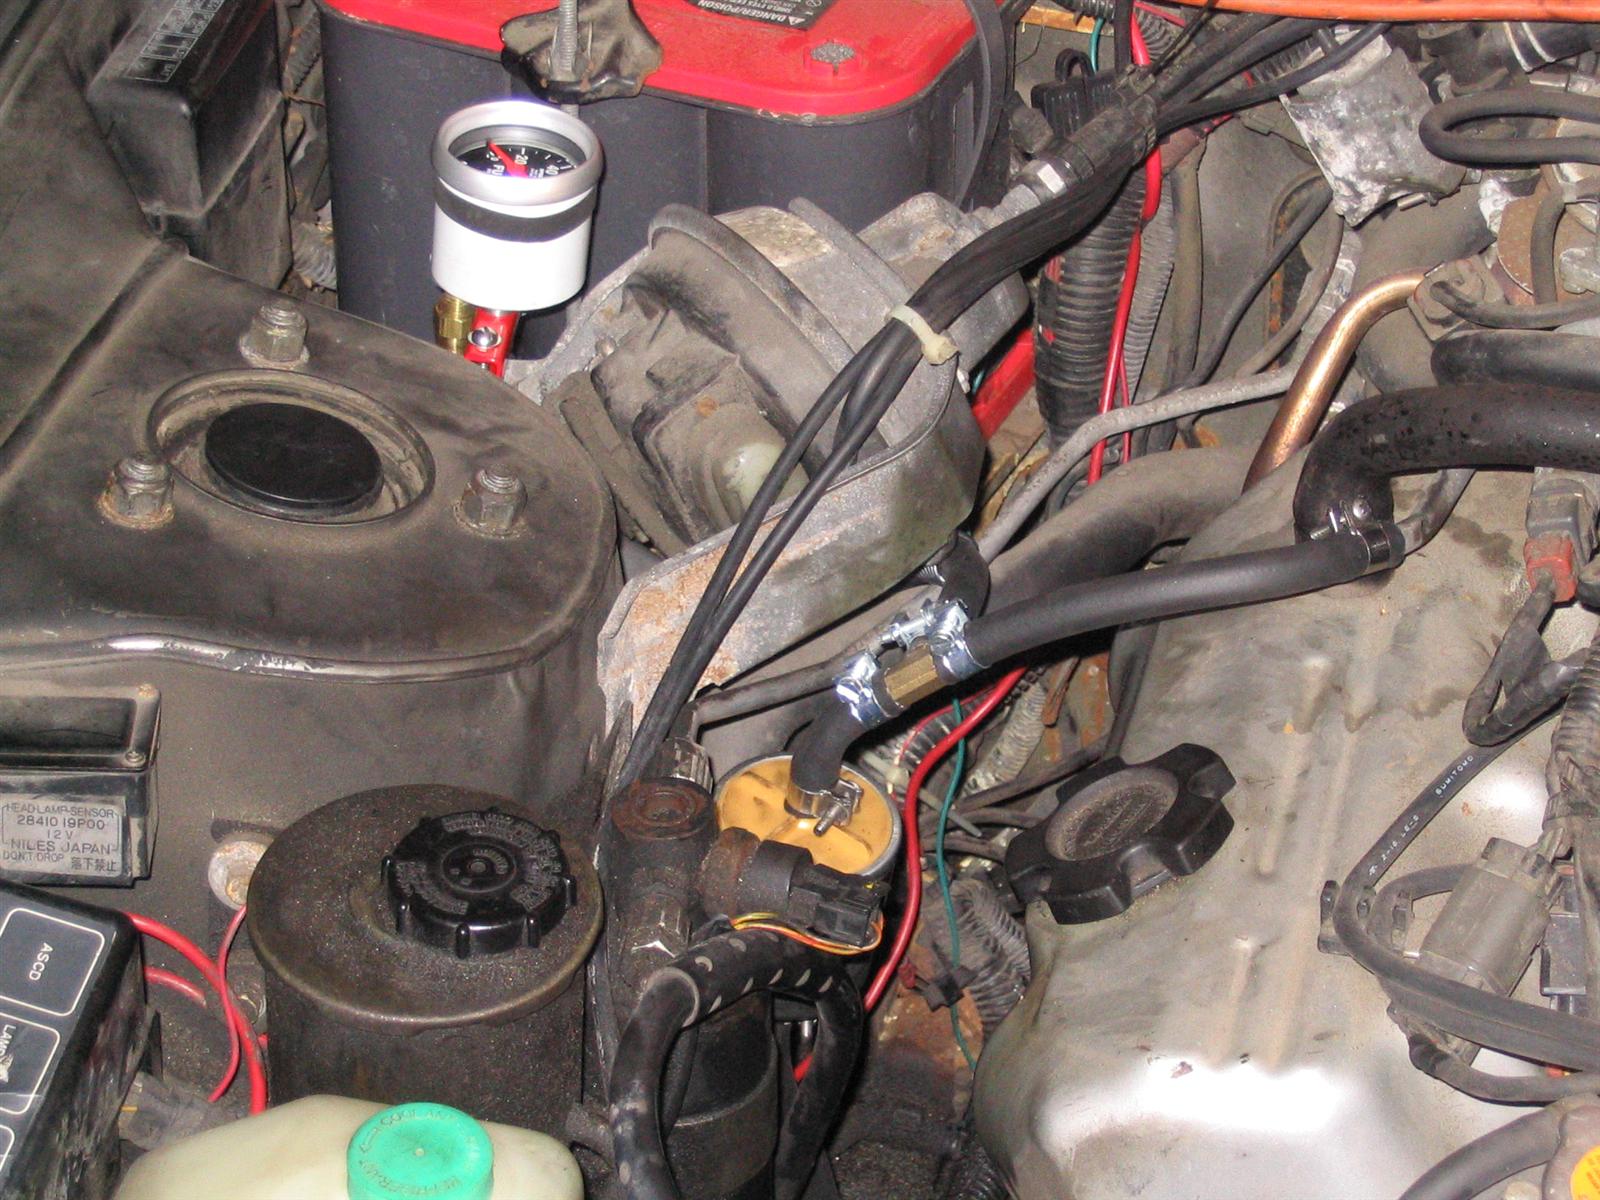 T running under cruise control and over to the gauge |
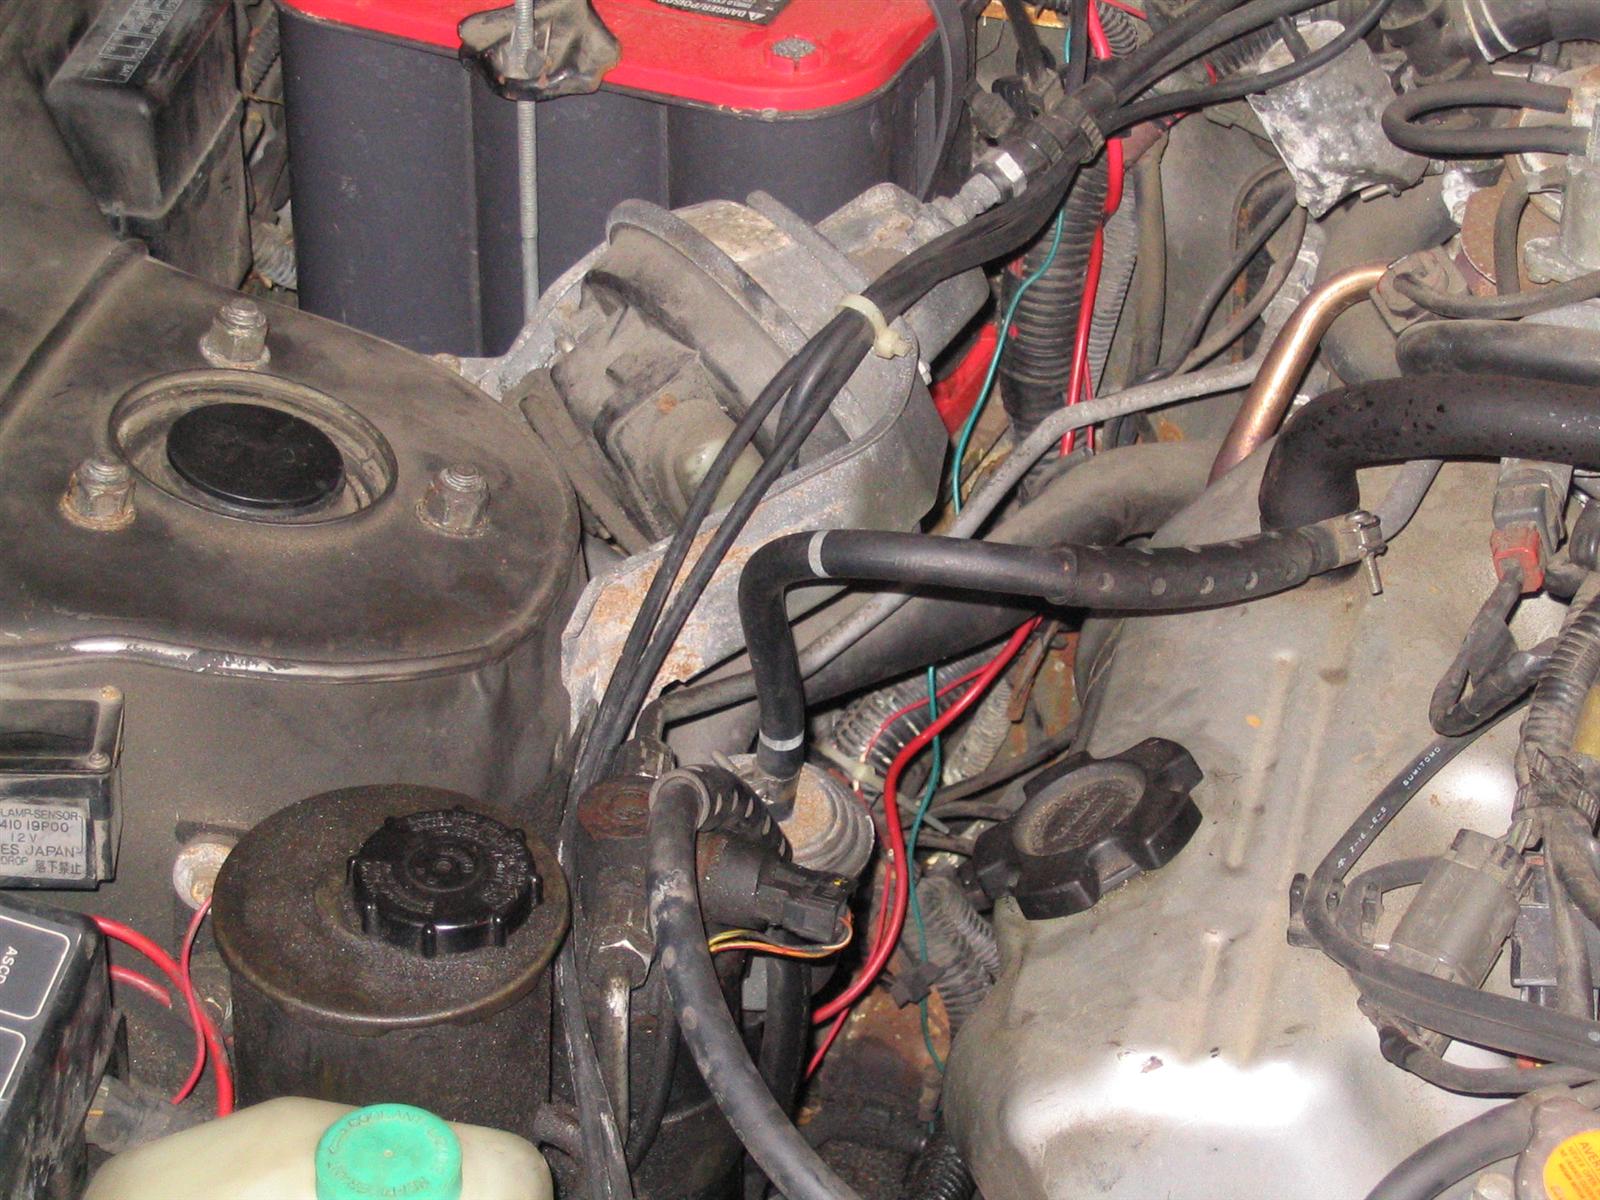
In order to prevent any problems with vibration rubbing away at the fuel line that runs under the cruise control unit to the gauge, I wrapped it in split loom tubing secured with zip ties. The gauge comes with a -4 AN fitting on it. This is quite a pain to find fittings for, but I got an adapter to take that to 1/4" barbed fitting at a big auto supply warehouse down by the train tracks ('no retail sales' signs, etc.). I am not sure of any chain stores that stock this type of fitting locally, so you may be better off ordering one from Summit Racing or another large distribution warehouse. The other parts are a 5/16" brass barbed T, NAPA Fuel Injection clamps and 5/16" high pressure injection hose.
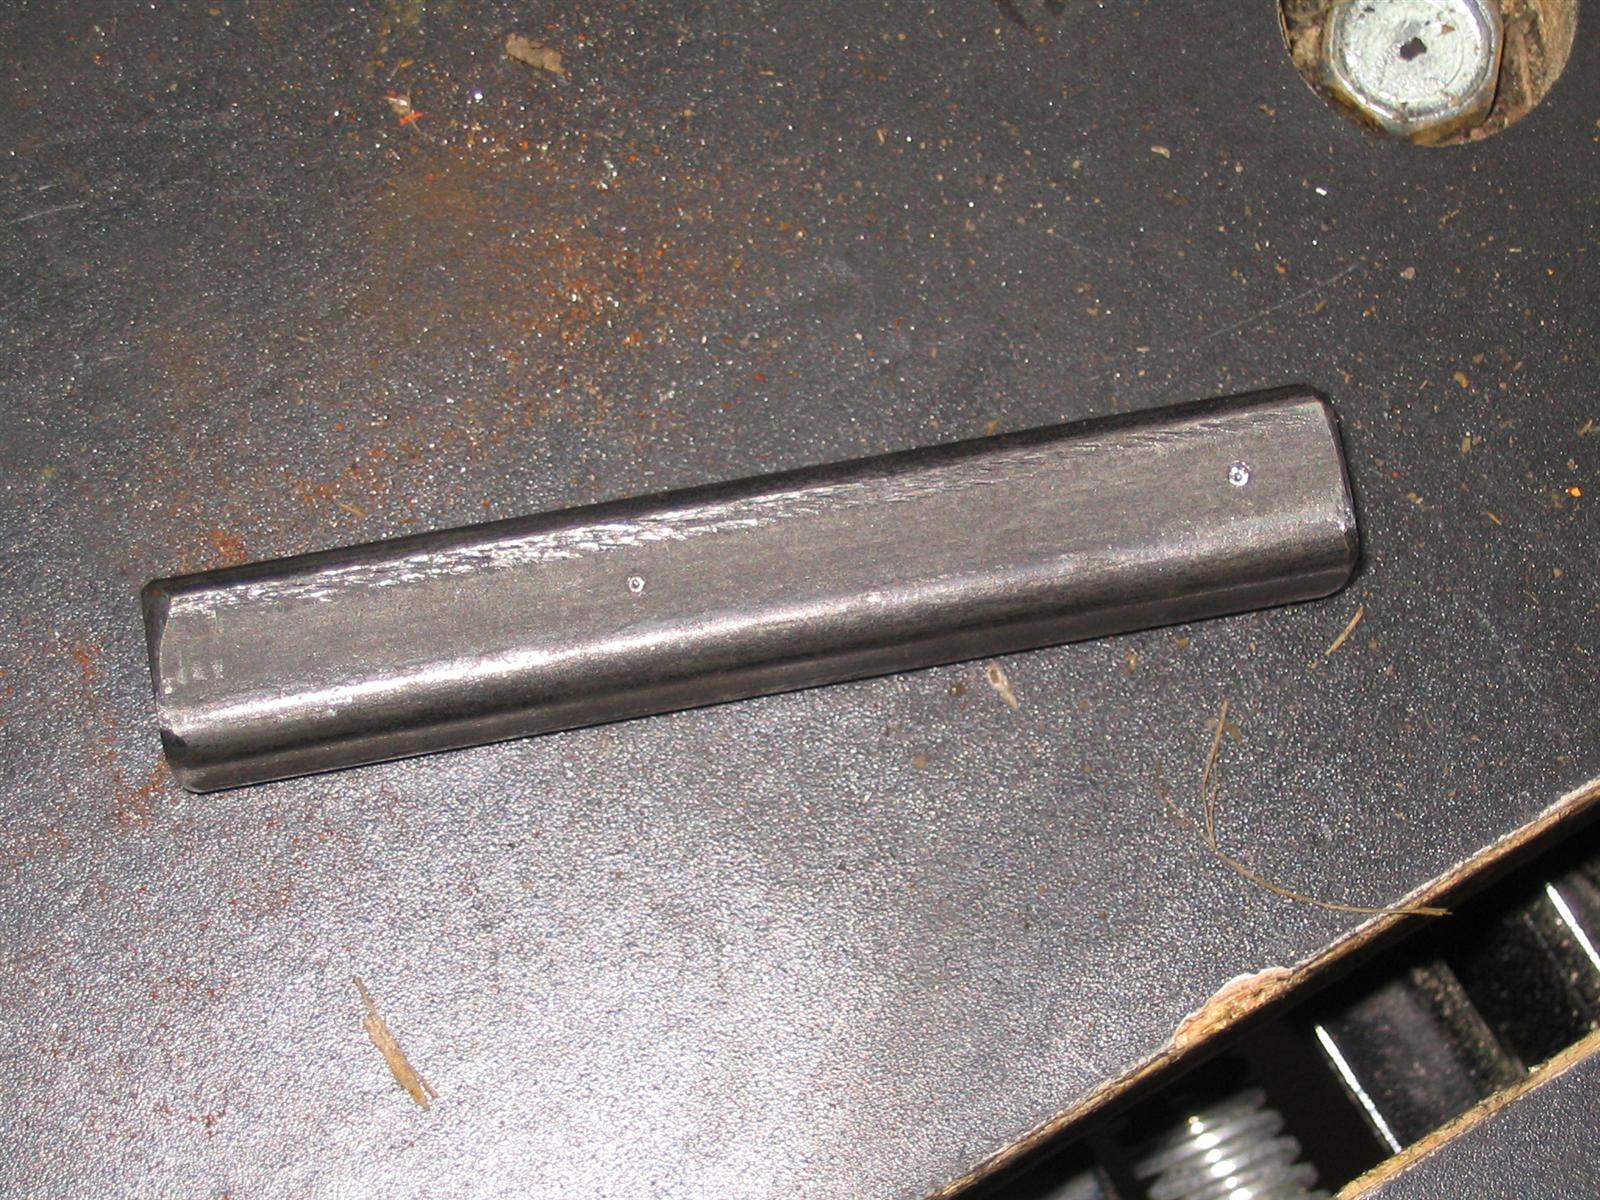
I needed a bracket to mount the gauge under the hood. I chose to put it in front of the battery, next to the cruise control actuator unit. For the bracket, I simply used a piece of 1/2" square stock. After I made it, I sanded, primed, and painted it so that I would not have to worry about it rusting in the future.
|
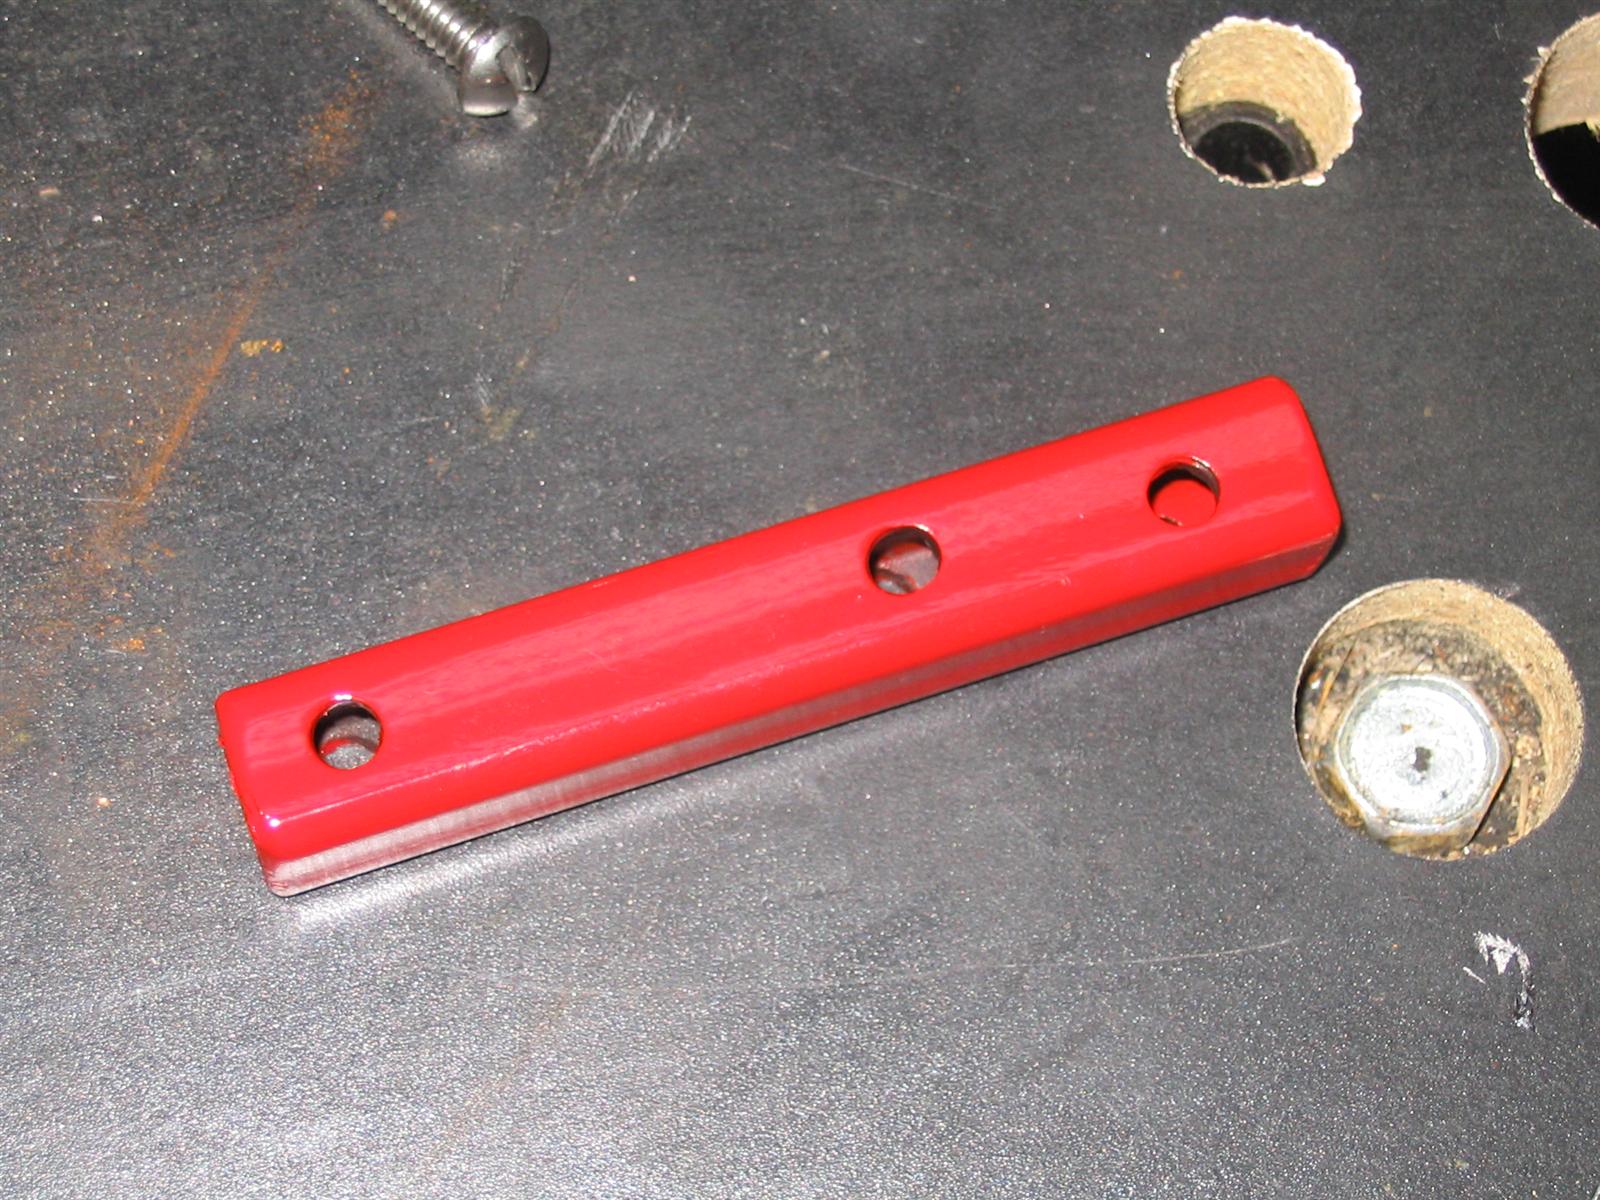 ... and the final product, finished in Rustoleum High Temp engine enamel, as are the other red accents in the engine bay. 2 holes for gauge, 1 for mounting bracket |
 |
 |
| Final product, held in place with a stainless bolt. The bolt holds the gauge in place as well as replacing the original bolt for that side of the cruise control unit. | |
|
|||||
|
|||||