|
|||||
|
|||||
Headlight Lens Assemblies
8/7/05 —
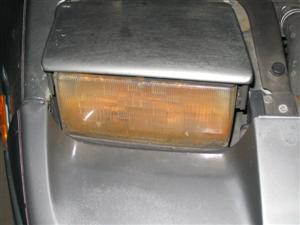
I had dealt with sub-par headlight performance since last winter when both of my headlight lens assemblies decided to rust through. I had finally found a nice set of replacement lenses (thanks again to Steve Berman, who I have dealt with for parts several times) so it was time to get rid of my Z's case of pink-eye.
This was also the first project which I undertook in my own garage at my new apartment in Fair Lawn.
 |
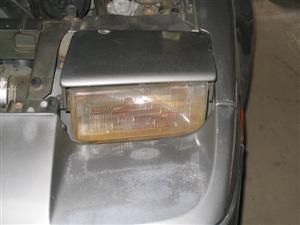 |
| They were in serious need of replacement | |
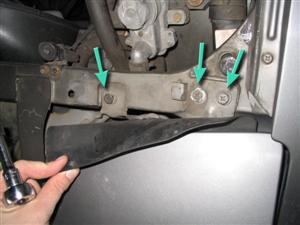
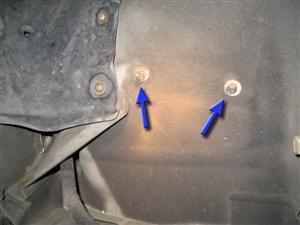
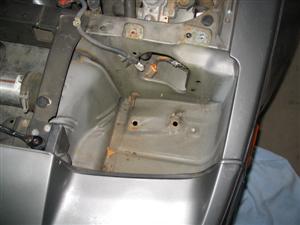
To replace the glass, it is necessary to remove the headlight assembly from the car. This is quite easy, start by removing the 3 bolts behind the headlight (2 12 mm, 1 10 mm) and the 2 12 mm nuts under the fender
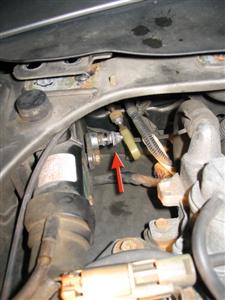
Next, use a 10 mm socket to remove the nut on the headlight motor, and pop the rod/socket off of the ball on the motor. Disconnect the headlight wiring, and pull the assembly out.
 |
 |
 |
 |
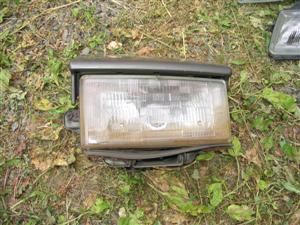
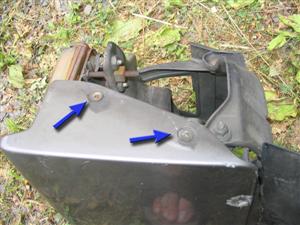
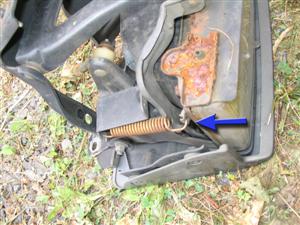
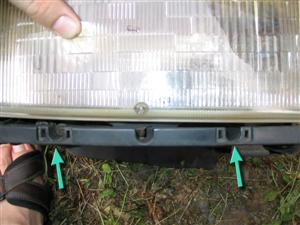
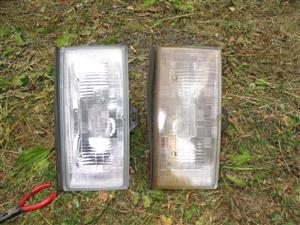
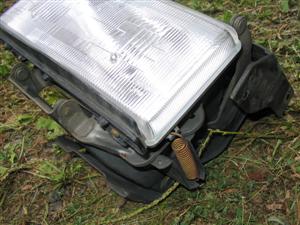
The next step is removing the headlight lens from the assembly. To do this, remove the 4 screws holding the plastic body colored cover onto the headlight assy. Then release the spring on the side of the light with a pair of pliers. Pop the trim plugs out of the trim strip and remove the 2 screws holding the trim strip in place. Finally, slide the light out the side of the assembly.
 |
 |
 |
 |
 |
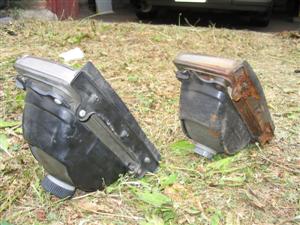 |
| Yeah, the old ones were toast | |
Installation is opposite of removal. When bolting the assembly back into the car, line it up as close to the original location as possible so you don't need to worry about the light hitting your hood or fender when it goes down.
Make sure to aim the headlights when you are done as well. They should be about right, since the adjusting screws were not moved, but I had to tweak them slightly.
 |
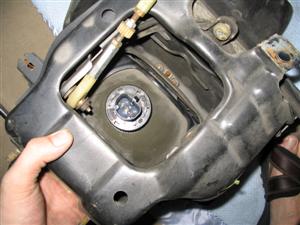 Might as well reinstall the bulb at this point to save reaching around through the unit installed. |
 |
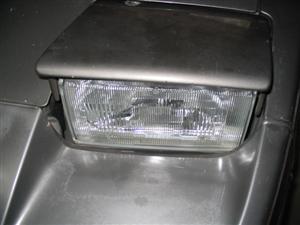 |
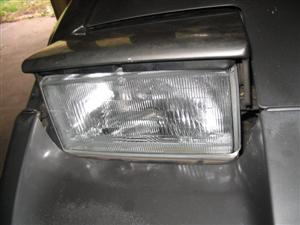
| Much better | |
* Note: I later switched to HID lights, and the result is amazing
|
|||||
|
|||||