|
|||||
|
|||||
Maxima Alternator
11/01/04 —
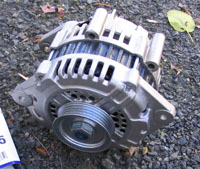
So, I had decided to install a 90 amp alternator from a Maxima. First, because my original alternator was shot, and second because I want to run an electric fan in the future, so the extra 20 amps that the Max unit provides over the Z should be beneficial. The alternator that you want will come out of an '89-'92 V6 Maxima.
This writeup's pictures are from me working on my '87 NA, but it should be the same for any Z with the alternator on the passenger side (87+ NA and all Turbos... correct me if I am wrong). If you have an 84-86 NA, check out Zbum's Alternator writeup.
Now, one thing that I must say about this job... it's a big pain. It's not quite timing belt change complexity, but it's up there. I would say hold off on doing this until you have to.
| Parts |
Tools
|
I got my new alternator from NAPA for $111 + a $57 core charge. I think they called it the "NAPA Power" alternator. It is a genuine Nissan unit which has been refurbished. The selling point for me though was that it comes with a 3 year warrantee. I like warrantees.
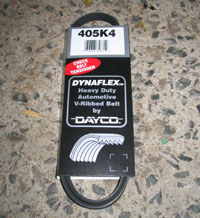
The pulley that will come with the new alt. is a tad smaller than the pulley on the Z's alt. This requires a shorter belt. The original is a 410K4; it's too long. The first Pep Boys that I went to didn't have a 405K4, so I got a 400K4 to try, but it was too short to put on as you normally would. Eric84AE reported "i used the 400 belt... its fits and leaves you with 3/4 adj left. You just gota get it started on all pullies and move crank by hand to get the belt on."... I suppose that would work, but I went with the 405. I'll switch to the 400 if I ever have a problem with belt slipping.
Early turbo cars will probably need to swap the pulley from their alternator to the new maxima alt., and may require some spacers to get the belt aligned. Also, you may need a new belt. I don't know, I don't have an early turbo, but it should be readily apparent.
Time to get to work.
- Drive the car up on ramps or put the front on jack stands
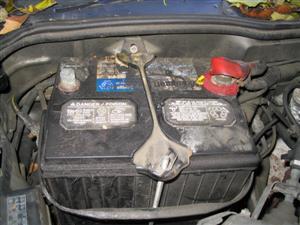
- Disconnect the negative lead from the battery
(10 mm socket) and put it somewhere it can't fall back onto the negative
terminal
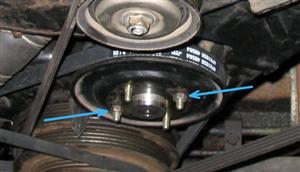
- Remove the 4 nuts which hold the fan & clutch onto the fan pulley (10 mm open). Be careful not to drop the lock washers.
- Remove the 10 mm bolt holding the fan shroud
to the air filter support
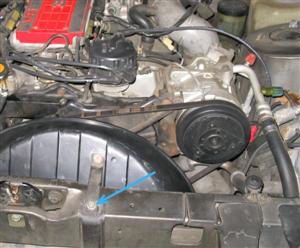
- Pop the fan side of the shroud off of the radiator side and remove the fan and shroud at the same time
- Put 2 of the fan's nuts back on the studs
to keep the pulley from going all over the place
- Remove the splash shield below the car (5 screws, loosen with 10 mm, then use screwdriver)
- Loosen the radiator cap, remove the drain cock, and drain the coolant from the radiator. Don't worry about the coolant in the block.
- Remove the 10 mm bolt holding the vacuum reservior in place
- Remove the 2 10 mm bolts holding the coolant expansion tank in place using an extension
- Position the coolant tank and vacuum reservior
out of the way as so
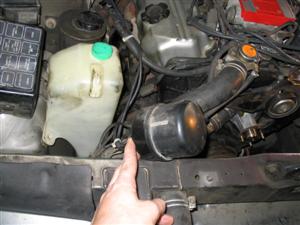
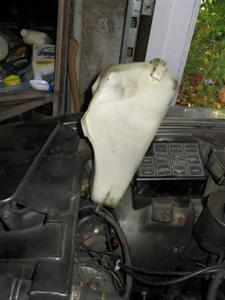
Pull this this way... then pull the tank like this and put the vacuum tank under it - Loosen the lock bolt on the power steering pump's belt adjuster (12 mm)
- Using the 12 mm deep socket and the universal joint, and coming down through where the coolant tank used to be, loosen the adjuster for the power steering pump, and remove the belt
- Loosen the 14 mm nut on the AC idler pulley
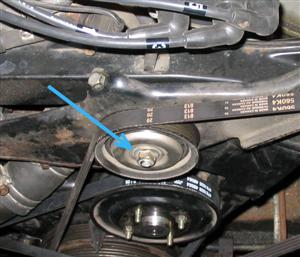
- Loosen the AC belt tensioner (12 mm) and remove
the belt
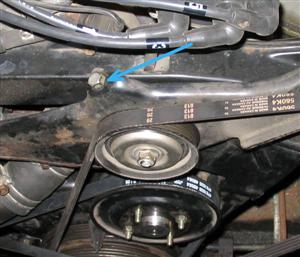
- Loosen the bolts holding the alternator belt tensioner to the block and alternator (12 mm)
- From underneath the car, use the 12 mm open wrench to back off the tension on the alternator belt
- Remove the alternator belt
- Remove the alternator belt adjuster (12 mm bolts)
- Loosen the clamp at the top of the front coolant hard pipe. Use the 13/16" wrench or pliers to hold the clamp body while using the 10 mm socket to turn the bolt
- Remove the 12 mm bolt holding the coolant hard pipe in place. It is under and behind the center of the hard pipe.
- Pull the hard pipe out of the top coolant
tube (leave the bottom connected) and place it out of the way so that
we can get to the alternator's bolts
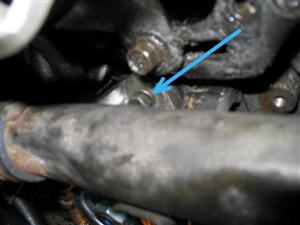
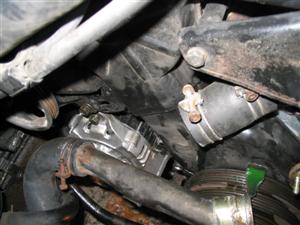
We need to get to that bolt This is ok. Try not to spill coolant like I did. - Remove the two 12 mm bolts holding the alternator in place (socket front, open wrench back)
- Pull the alternator down from it's mount and rotate it around so you can get to the backside where the wiring is
- Disconnect the wiring (power 10 mm, ground 8 mm)
- Pull the old alternator out
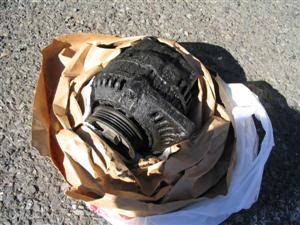
Nappy - Drop the new one in, rest it on the stabilizer
bar and connect the wiring
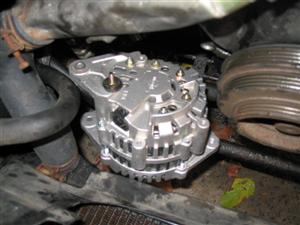
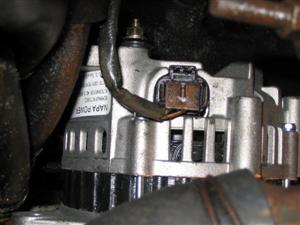
- Lift the alt. into place and install the 2 top bolts
- The new alternator has a slightly different
case, and the old adjuster won't fit without a slight modification.
Grind 1/8" or so off of this area
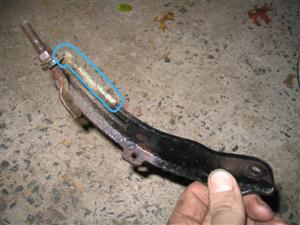
- Install the adjuster
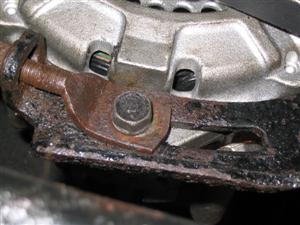
Adjuster clears the case now... tight fit - Tension the belt. It should only deflect 1/4"
or so when pressed on in the middle of the longest span.
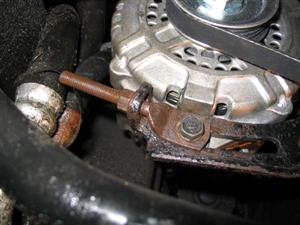
With the belt tensioned, the adjuster is near maxed - Put things back together, rest of intallation is opposite of removal
I have been told that it is possible to take the alternator out the back without drainign the coolant, but that wasn't an option for me, because the bolt holding the alt. on would have had to come through the hard coolant pipe to be removed. And since I had to take the coolant pipe off, I just went ahead and did the whole job from the front.
|
|||||
|
|||||
